Print Shirts Guide: Master All-Over Print Design
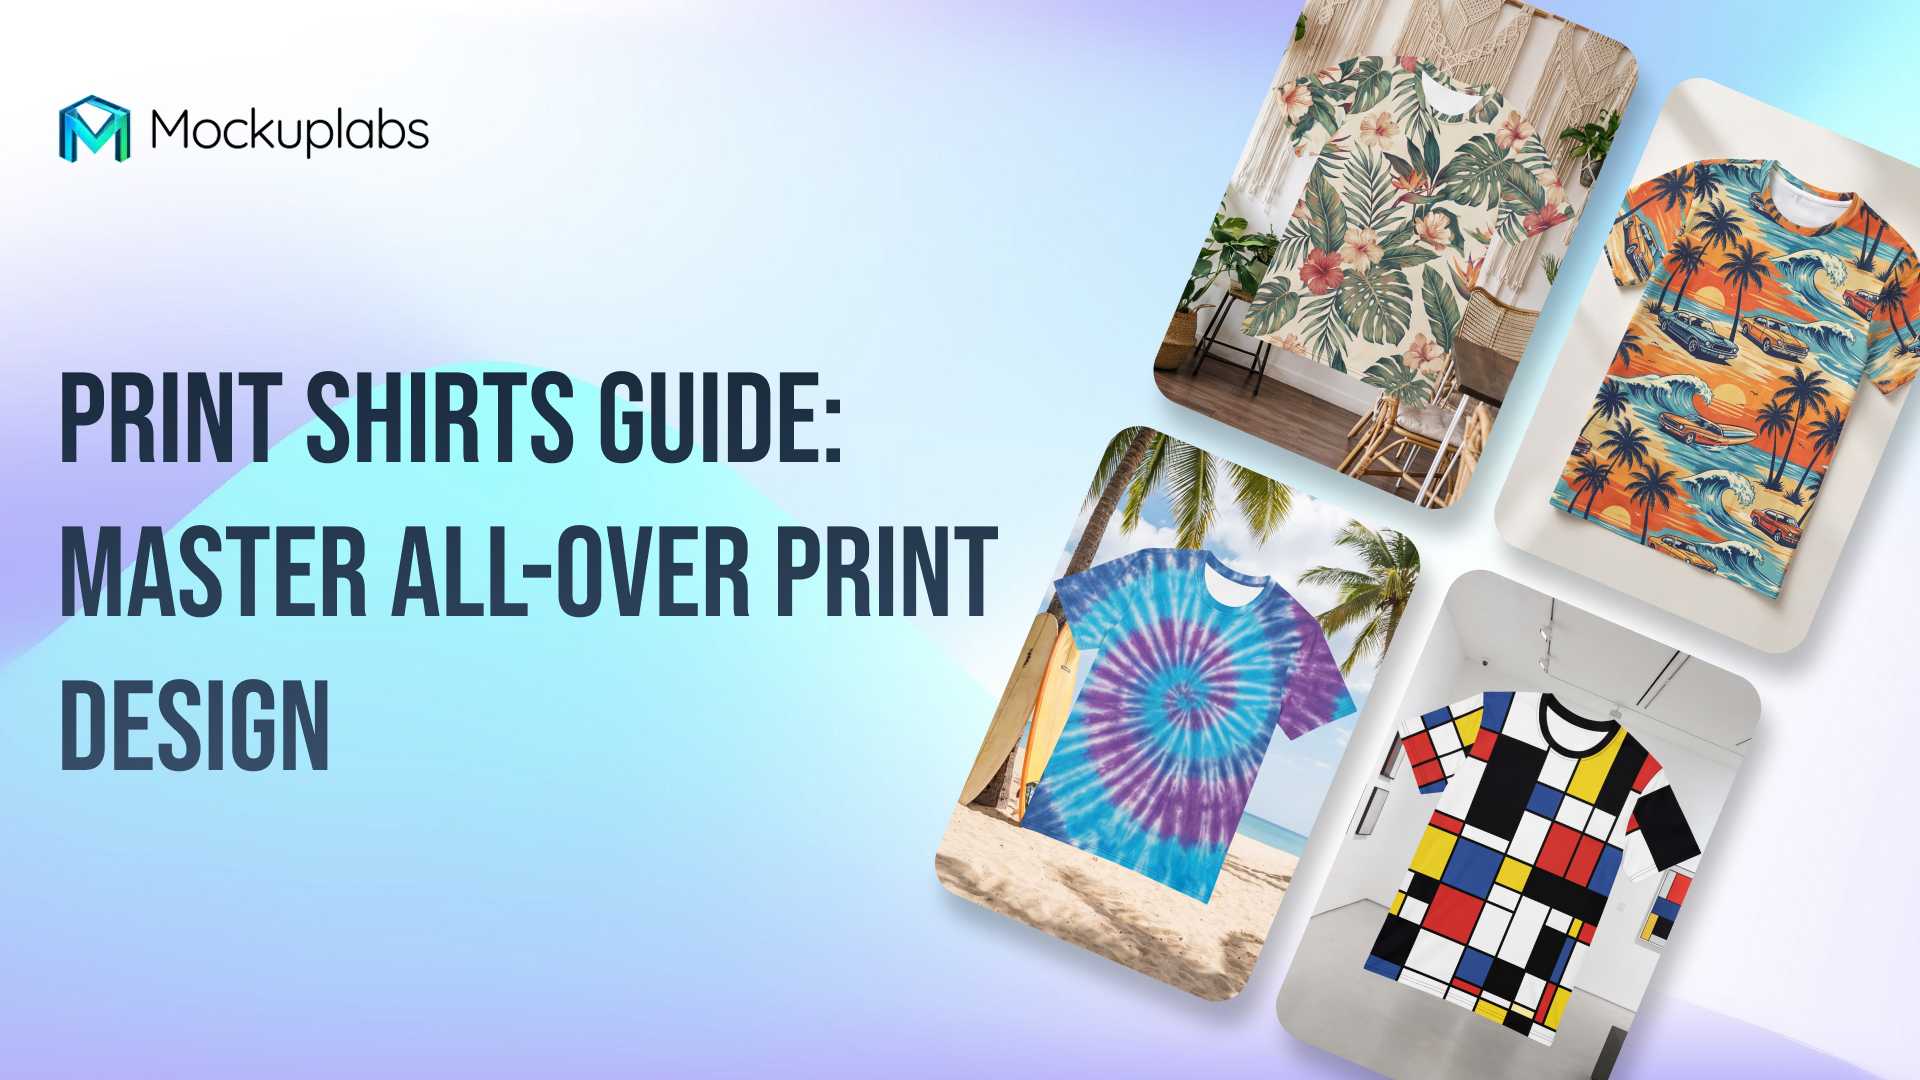
Table of Contents
- What Are All-Over Print Shirts?
- Why All-Over Print Shirts Dominate POD Markets
- Step-by-Step: Design All-Over Print Shirts With Mockuplabs
- Essential File Preparation Tips
- Printing Methods for All-Over Print Shirts
- Common Design Mistakes to Avoid
- Marketing Your Print Shirts for Maximum Profit
- Conclusion
- FAQs
What Are All-Over Print Shirts?
All-over print shirts represent a revolutionary and highly sought-after aesthetic in custom apparel, defining a technique where the design covers the entire garment surface, flowing across seams, edges, and sleeves. Unlike traditional screen printing, which limits graphics to a small, predefined area, this method transforms the whole fabric into a continuous canvas, enabling truly immersive, edge-to-edge visual experiences.
This bold aesthetic is increasingly favored by fashion-forward consumers. The custom t-shirt printing market, valued at USD 5.16 billion in 2024 and is projected to reach USD 9.82 billion by 2030, sees all-over prints as a key driver of premium segment growth. For Print-on-Demand (POD) sellers, this translates directly to higher profitability; reports show AOP shirts yield 40% higher profit margins than standard prints due to their perceived value and uniqueness. Modern digital printing and fabric handling allow intricate designs to wrap around curves and adapt to fabric contours seamlessly, bringing high-fashion complexity to accessible price points.
Why All-Over Print Shirts Dominate POD Markets
E-commerce entrepreneurs and POD sellers are rapidly adopting all-over print shirts for compelling strategic reasons. These products command premium pricing without requiring exponentially more design effort. Their expansive visual impact is inherently suited for social media, creating powerful shareability that drives organic marketing reach, a significant advantage over simple graphic tees.
Profitability metrics strongly support this category. Data from major POD platforms indicates that all-over print products generate an average of 2.3 times more social media engagement than traditional prints. Crucially, customer return rates decrease by as much as 15% because the visually striking nature of the product often exceeds buyer expectations, leading to superior ROI through higher margins and reduced post-sale issues.
Furthermore, product differentiation becomes effortless with continuous designs. In saturated online markets, a complex, flowing AOP pattern immediately stands out. This technique also allows for richer creative storytelling through patterns that evolve across the garment, forging a stronger, more memorable brand connection with customers.
Step-by-Step: Design All-Over Print Shirts With Mockuplabs.ai
High-quality, realistic presentation is non-negotiable for premium pricing. Mockuplabs transforms the historically complex workflow of creating all-over print mockups into an intuitive, AI-powered process, eliminating the need for complex software like Photoshop.
Upload and Convert Your Product Image
Begin by uploading a clean, high-resolution product photograph (PNG or JPG, 300 DPI is optimal) of your blank garment. Clicking the "Mockup" button is the critical first step. This triggers AI processing that converts your static image into an editable canvas. The system analyzes the garment’s topology—the folds, seams, and lighting—to create intelligent mapping zones. The converted mockup will display a visual indicator confirming the successful transformation, allowing designs to follow natural fabric folds rather than appearing as flat, unrealistic overlays.
Select Print Areas Precisely
Precision in area selection dictates accurate design placement and lighting replication. Access the "Area Select" tool. For all-over print shirts, use the AI auto-segmentation to select multiple zones: front, back, sleeves, and collar areas. If complex seams are missed, switch to manual daub or eraser tools for granular control. Painting precise print regions ensures the pattern respects seam boundaries and avoids unwanted graphics on cuffs, hems, or necklines. Well-defined selections are essential for manufacturers to align their printing equipment, reducing production errors.
Apply and Pattern Your Design
Drag your high-resolution design file (ideally 300 DPI at full print size) onto the canvas. The AI will automatically stretch and warp the pattern to fit the selected areas while maintaining proportional integrity.
Select the design layer and choose your pattern type from the right panel. Adjust scale, rotation, and positioning until the visual flow is seamless across all garment sections. Before downloading, zoom to 100% to ensure no pixelation or alignment issues remain. Mockuplabs facilitates rapid generation of multiple optimized versions (PNG, JPG, WEBP) for different sales channels.
Essential File Preparation Tips
Success in selling print shirts hinges on meticulous file preparation.
- Canvas Size & Bleed: Set your design canvas to a minimum of 40x40 inches for adult garments. This generous sizing provides crucial bleed (2-3 inches beyond the cut line) necessary for seam wrapping, preventing unsightly white edges after the fabric is cut and sewn.
- Color Management: Design in RGB color mode, but convert to CMYK for the final print file. This conversion helps identify potential color shifts. Always embed ICC profiles specific to your chosen print provider’s equipment for accurate color reproduction.
- Resolution: Vector-based designs are preferred for all-over prints as they scale infinitely without quality loss. For raster images, a minimum of 300 DPI at the actual print size is non-negotiable.
Instantly Apply Your AOP File
Ready with your high-resolution AOP file? Upload it to Mockuplabs.ai and instantly visualize your design across all seams and garment areas.
Printing Methods for All-Over Print Shirts
A great design must align with the correct production technique.
Sublimation Printing
Sublimation uses heat to transfer dye directly into polyester fibers. The result is vibrant, permanent prints that are highly resistant to cracking or fading. The process involves printing the design onto special transfer paper, which is then aligned with pre-cut fabric panels and heat-pressed. This method is restricted to 100% polyester or high-polyester blend fabrics, as natural fibers do not bond with the dye. Sublimation results in exceptional color vibrancy and a soft hand-feel because the dye is part of the fabric, not a layer on top.
Cut-and-Sew Printing
Cut-and-sew involves printing designs onto large fabric rolls before cutting individual pattern pieces. This allows for the most precise design placement across seams, enabling complex patterns to match perfectly at shoulder lines and side seams—a premium feature. This technique requires designers to account for seam allowances and fabric grain direction. While production timelines are longer and costs are 20-30% higher than sublimation, the resulting custom-manufactured finish commands higher retail prices, sustaining healthy margins.
Common Design Mistakes to Avoid
- Ignoring Seam Alignment: The most common error. Designs featuring faces, text, or complex geometric shapes are often visually disrupted at seams. Always preview on a flattened template to check misalignments.
- Insufficient Resolution: Scaling low-resolution files (below 300 DPI) leads to noticeable pixelation and a cheap, unprofessional final product.
- Overlooking Color Constraints: Sublimation cannot print white ink (white areas become the color of the unprinted fabric). Additionally, specialty colors like neons may not translate accurately. Always consult your printer’s color gamut specifications.
Marketing Your Print Shirts for Maximum Profit
Exceptional products require strategic promotion. All-over print shirts thrive on visual platforms.
- Visual Channels: Utilize Instagram and TikTok with 360-degree videos that showcase the design wrapping around the garment. Authentic user-generated content (UGC) campaigns incentivize customers to share photos, driving trust and conversions.
- Influencer Marketing: Partner with micro-influencers (10k-50k followers) in relevant fashion niches. Their high engagement and lower cost per acquisition yield excellent ROI.
- Email Segmentation: Use email marketing to segment customers who purchased standard prints and market the all-over print product as a premium "upgrade." Highlight the custom nature and uniqueness to create urgency.
Conclusion
Mastering all-over print shirts is a powerful lever for creative freedom and profitability in e-commerce. The combination of advanced mockup tools and accessible printing technologies has democratized this premium product category. Focus on strategic design preparation, method selection, and effective visual marketing to transform these garments into best-selling products.
FAQs
What file size should I use for all-over print shirt designs?
Create files at a minimum of 40x40 inches with 300 DPI resolution for adult garments. This provides adequate bleed for seam wrapping and ensures crisp final prints.
How do I prevent my design from being cut off at the seams?
Precisely define print zones using a tool like Mockuplabs.ai area selection, ensuring your design extends 2-3 inches beyond visible garment edges (the bleed). Always preview on a flattened template to check alignment across seams.
Which printing method is best for beginners?
Sublimation printing is the easiest entry point for polyester garments, requiring less complex file preparation and working reliably with most POD services.
Can I sell all-over print shirts without holding inventory?
Yes. Print-on-demand services (Printful, Printify) integrate with e-commerce platforms, fulfilling orders as customers purchase. Use Mockuplabs to create compelling mockups without upfront inventory investment.
How long does it take to create a mockup in Mockuplabs?
The entire process from upload to download-ready mockup typically takes 2-5 minutes. The AI conversion is fast, and area selection and design placement require minimal time.