How to Make All-Over Print Shirts: The Complete Guide
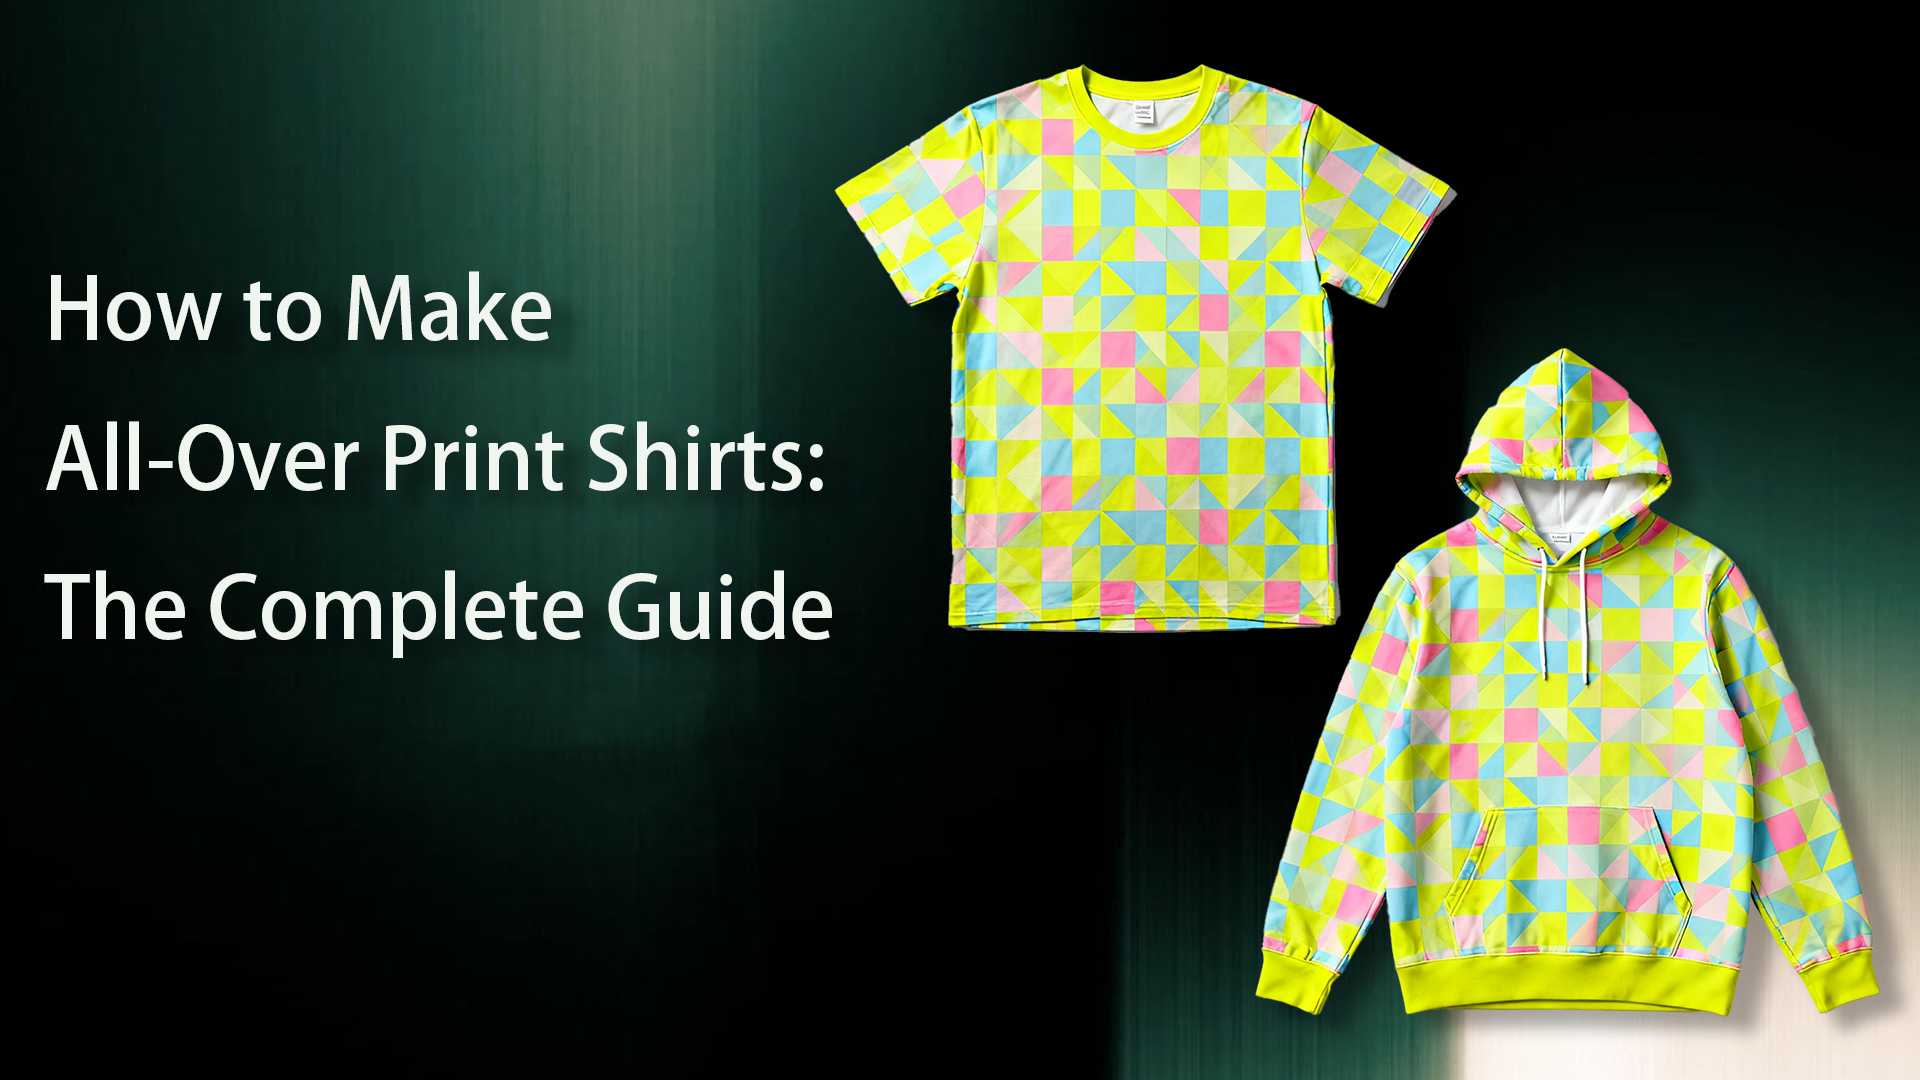
Most T-shirts only have a design slapped on the front or back, but AOP shirts are a whole different game. They cover the entire fabric with patterns or graphics, giving you a bold, eye-catching style that’s anything but basic. Whether you’re running a print-on-demand shop, building your eCommerce brand, or just love rocking custom clothing, learning how to create AOP shirts can really level up your product lineup.
The good news? Platforms like Mockuplabs make it super easy. You can design, preview, and export your shirts with realistic mockups in just a few clicks.
What’s an All-Over Print (AOP) Shirt?
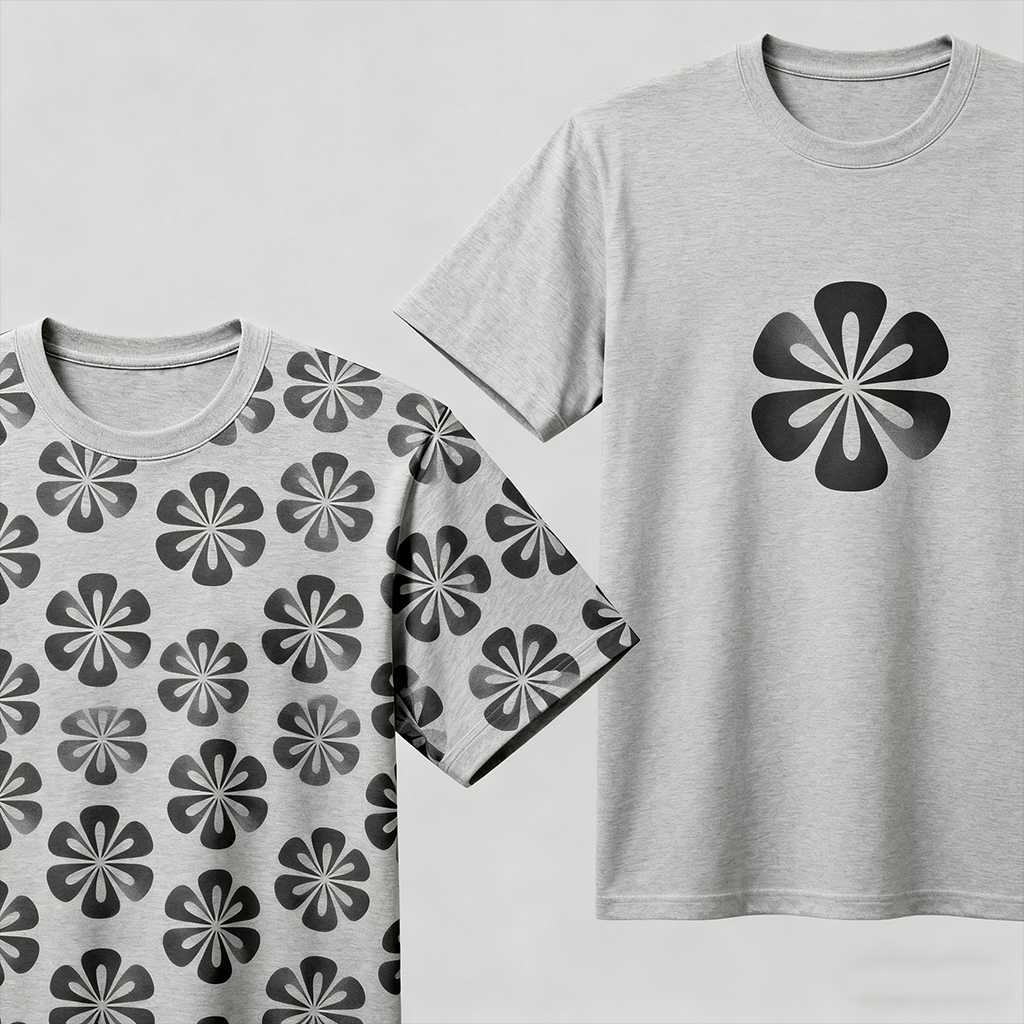
Most T-shirts you see just have a design slapped on the front or maybe the back. An all-over print (AOP) shirt, on the other hand, takes things way further, the design covers everything: the front, back, sleeves, and sometimes even the collar.
Why do people love them? Because they let designers create seamless patterns and bold visuals that instantly stand out. You’ll find them in fashion collections, print-on-demand (POD) shops, and branded merch lines since full-coverage prints look a lot more polished and modern than your average tee.
Pros & Cons of All-Over Print Shirts
AOP shirts are a fantastic way to showcase bold, eye-catching designs. Before you dive in, it’s helpful to weigh the benefits against the potential challenges.
Pros:
- Create unique, standout designs that grab attention in a crowded market.
- Ideal for colorful patterns, gradients, and repeating graphics.
- Utilize the entire fabric, making designs more impactful than small prints.
Cons / Trade-offs:
- Production can be more complex and slightly costlier than standard prints.
- Designs need to be high-resolution to avoid pixelation.
- Colors may shift slightly during printing.
Knowing both sides helps you plan smarter and avoid headaches, so your AOP shirts come out looking crisp, professional, and ready to sell.
Challenges When Designing All-Over Print Shirts
Designing all-over prints is fun, but it’s not without its quirks. Aligning patterns across seams, sleeves, and collars can get tricky. Plus, some fabrics don’t always play nicely with full-coverage printing.
Low-res images or overly complicated artwork can also look messy once they’re on fabric. That’s why it’s crucial to test things out with high-quality mockups before sending your design to production.
This is where tools like Mockuplabs come in handy, they let you preview your design in realistic mockups, check how patterns align, and spot issues before it’s too late.
Step-by-Step Process: How to Make All-Over Print Shirts
Here’s how to create your AOP shirts step by step on Mockuplabs:
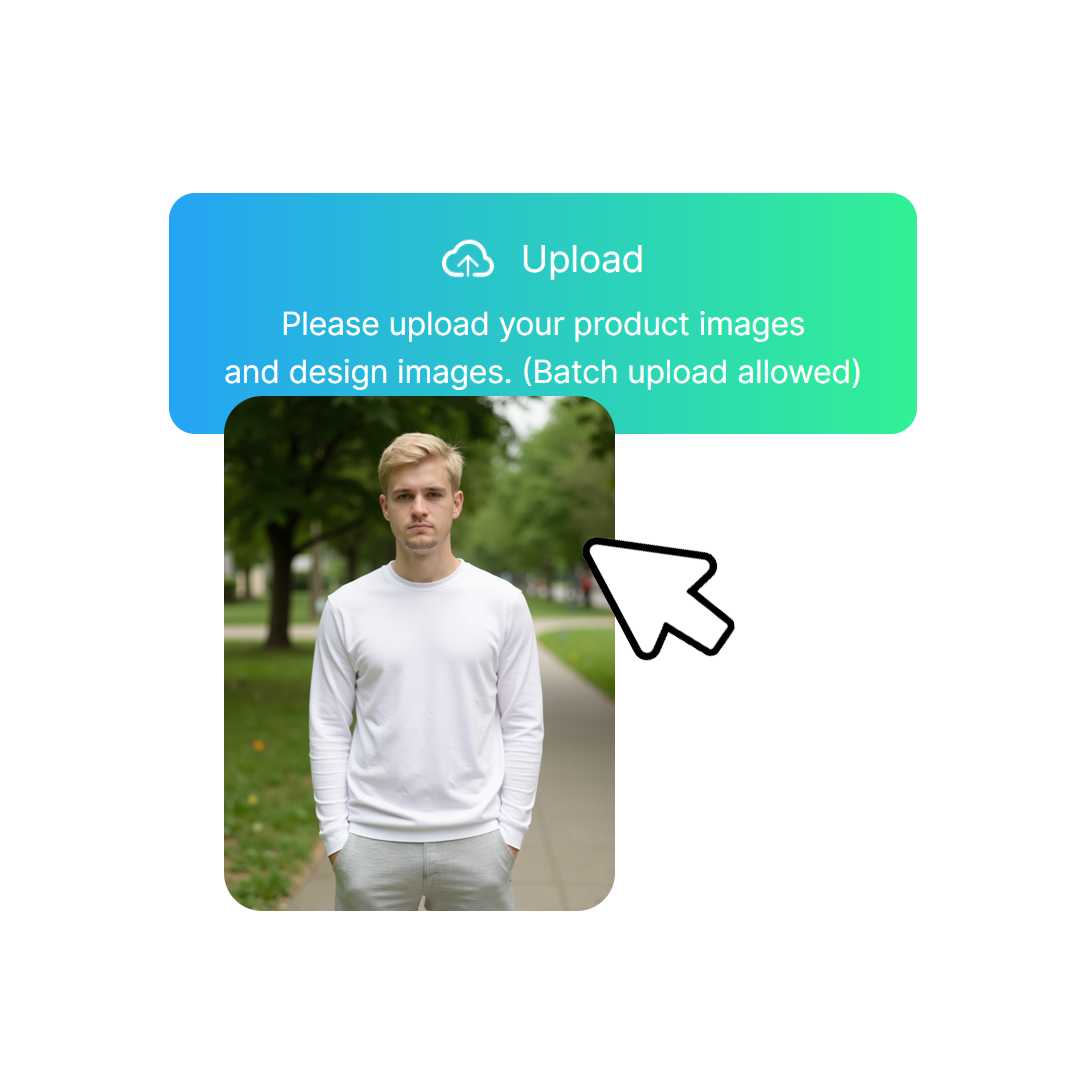
Step 1: Upload your shirt image or select mockup template
Start by choosing a blank shirt template that fits your style. You can upload flat images, front/back views, or shirts on models or choose a mockup template.
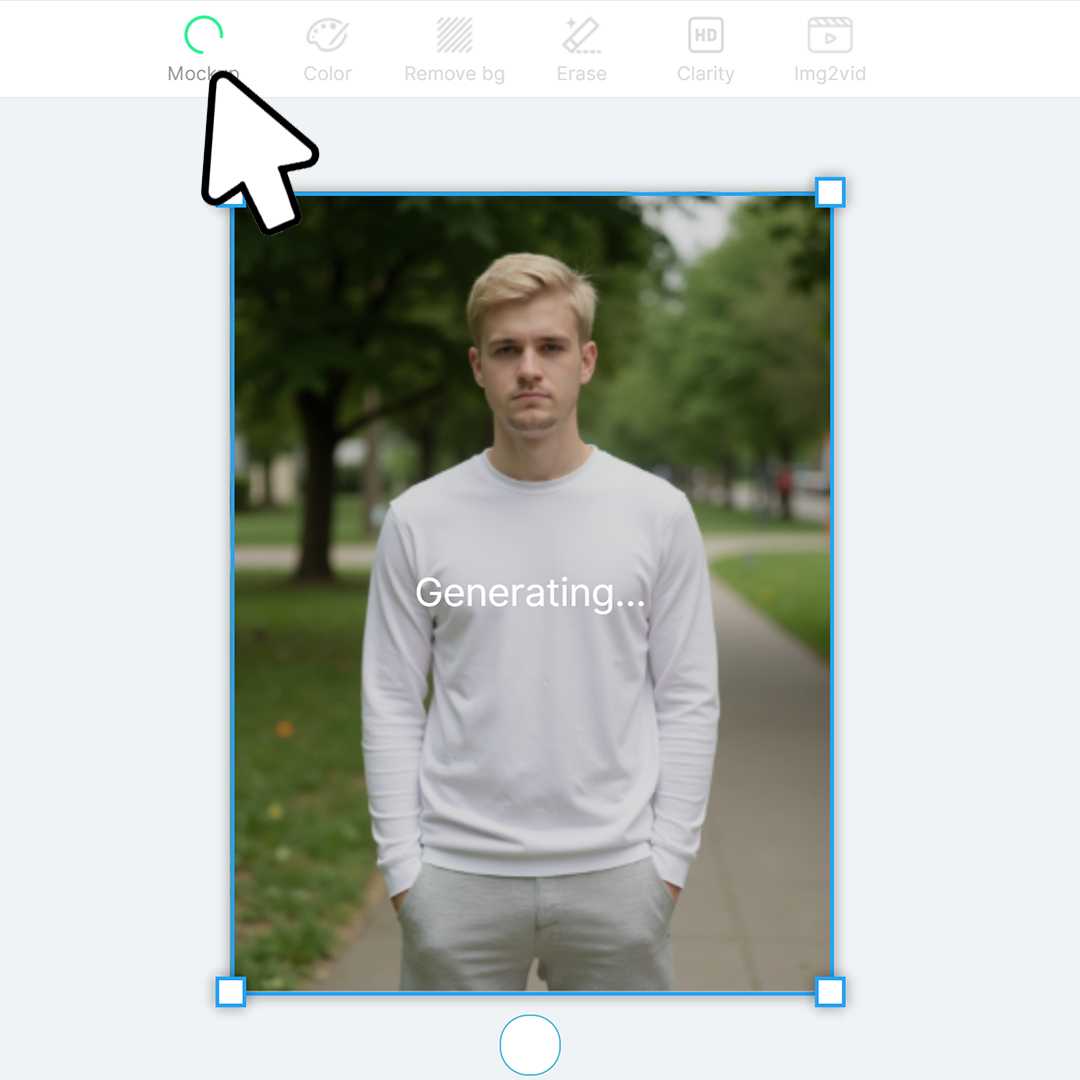
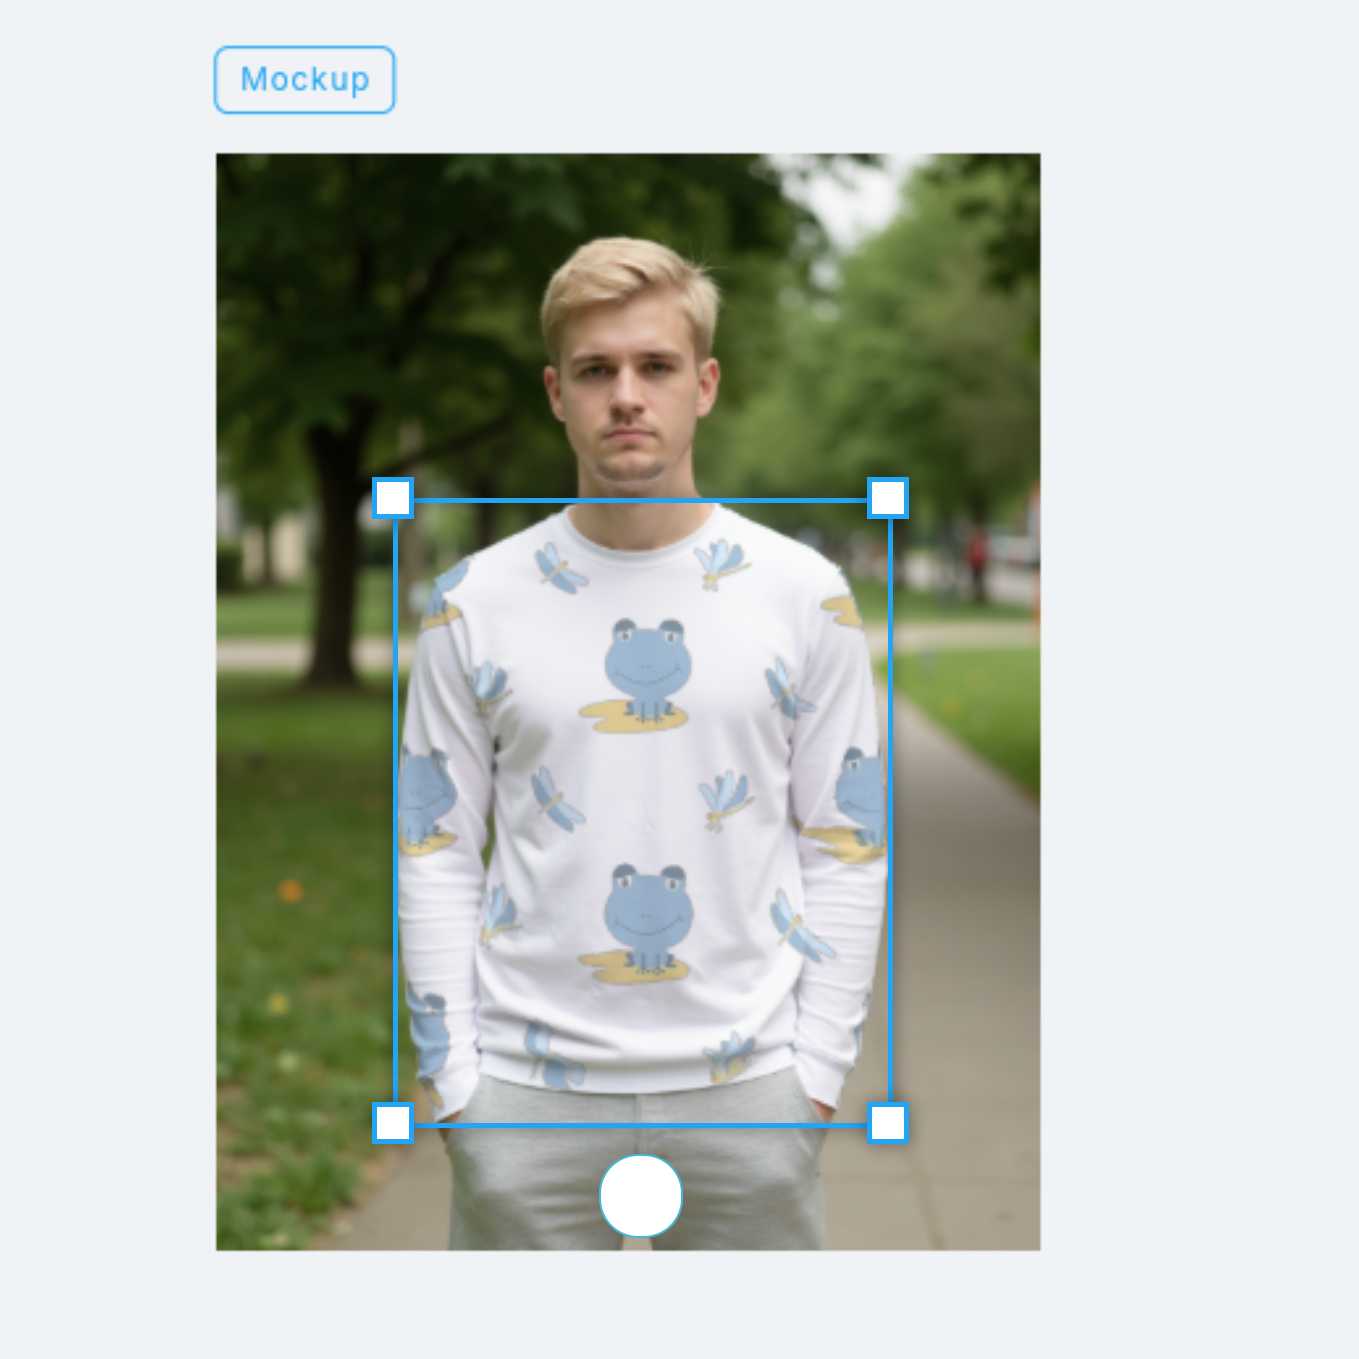
Step 2: Generate a mockup
Click the ‘Mockup’ button to automatically generate an editable mockup template. This transforms your blank shirt into a fully customizable AOP canvas, allowing you to see how your design will appear across the entire shirt.
Step 3: Upload your design
Add your artwork, logos, or patterns and drag into the mockup, select the Pattern type from the right panel. Use the all-over print (AOP) pattern type to cover the entire surface, including sleeves and collar. Then adjust placement so the design flows seamlessly, creating a polished, eye-catching final look.
Step 4: Preview and adjust
Use the realistic preview feature to check colors, alignment, and overall appearance. Make any necessary tweaks to ensure your design matches your vision before printing.
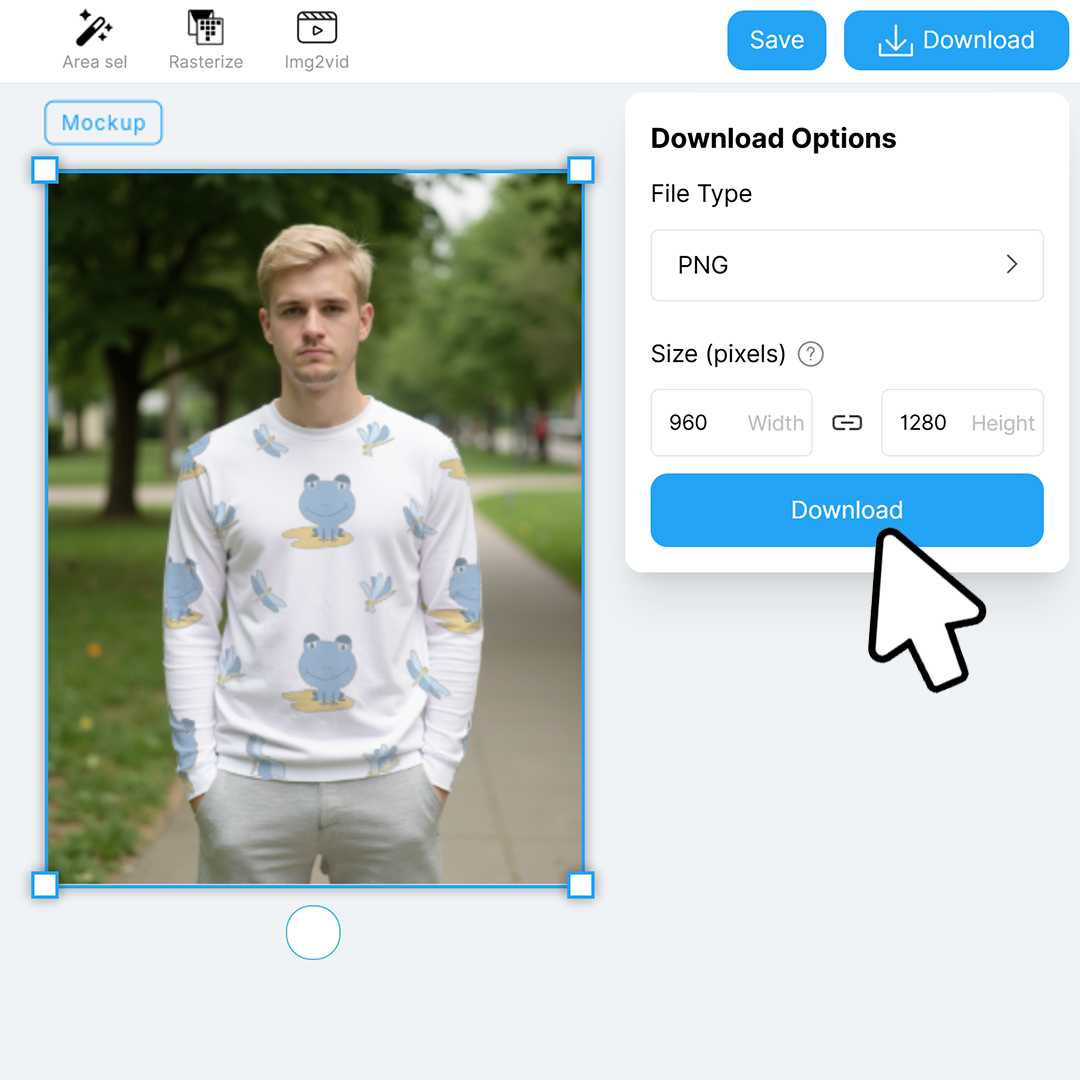
Step 5: Download high-resolution mockups
Once satisfied, download your high-resolution mockups. These images are ready for product pages, social media promotion, or marketing campaigns, helping your store look professional and appealing.
Step 6: Production and manufacturing
Send your finalized AOP shirt design to your POD provider or manufacturer.
Design Tips and Best Practices
- Go bold—big patterns and colors look amazing at full coverage.
- Make sure repeating elements line up seamlessly.
- Avoid putting key details right on seams or folds.
- Try out different shirt colors to see which makes your design pop.
Using Mockuplabs, you can quickly experiment with colors, patterns, and placement to create visually stunning shirts without wasting time or resources.
Frequently Asked Questions
1. What is an all-over print shirt?
An all-over print (AOP) shirt has a design that covers the entire fabric, not just one small area. It’s perfect for bold, seamless patterns that stand out in POD and custom apparel.
2. Do I need design experience to make all-over print shirts?
No. Tools like Mockuplabs let you create professional AOP shirts with drag-and-drop editing and ready-to-use templates, even if you’re a beginner.
3. Can all-over print shirts be sold on POD platforms?
Yes. AOP shirts are popular for fashion, branded merchandise, and limited-edition collections, helping your store attract more customers.
4. How do I ensure colors and patterns look right?
Use high-resolution artwork and preview your design on realistic mockups. Mockuplabs helps check colors, alignment, and pattern placement before printing.
Final Thoughts
Creating all-over print shirts doesn’t have to be complicated. With the right prep and the right tools, you can design unique, professional-looking products that stand out in your store. Platforms like Mockuplabs make the process simple, fast, and fun.
Just upload your design, preview it in seconds, and bring your ideas to life. And the best part? You can get started for free.