Create and approve the first mockup
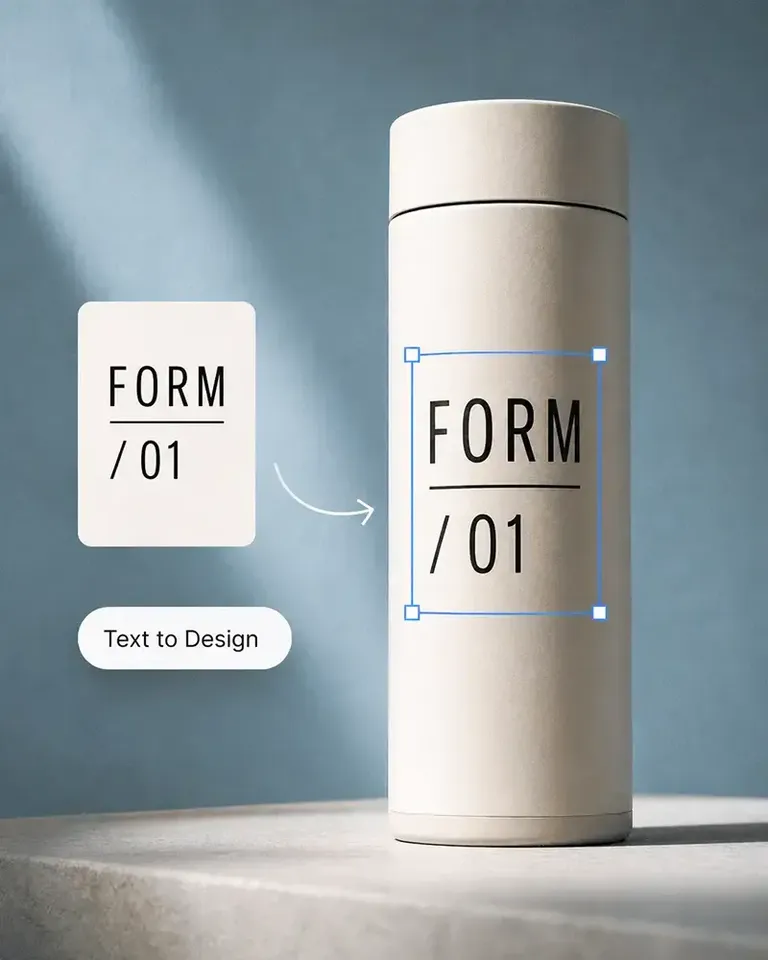
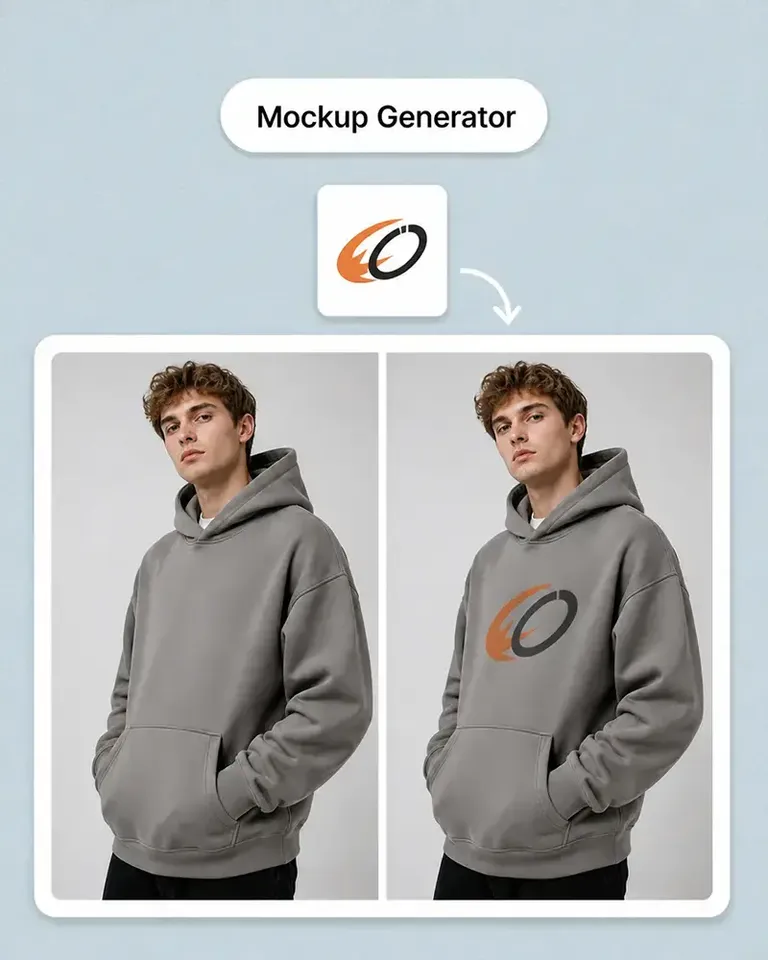
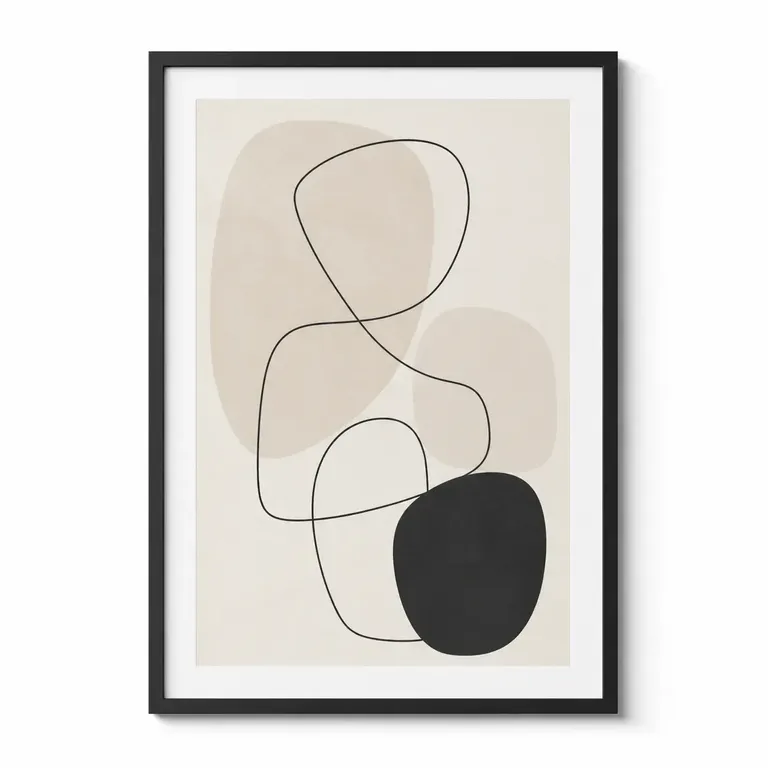
Apply the first design to your own photo frame photo. Review placement, scale, and the visible product details together, then keep the approved setup ready to reuse.
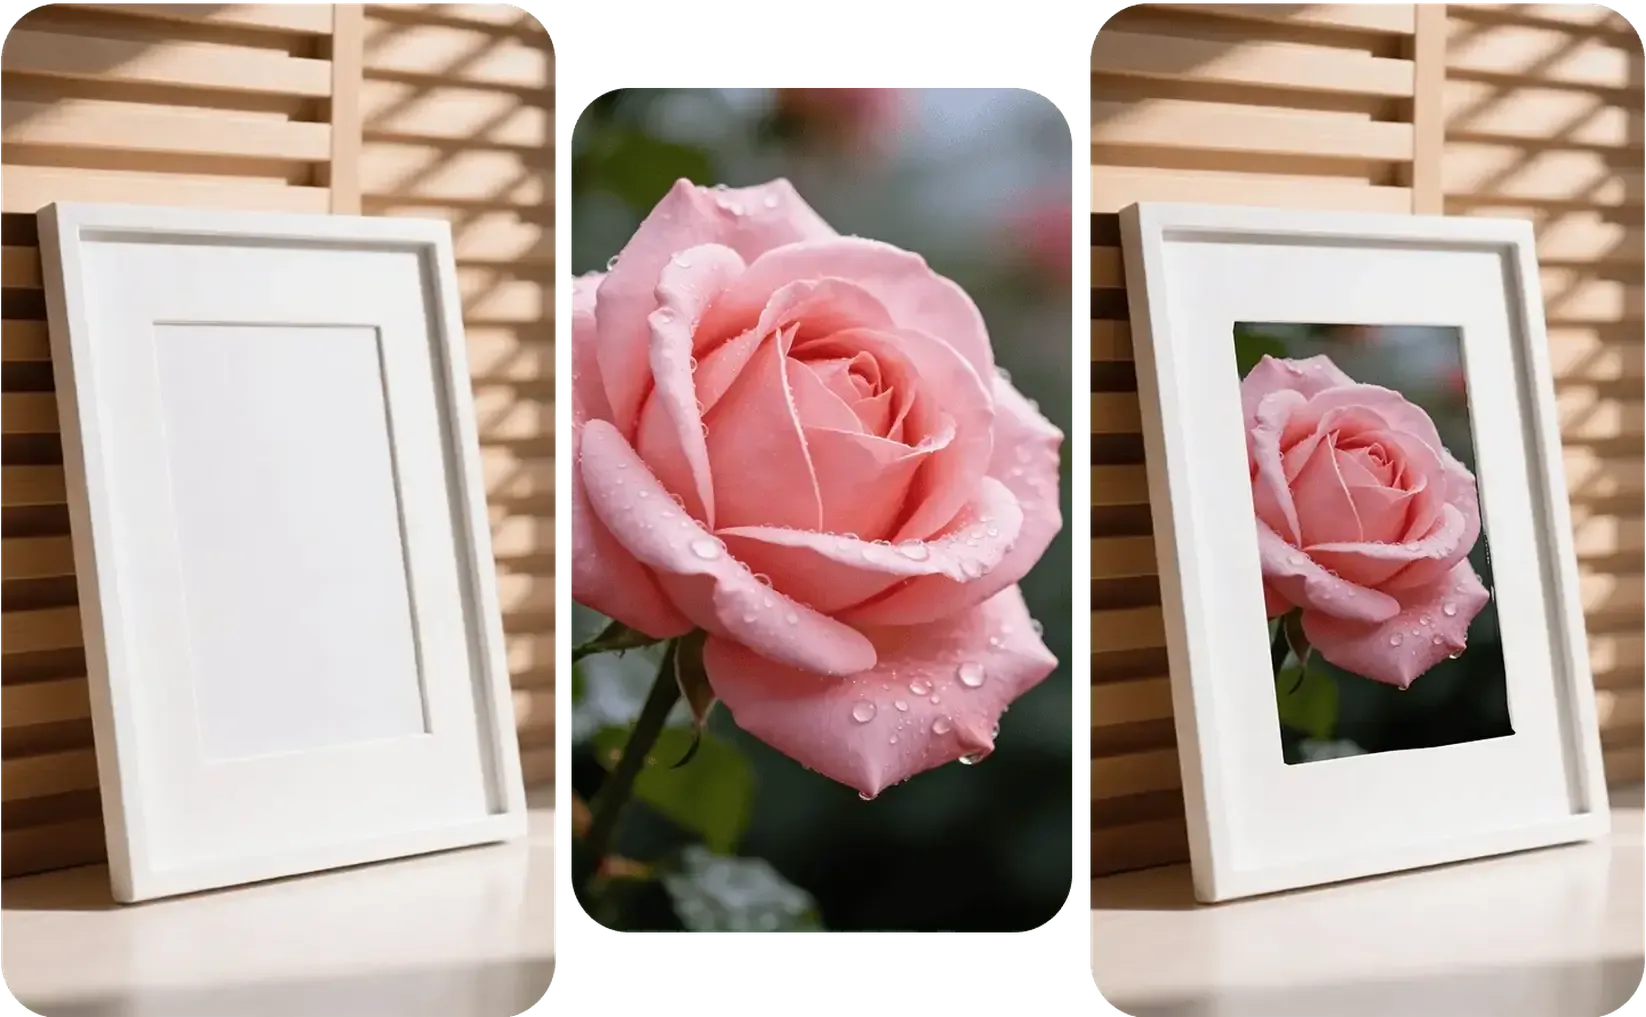
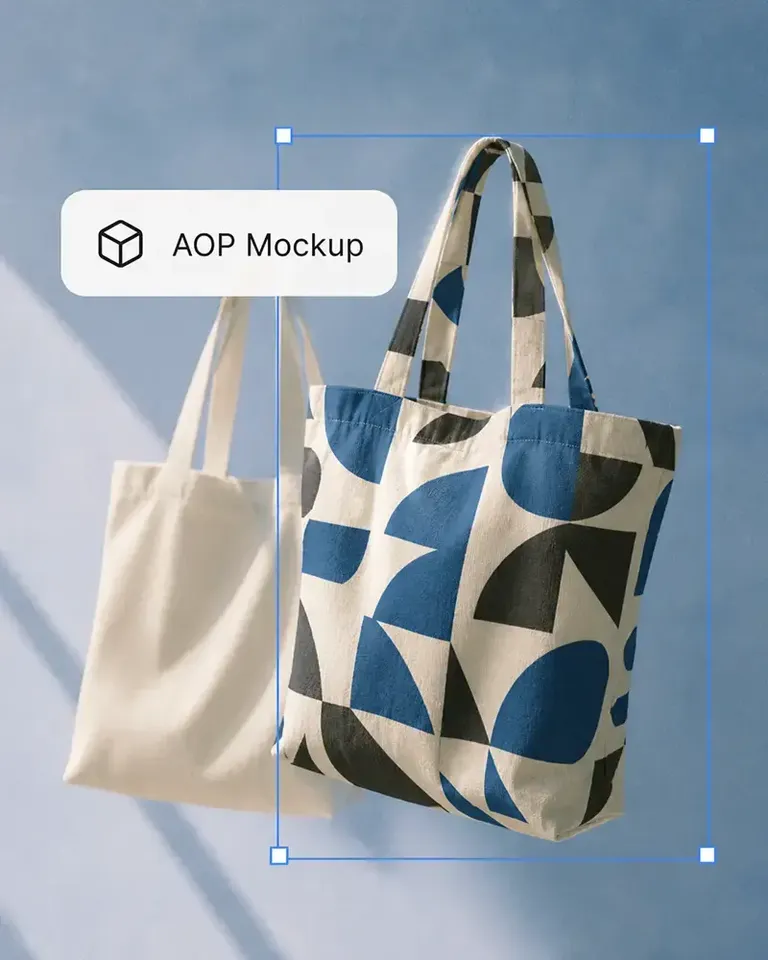
Turn your own photo-frame images into editable mockups, place photography or artwork inside the real product, and reuse the approved frame across gifts, decor collections, and listings.
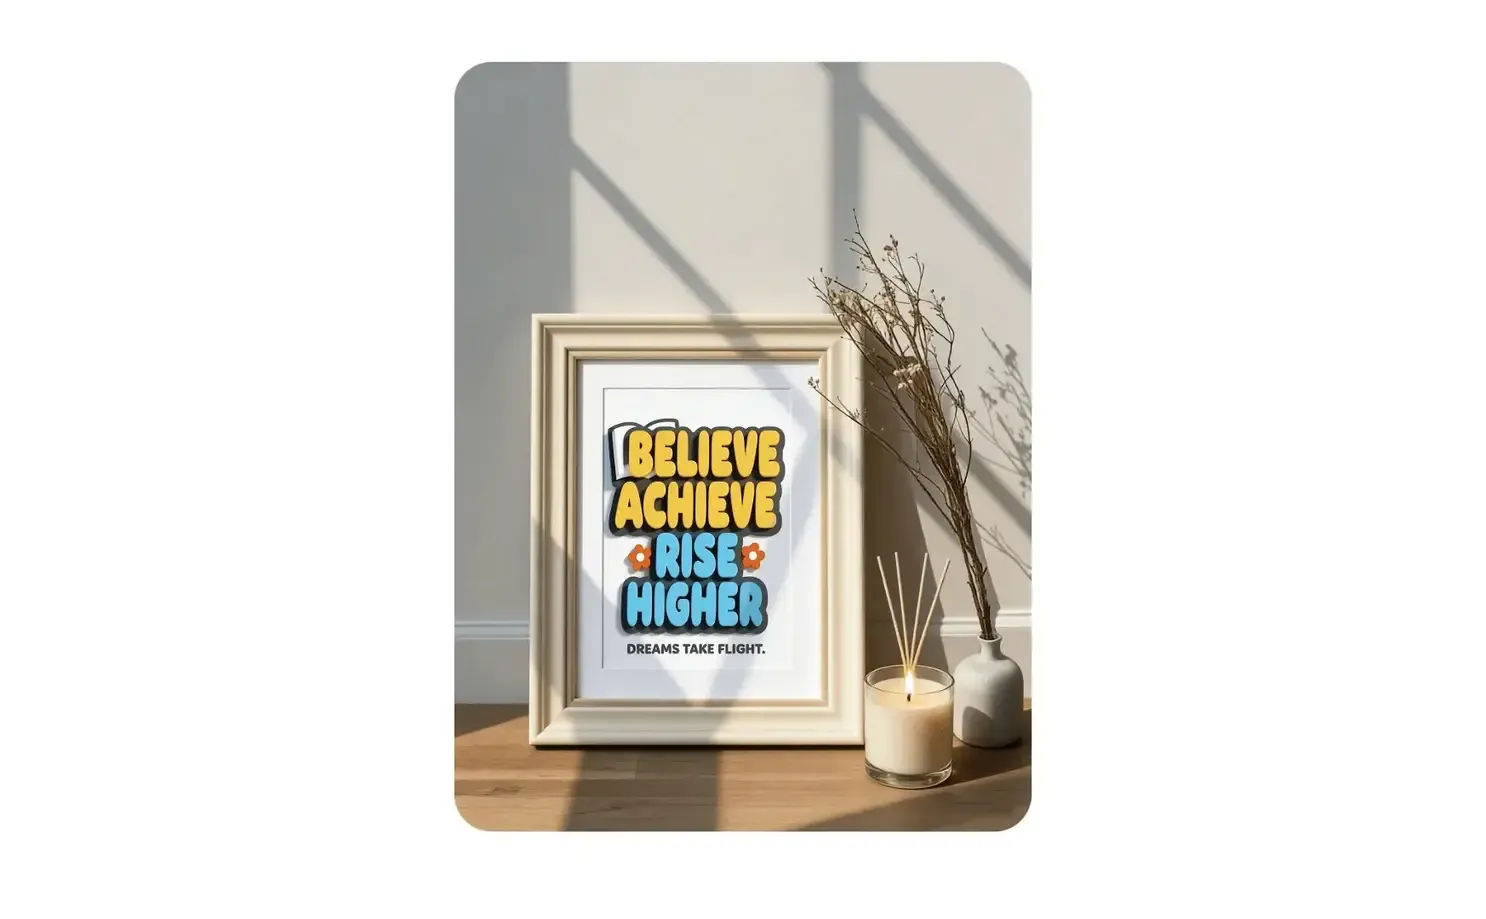
Start with the photo frame you actually use or sell and approve the first design in context. The same product setup can then support more artwork, variations, listing images, campaigns, and video.
Apply the first design to your own photo frame photo. Review placement, scale, and the visible product details together, then keep the approved setup ready to reuse.
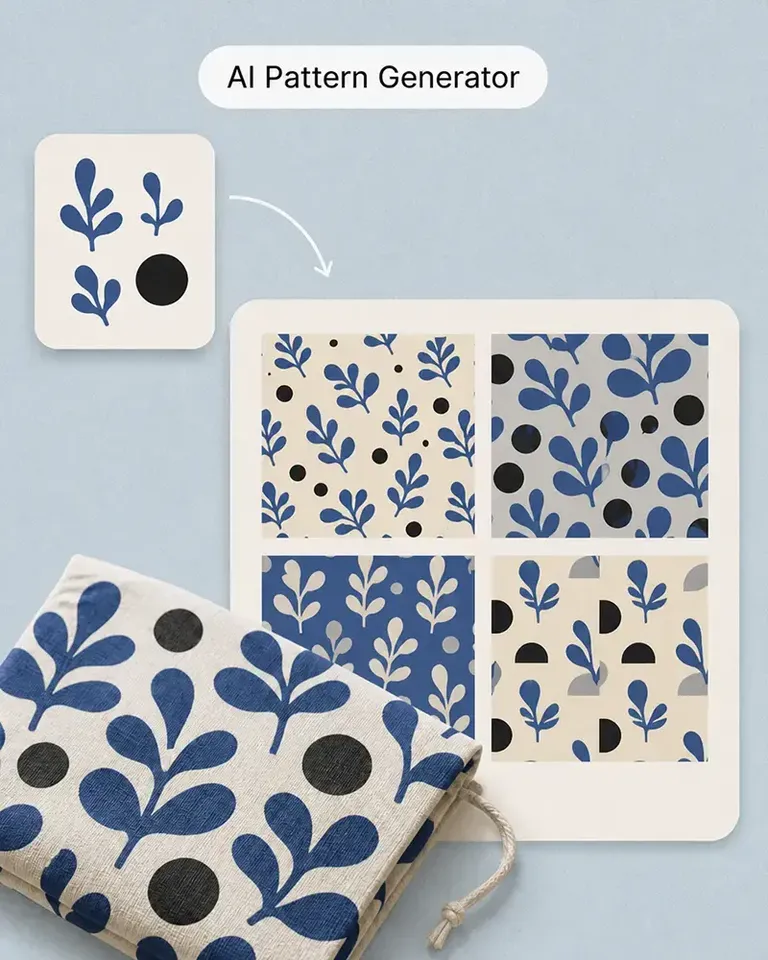
Keep the same photo frame setup while changing the artwork, color, text, pattern, or other product direction. Scale the range without rebuilding the base mockup.
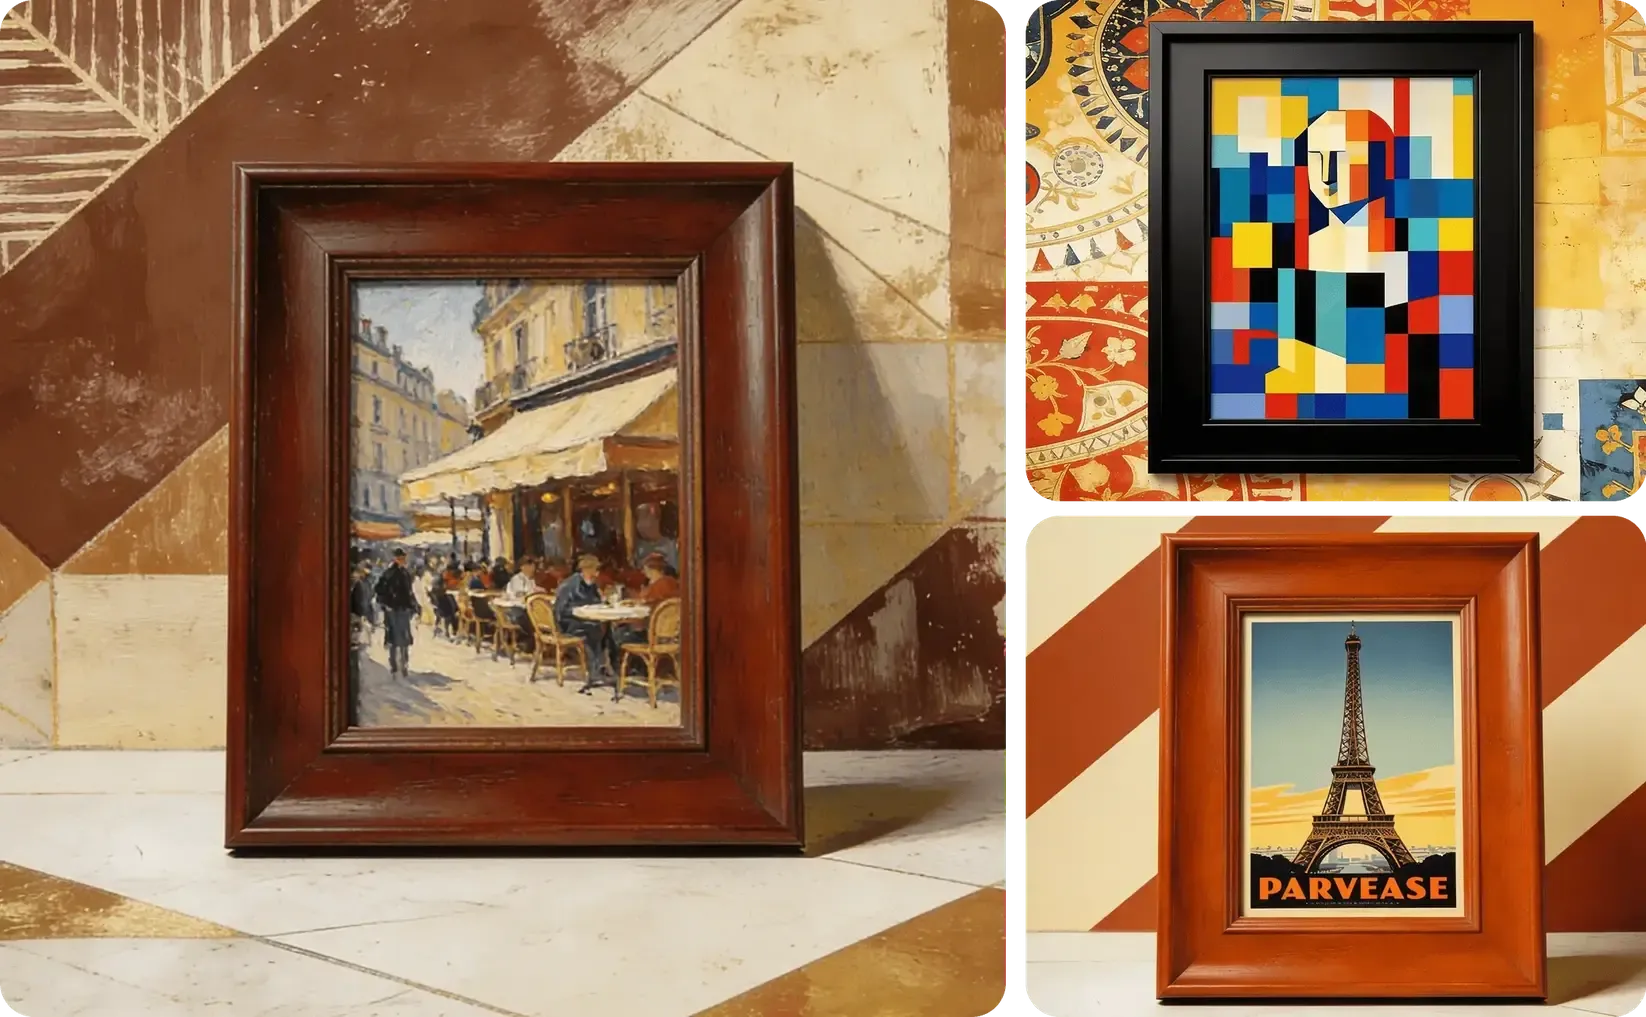
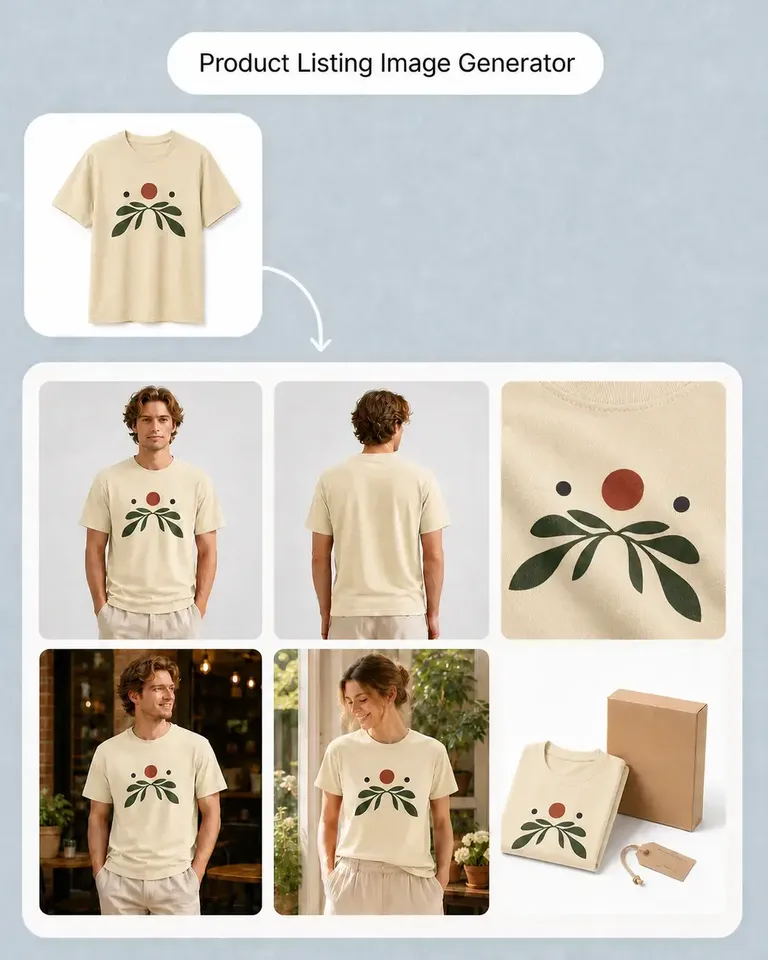
Continue from the approved photo frame into product listings, lifestyle images, campaign creative, social formats, and video without starting from a disconnected workflow.
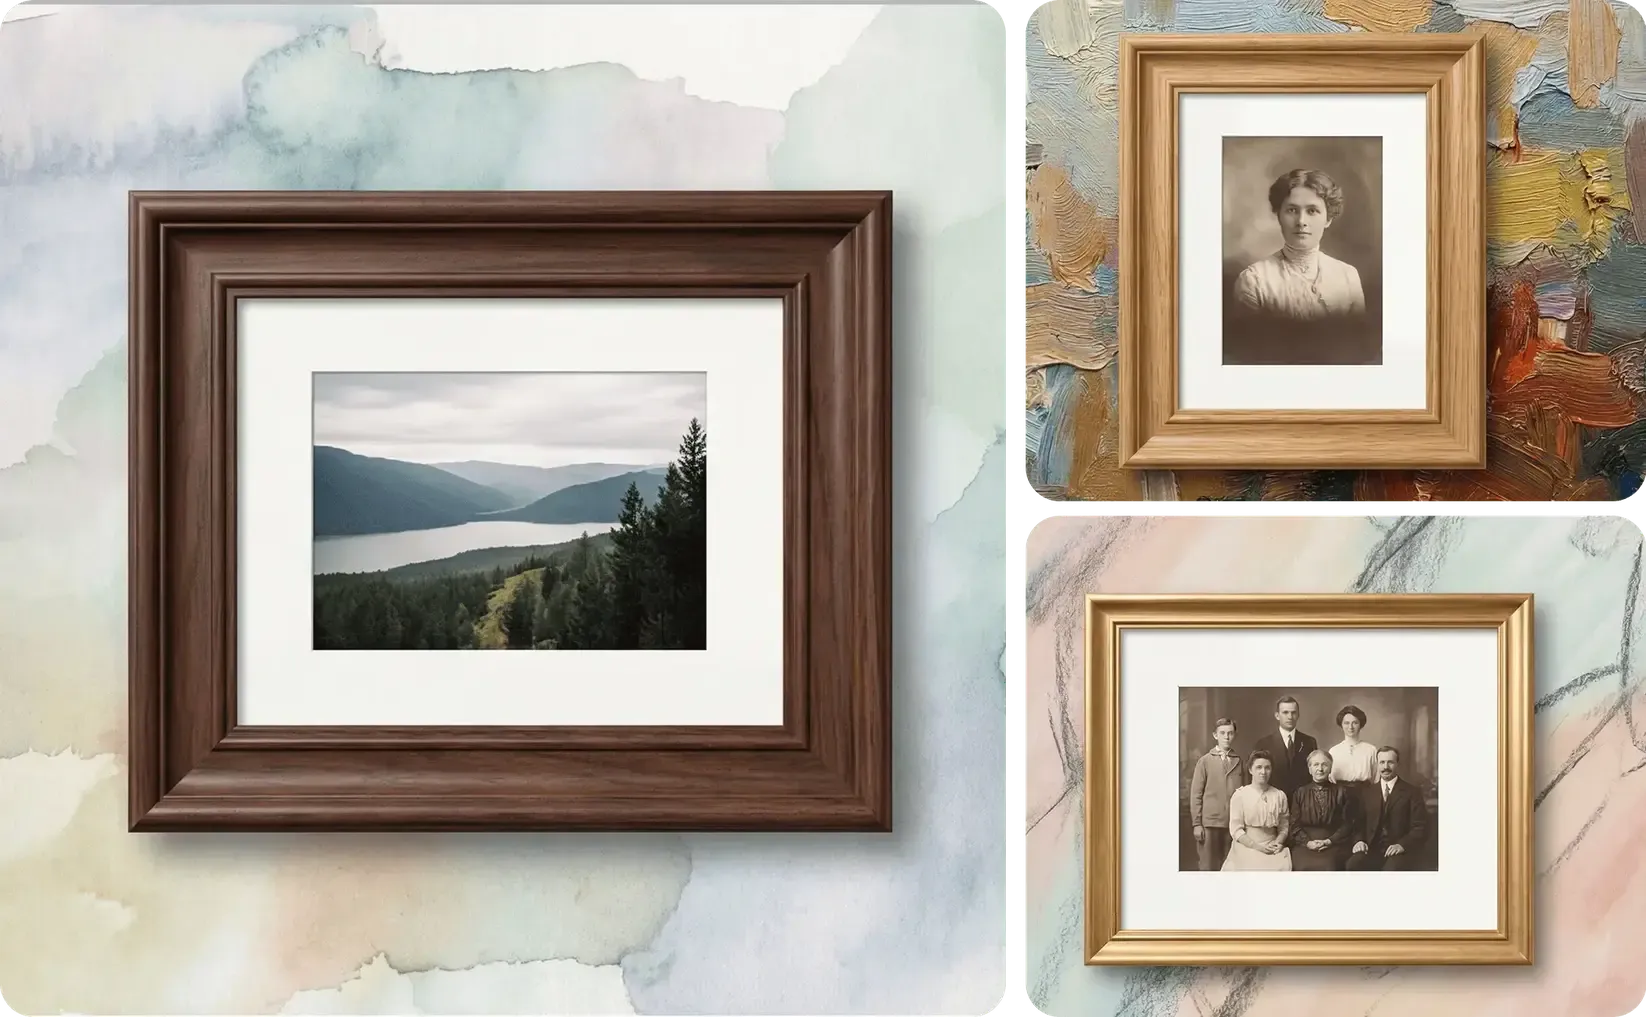
Continue from the approved source into the mockups, variations, and marketing content required for the current product or campaign.
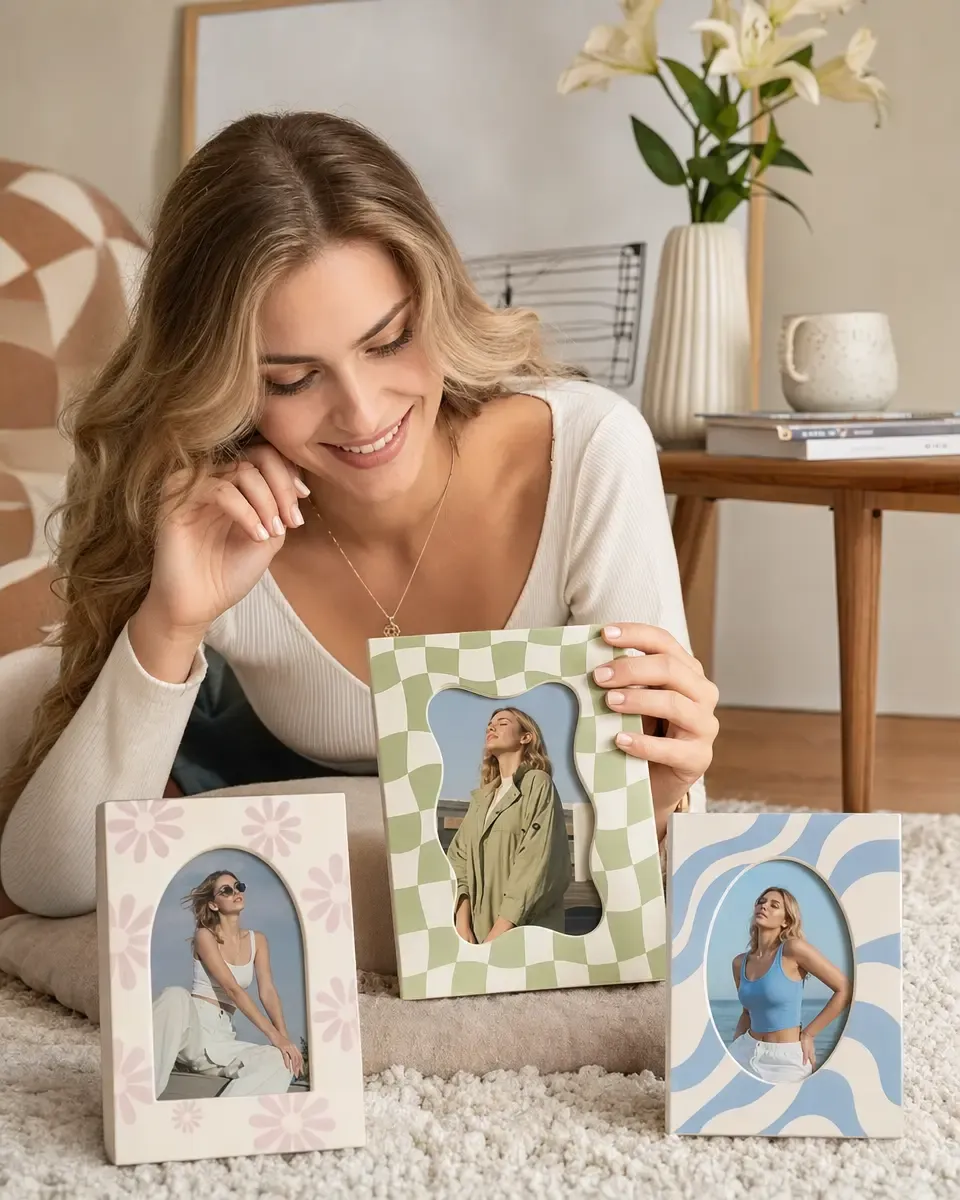
Preserve the border, material, edges, reflections, stand or visible hardware, lighting, shadows, and original photography while inserting the image. Start from the actual frame product you sell.
Approve the source once, then reuse the same setup as the product range and marketing content grow.
Start with the actual photo frame you want the mockup to represent. Use additional product views when exact alternate angles matter.
Add the artwork, label, text, or pattern, then review its scale and placement against the visible product shape, material, perspective, and lighting.
Keep the approved source and placement while changing designs, colors, patterns, text, or other product variations.
Turn the accepted product into listing images, lifestyle scenes, campaign formats, social creative, and video without rebuilding the same presentation.
Continue with the most relevant product categories while keeping the same source-led approach to design, variations, and marketing content.
Apply the first design, approve the product setup, then reuse the same photo frame across more artwork, variations, listings, and campaigns.