Create the first placement reference
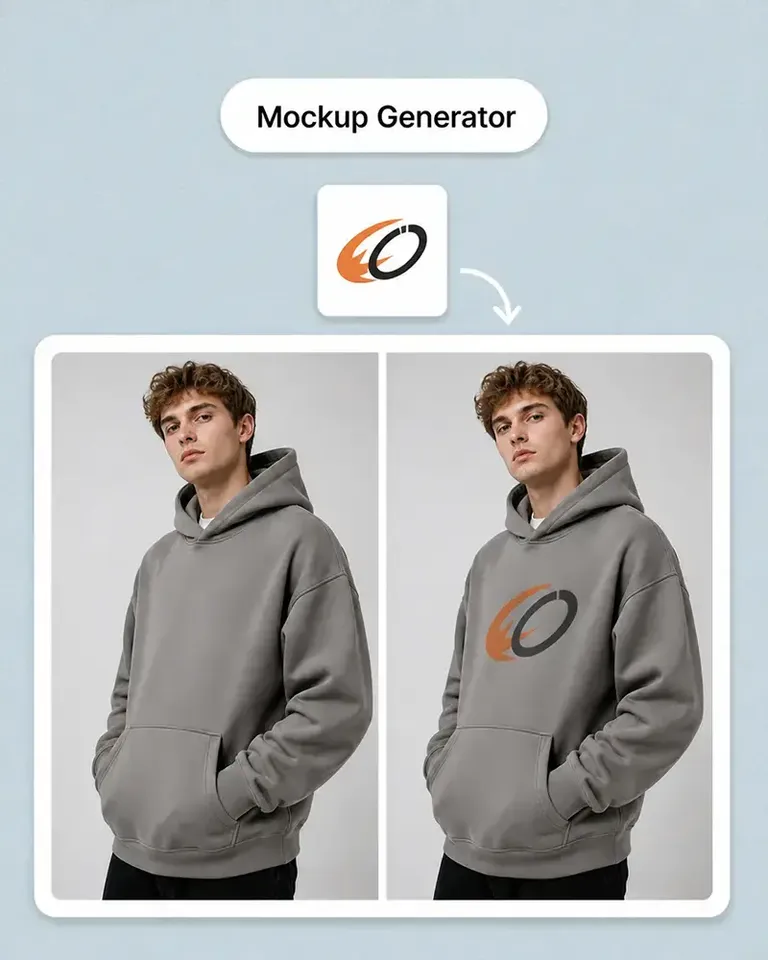
Apply the prepared tattoo artwork to a suitable photo. Review placement, scale, orientation, and visual balance in context before comparing more directions.

Use a suitable photo to review how prepared tattoo artwork looks at different scales and positions, giving the design more body context than a standalone image file.

Start with a suitable placement photo and review the first artwork direction in context. Keep the same source available for clearer scale, orientation, and concept comparisons.
Apply the prepared tattoo artwork to a suitable photo. Review placement, scale, orientation, and visual balance in context before comparing more directions.
Keep the same visible placement area while changing the artwork or size. Use one controlled source so the client and tattoo professional can compare concepts more clearly.
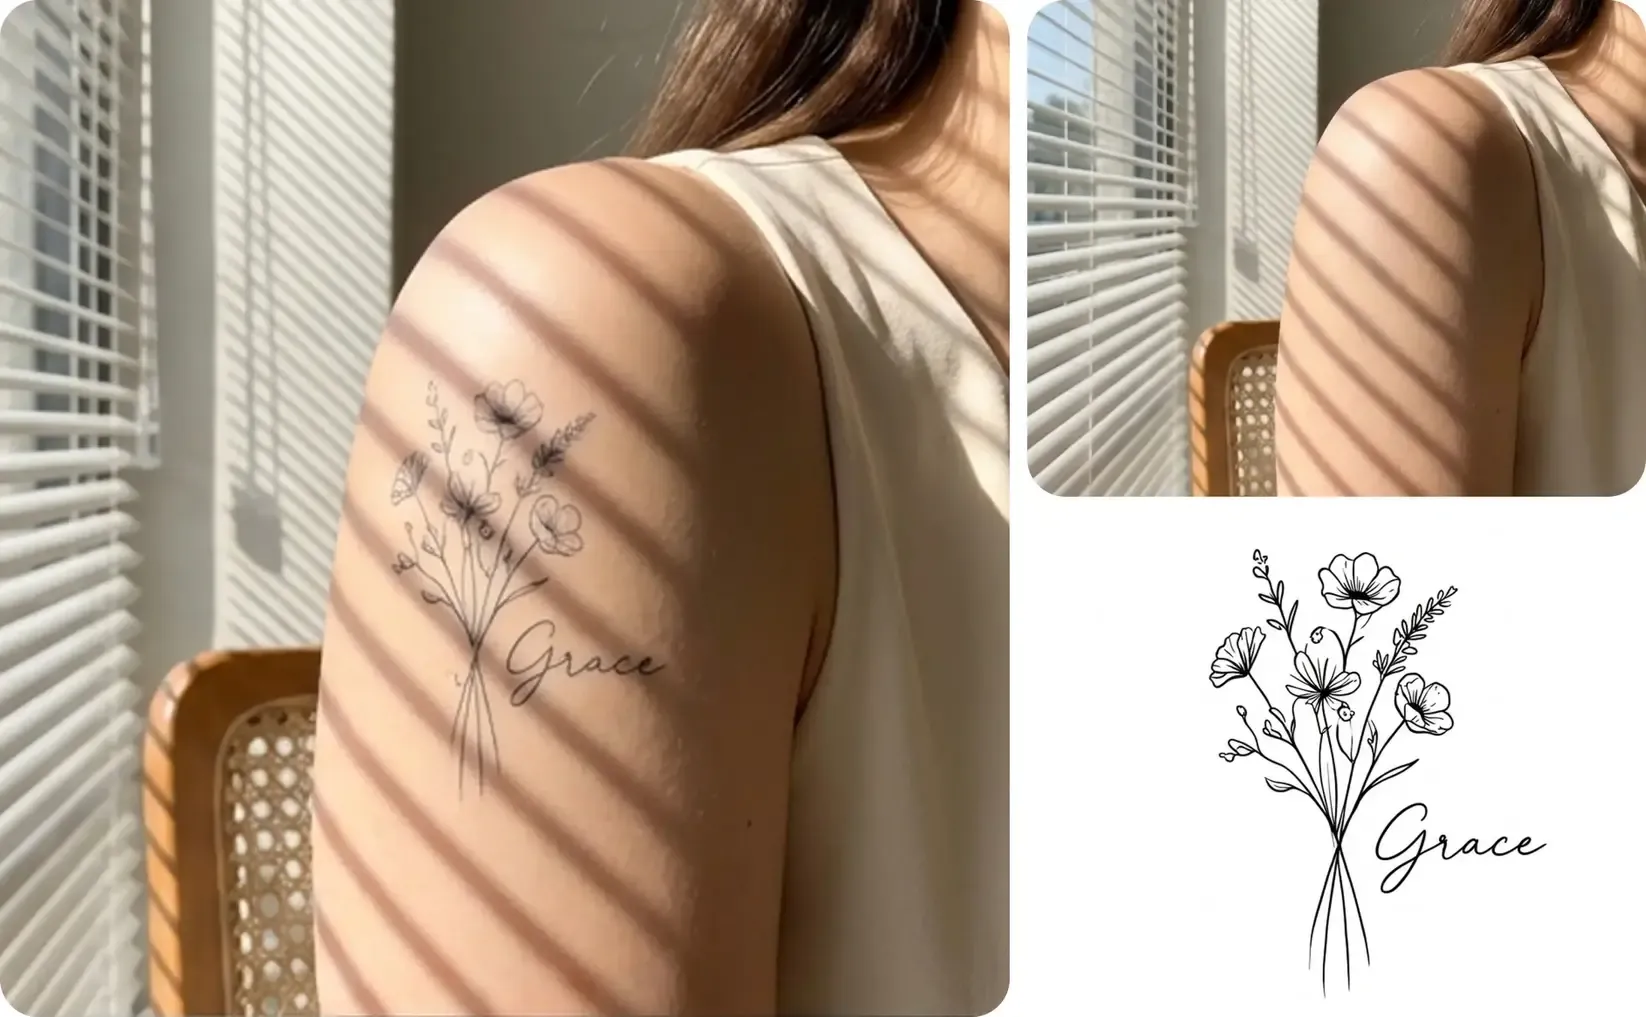
Continue from the approved visual reference into comparison or portfolio layouts without presenting the mockup as a prediction of the finished tattoo.

Continue from one controlled placement source into the comparisons and presentation views needed for concept review.

Use the same source photo so later scale and placement comparisons refer to one visible body area. Start from a clear photo with the relevant visible area and apply the prepared tattoo artwork for visual concept review.
Keep the placement source fixed while the artwork, size, and review direction change.
Choose a clear source where the intended placement area is visible and useful for concept review.
Add the prepared artwork, then compare its placement, size, orientation, and visual balance in context.
Keep the placement photo fixed while changing the artwork or scale so the concepts remain easier to compare.
Use the mockup as a communication reference. Confirm final placement, sizing, skin behavior, linework, color, and execution with the tattoo artist.
Continue with the most relevant product categories while keeping the same source-led approach to design, variations, and marketing content.
Apply the first concept, review placement and scale, then reuse the same source for clearer comparisons with the tattoo professional.