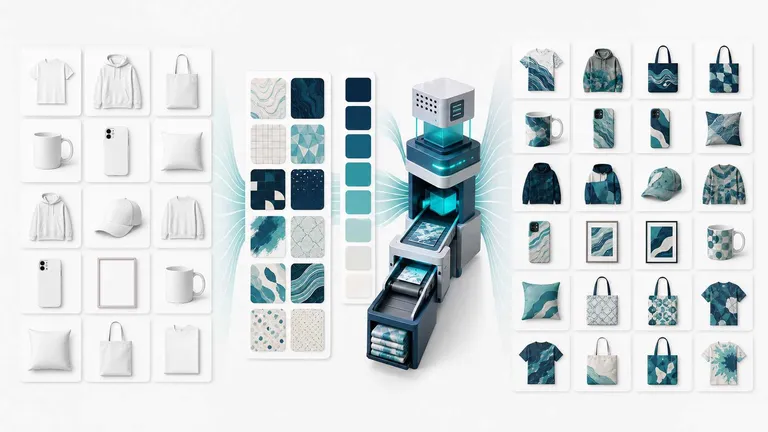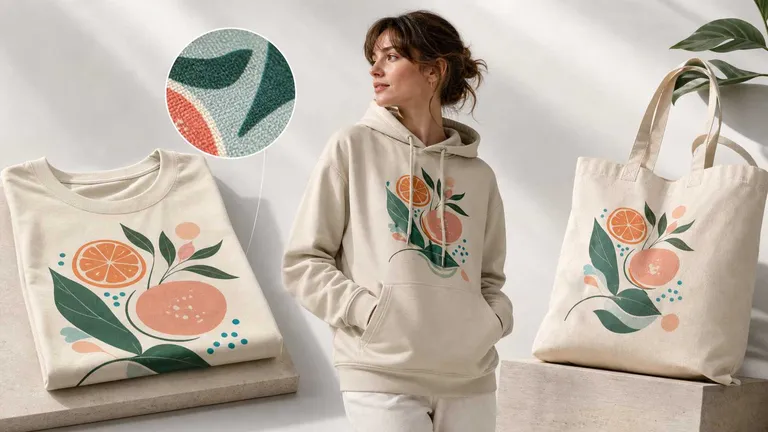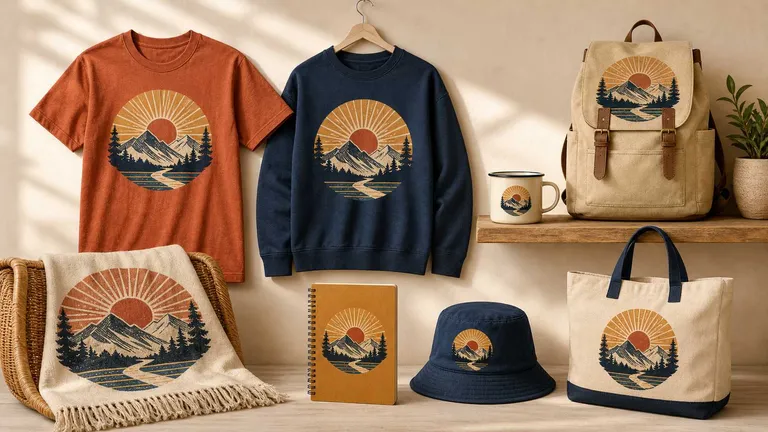
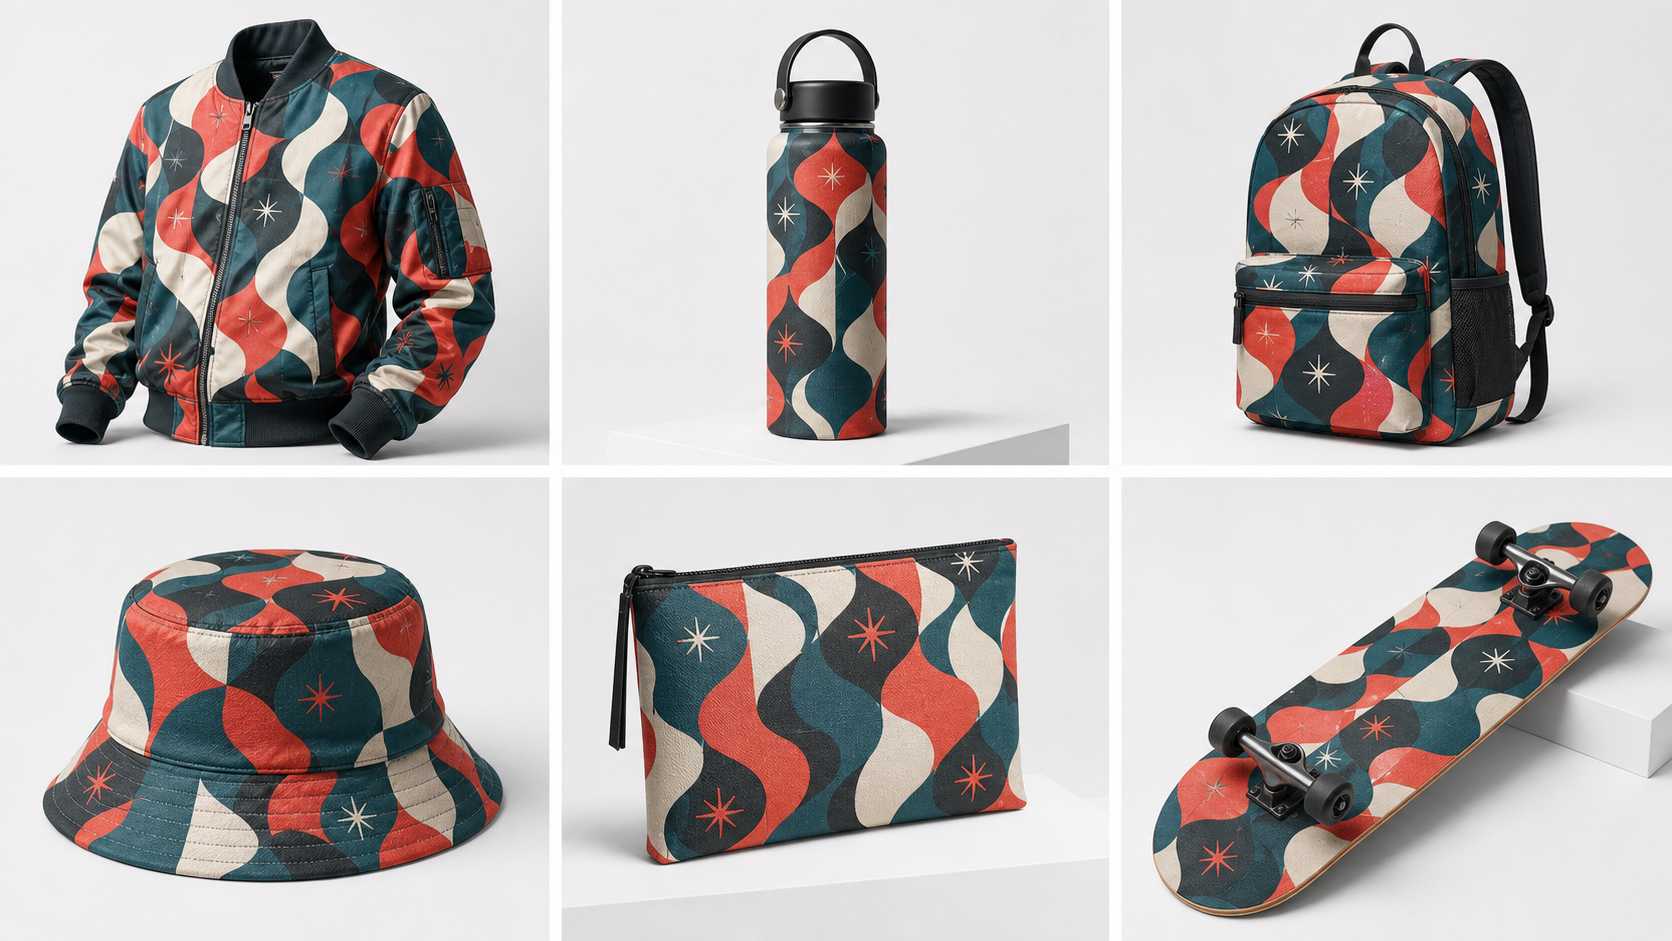
The hardest part of scaling an AOP business is often not designing patterns. It is turning a growing library of print designs into natural-looking, listing-ready product images quickly enough to keep up with an expanding catalog.
Each AOP design needs to be applied across different products, models, camera angles, and use cases. As your design library and product catalog grow, the number of required images increases rapidly.
Assuming that every design asset is applied to every selected product photo, with one output image for each combination, the total can be calculated as:
Number of AOP product images = Finalized Product photos × AOP design assets
Here, a “design asset” includes every completed colorway that needs to be exported separately.
For example:
- 300 product photos × 1 AOP design asset = 300 product images
- 300 product photos × 100 AOP design assets, including separately counted colorways = 30,000 product images
That is the business logic behind producing 30,000 AOP product images. These are 30,000 image combinations—not necessarily 30,000 SKUs.
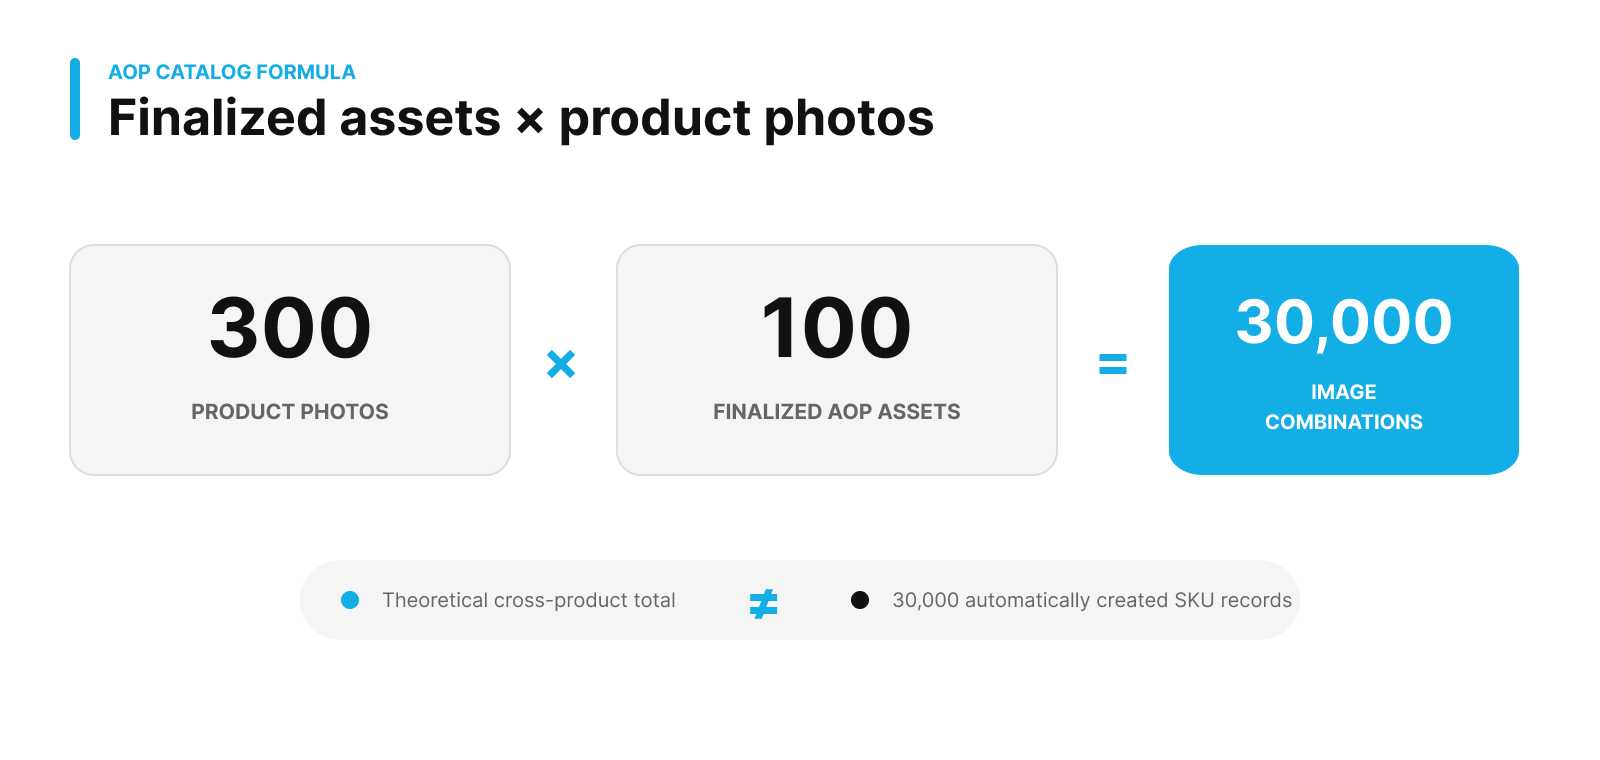
If every finalized AOP asset is paired with every selected product photo, 100 assets × 300 photos produces 30,000 image combinations.
The real challenge is not whether you can create 30,000 files. It is whether you can build a production workflow that continues to deliver appropriate pattern scale, natural-looking product forms, balanced lighting, and consistent results as output grows.
Why Traditional Workflows Cannot Support a Large AOP Catalog
AOP is not as simple as placing a pattern over an entire product photo.
The product’s shape affects the composition. Curves and perspective change the apparent scale of the pattern. Folds compress or stretch individual motifs. Edges and occluded areas determine which parts of the pattern remain visible. Materials, highlights, and shadows determine whether the pattern looks printed on the product or appears to float above the image.
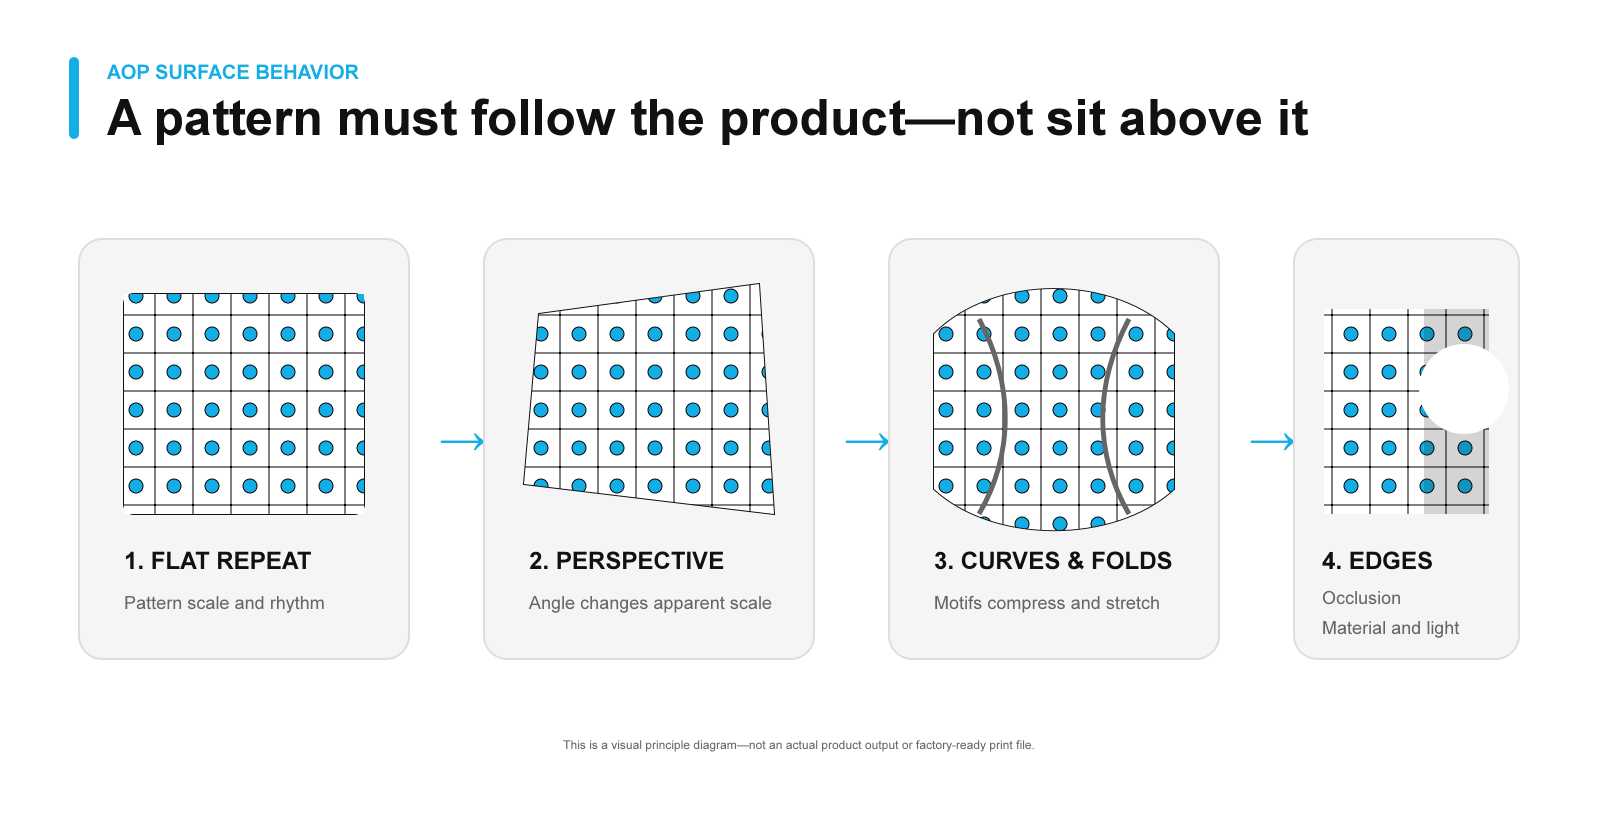
Minimal diagram showing a repeating pattern adapting across flat fabric, perspective, curves, folds, edges, and shadow.
AOP realism depends on how a repeat behaves across perspective, curves, folds, edges, occlusion, material, and light. This is a visual principle diagram, not an actual product output.
Basic bulk overlays may be fast, but they often make the product look stiff, flat, and unnatural. Editing every image individually in Photoshop—with separate adjustments for masks, perspective, pattern density, folds, occlusions, and lighting—can produce better results, but it cannot support large-scale catalog expansion.
Even if each image takes only two minutes, producing 30,000 product images requires approximately 1,000 hours of repetitive work. Quality checks, file naming, and rework would add even more time.
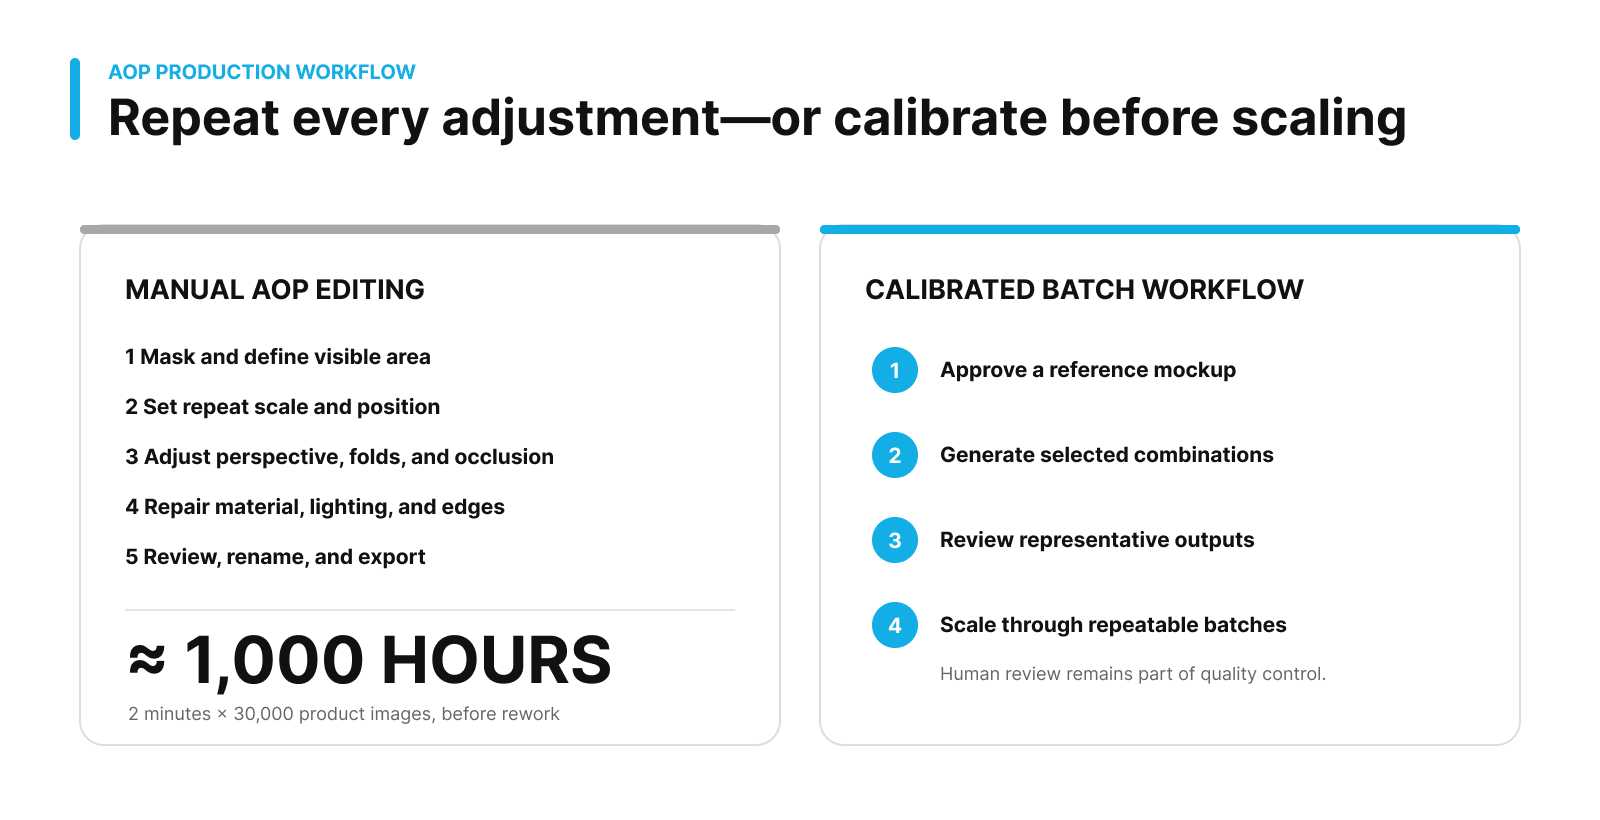
Manual AOP editing steps compared with a calibrated reference-mockup batch workflow.
At two minutes per image, 30,000 manual edits add up to about 1,000 hours before quality checks and rework.
PSD and Smart Object workflows can reduce some of those steps, but they still require separate templates for different products and camera angles. Generative AI, meanwhile, may alter the product’s shape, pattern structure, design proportions, or consistency across a batch.
When a catalog grows from dozens of SKUs to thousands, design is no longer the main bottleneck. AOP product image production is.
How an AOP Mockup Generator Changes the Workflow
MockupLabs Batch Mockup starts with your own print designs and real product photos instead of requiring you to find a matching PSD template.
1. Turn Your Own Product Photos Into Editable Mockups
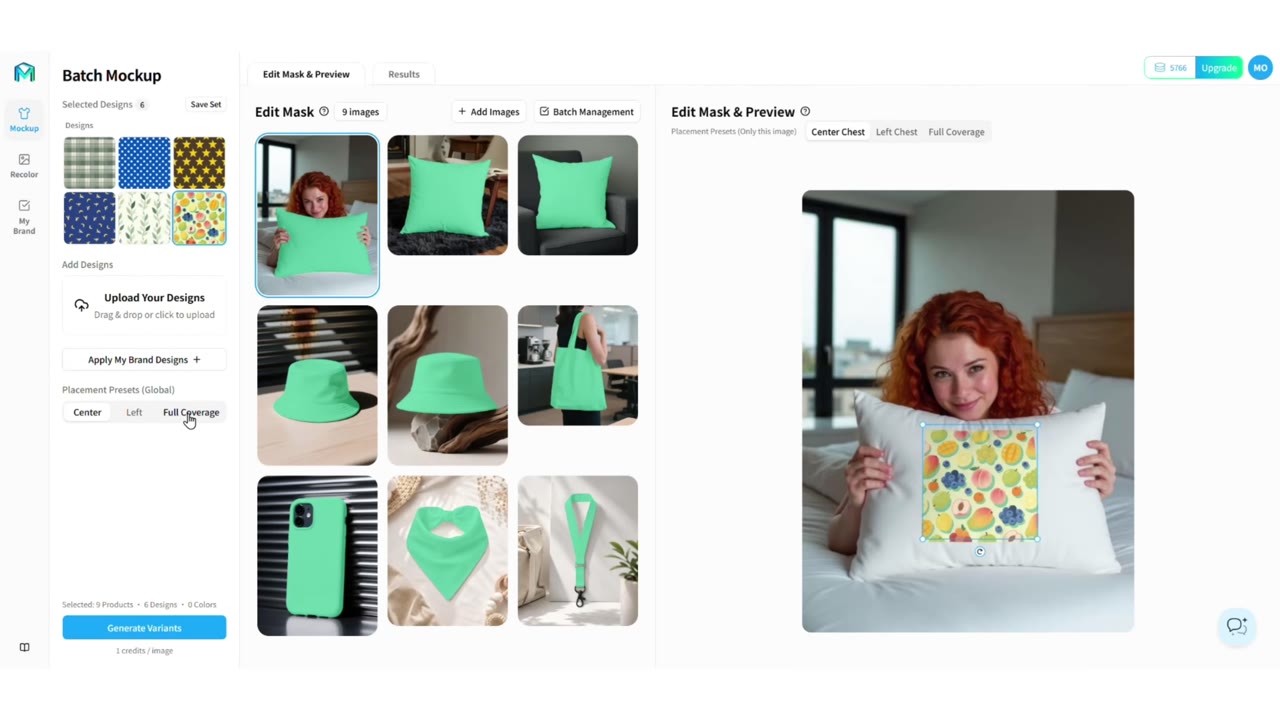
Upload white-background product shots, model images, multiple angles, or lifestyle photos. The system identifies the product area in each image and turns the static photo into an editable, reusable mockup.
2. Upload an AOP Pattern and Create a Full-Coverage Layout
Upload a pattern, artwork file, or finalized colorway. In the AOP workflow, select the relevant product area and create a full-coverage layout. The system applies the design to the detected visible area of the product.
The original material texture, highlights, and shadows continue to influence how the pattern appears. This helps the result look closer to real product photography or a 3D-rendered preview instead of a flat layer placed over the product.
In this context, full coverage refers to the visible product area in the listing image. It is not a factory-ready cut-and-sew print file, nor does it guarantee production-level continuity across hidden areas or physical seams.
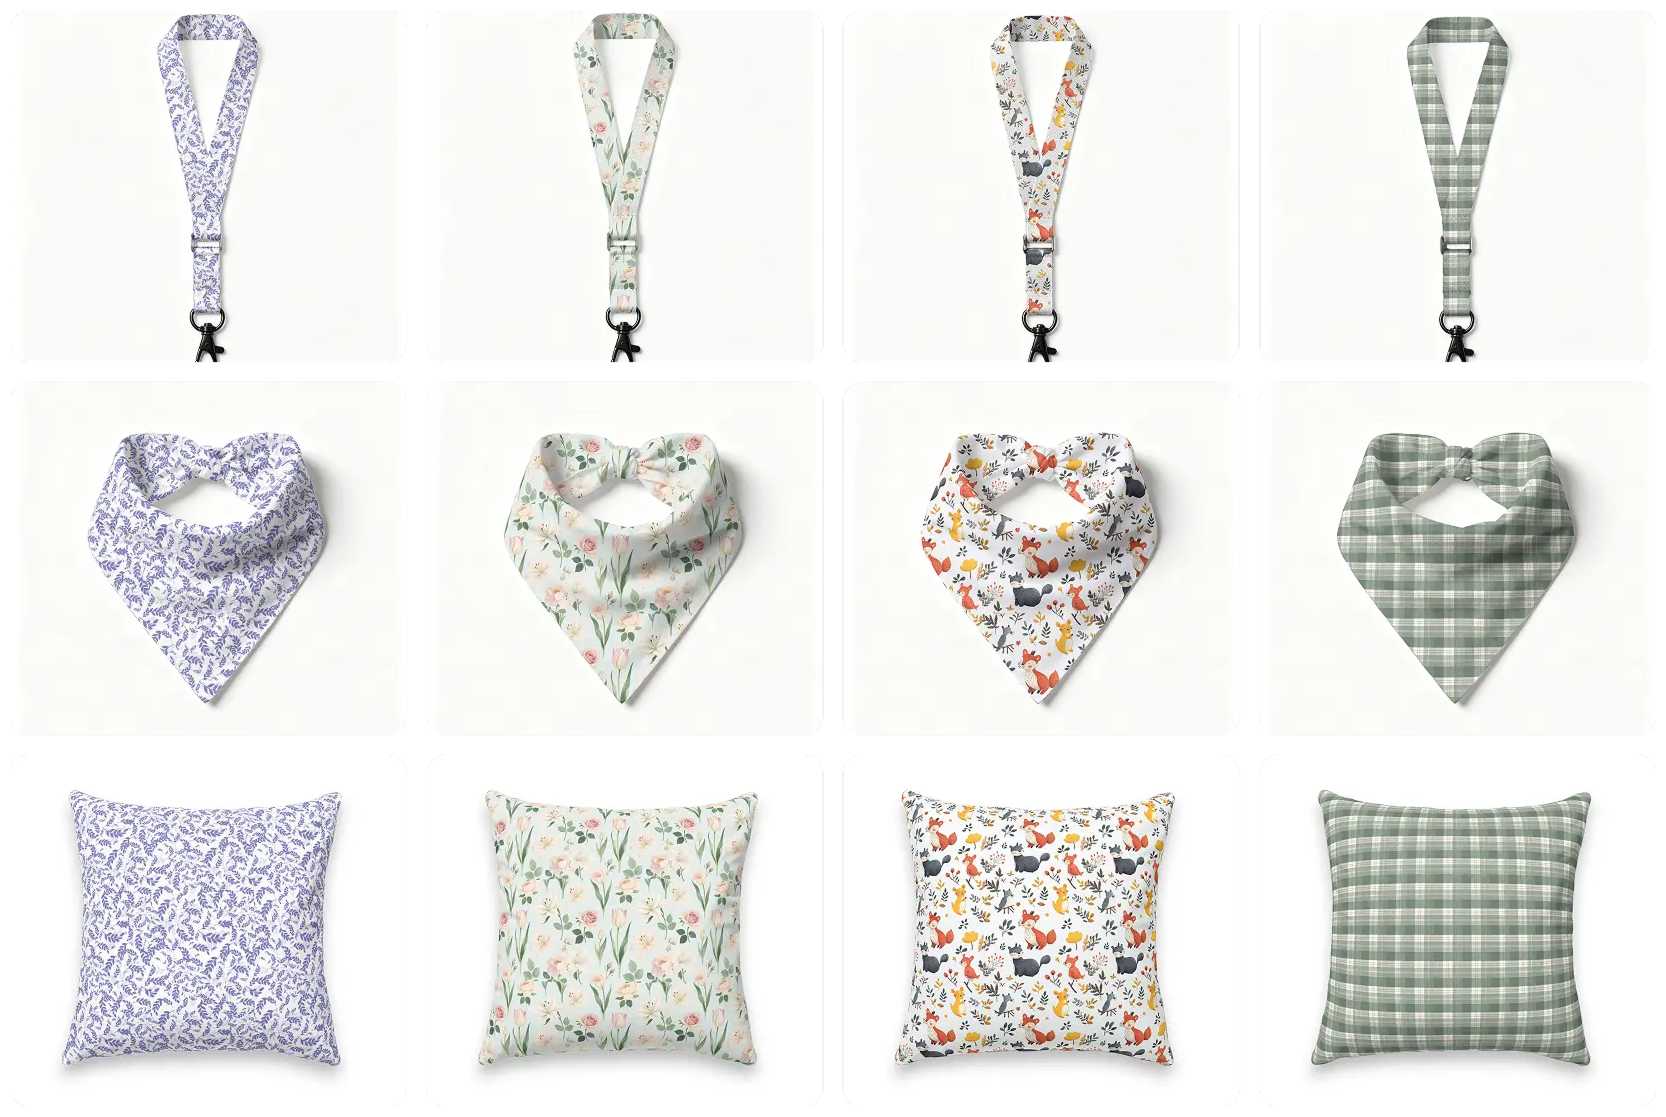
Four repeating patterns applied across lanyards, bandanas, and cushions in an official MockupLabs example.
Official AOP example Repeating patterns applied across lanyards, bandanas, and cushions. These are listing-image previews, not factory-ready cut-and-sew files. Source.
3. Fine-Tune the Result and Approve a Reference Mockup
After the initial placement, designers can still adjust the Pattern Type, pattern scale and repeat rhythm, rotation, position, and coverage area.
Create and approve a reference mockup for each product and its main camera angles. This reference serves as a calibrated visual standard; it does not mean that one set of adjustments will automatically work across every product and angle.
Once the quality standard has been established, the same product photos can continue to support new AOP designs and colorways. Representative output images should still be reviewed as the batch expands.
Automation handles repetitive operations, while your team retains control over composition and quality.
4. Batch-Generate Product Images for Listings
Once the reference mockups have been approved, Batch Mockup can generate the selected image combinations based on:
Product photos × AOP design assets
For full-coverage designs, first verify the AOP layout on a representative group of product photos before expanding to a larger batch.
The same design can be applied across different products, models, angles, and scenes. The same product photos can also support additional patterns and colorways, reducing the need to rebuild masks, perspective, and lighting adjustments for every image.
After generation, review the images against each marketplace’s requirements for dimensions, aspect ratio, file format, and content before publishing them to your listings.
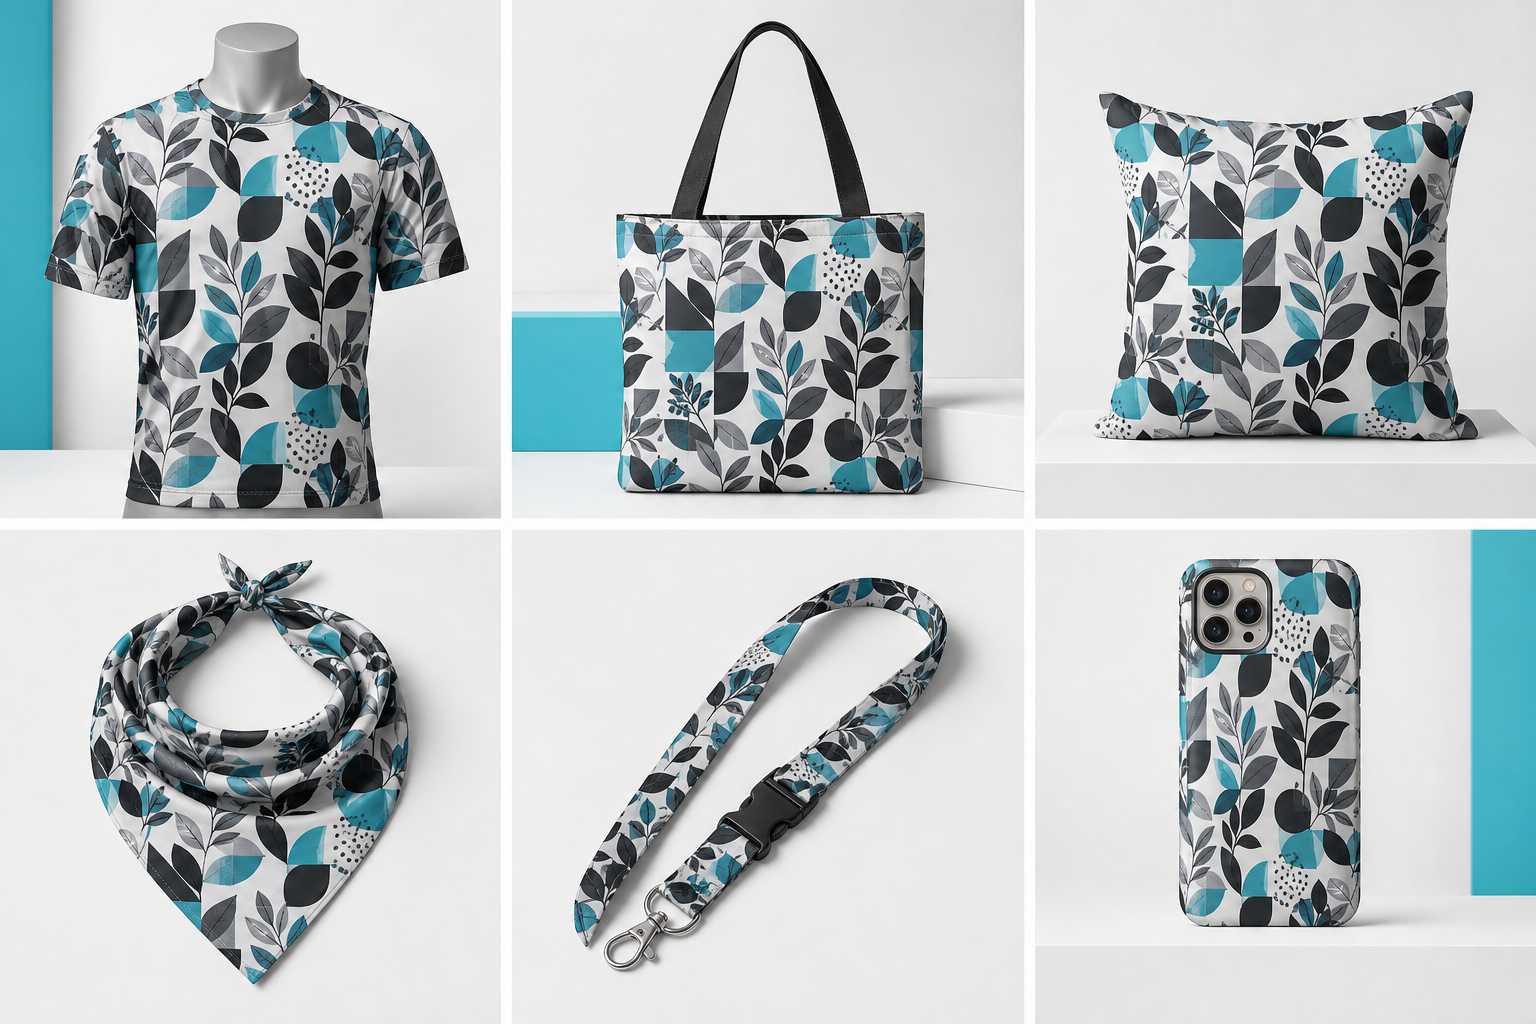
Prepare Patterns for Clearer AOP Previews
Before building a large AOP batch, prepare a finalized design asset for each colorway and check:
- Repeat integrity: The repeat tile joins cleanly without visible gaps.
- Effective resolution: The asset remains sharp at the intended scale.
- Motif spacing: Important motifs remain readable on smaller products.
- Edge behavior: Cropped motifs look intentional near visible boundaries.
- Color contrast: The design remains clear under source lighting and texture.
- Product fit: The same repeat scale may not suit every product equally.
Use separate reference mockups when a product family needs materially different pattern scale or composition.
Batch Generation Does Not Mean Giving Up Quality
The key to high-quality batch production is not generating the largest possible quantity immediately. It is first creating a reliable reference sample.
Start by testing one AOP design on three to five representative product photos. Focus on the following questions:
- Does the pattern scale and repeat rhythm suit the product?
- Are the key motifs positioned within the intended visible areas?
- Does the pattern deform naturally across curves, perspective, and folds?
- Do the edges, occluded areas, and different viewing angles remain visually consistent?
- Do the material, highlights, and shadows interact naturally with the pattern?
- Can shoppers understand the overall AOP effect at mobile-thumbnail size?
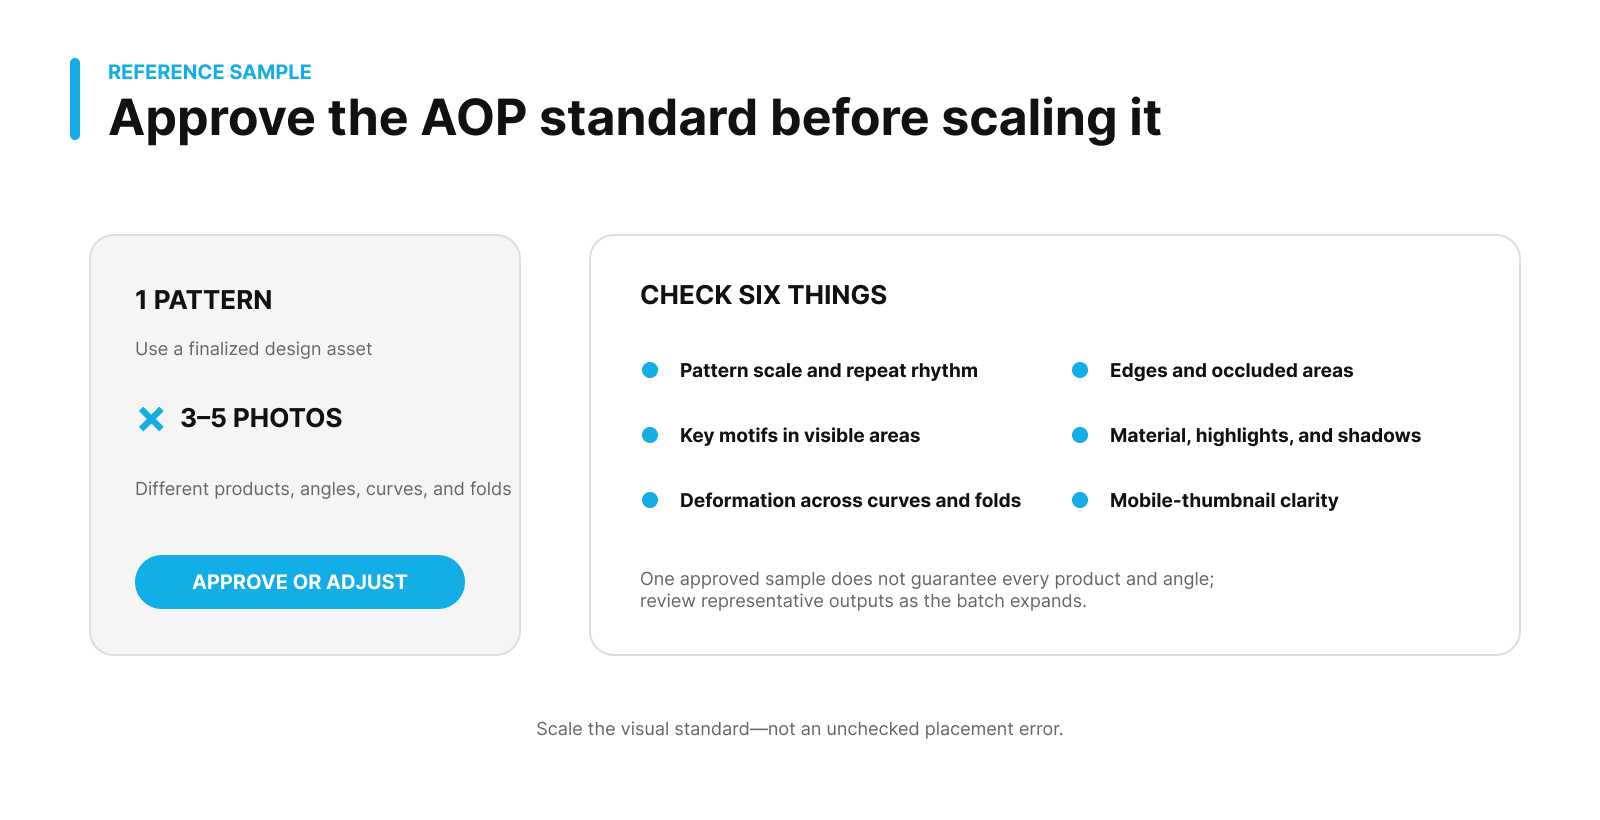
Reference-batch checklist for pattern scale, motif position, deformation, edges, material and lighting, and mobile-thumbnail clarity.
Approve one pattern on three to five representative photos before scaling the same visual standard across a larger batch.
Once the reference result has been approved, expand the workflow across dozens, hundreds, or even more design and product photo combinations using the same quality standard.
This way, you scale validated product image quality—not an uncorrected placement error.
Frequently Asked Questions
Is an AOP mockup a print-ready production file?
No. It previews the visible product area in a listing image. It does not create a factory-ready cut-and-sew file or guarantee continuity across hidden panels and physical seams.
Can different products use different AOP settings?
Yes. Products can individually use AOP or another placement mode. Calibrate pattern scale, position, rotation, and coverage for representative products and angles.
How should I check pattern scale across products?
Compare the size of the main motif, review a mobile-size thumbnail, and create separate reference standards for product families that need different scales.
Continue With the Right Workflow
- Learn how to evaluate realistic POD mockup quality.
- See how to generate POD mockups at catalog scale.
- Use the winning design expansion guide.
Start With Your First Batch of AOP Product Images
“30,000 images” does not mean your team needs to generate 30,000 files all at once. It means your production capacity is no longer limited by editing every image individually.
Start with one AOP design and a set of your own product photos. First, turn those photos into calibrated, editable, reusable mockups. Then extend the approved visual standard across more patterns, colorways, and product image combinations.
With MockupLabs Batch Mockup, you can turn repetitive AOP product image creation into an editable, controllable, and scalable system for producing catalog imagery.
Start With One AOP Reference Batch
Verify pattern scale, visible coverage, material interaction, and mobile clarity before expanding the approved standard.