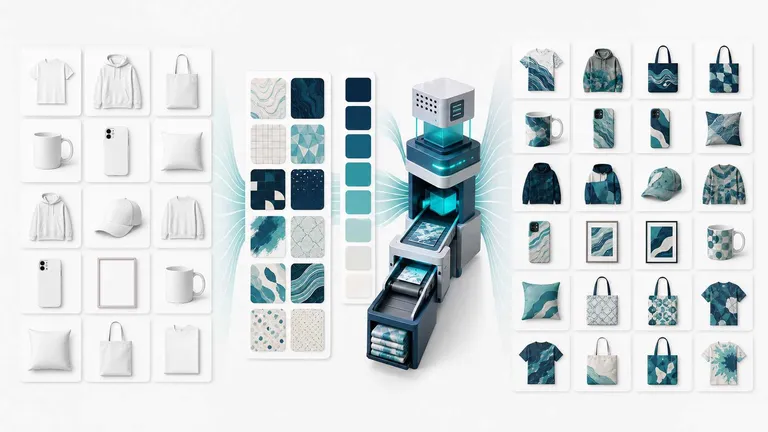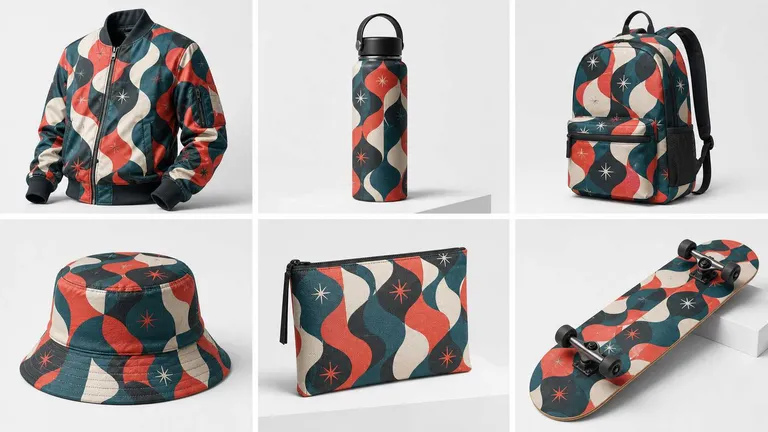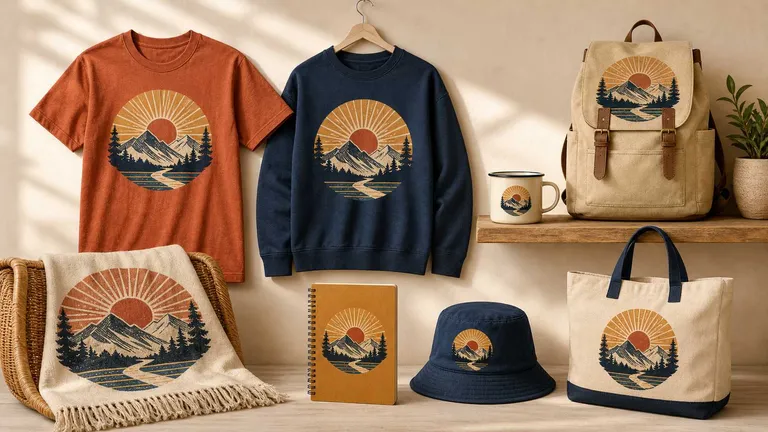
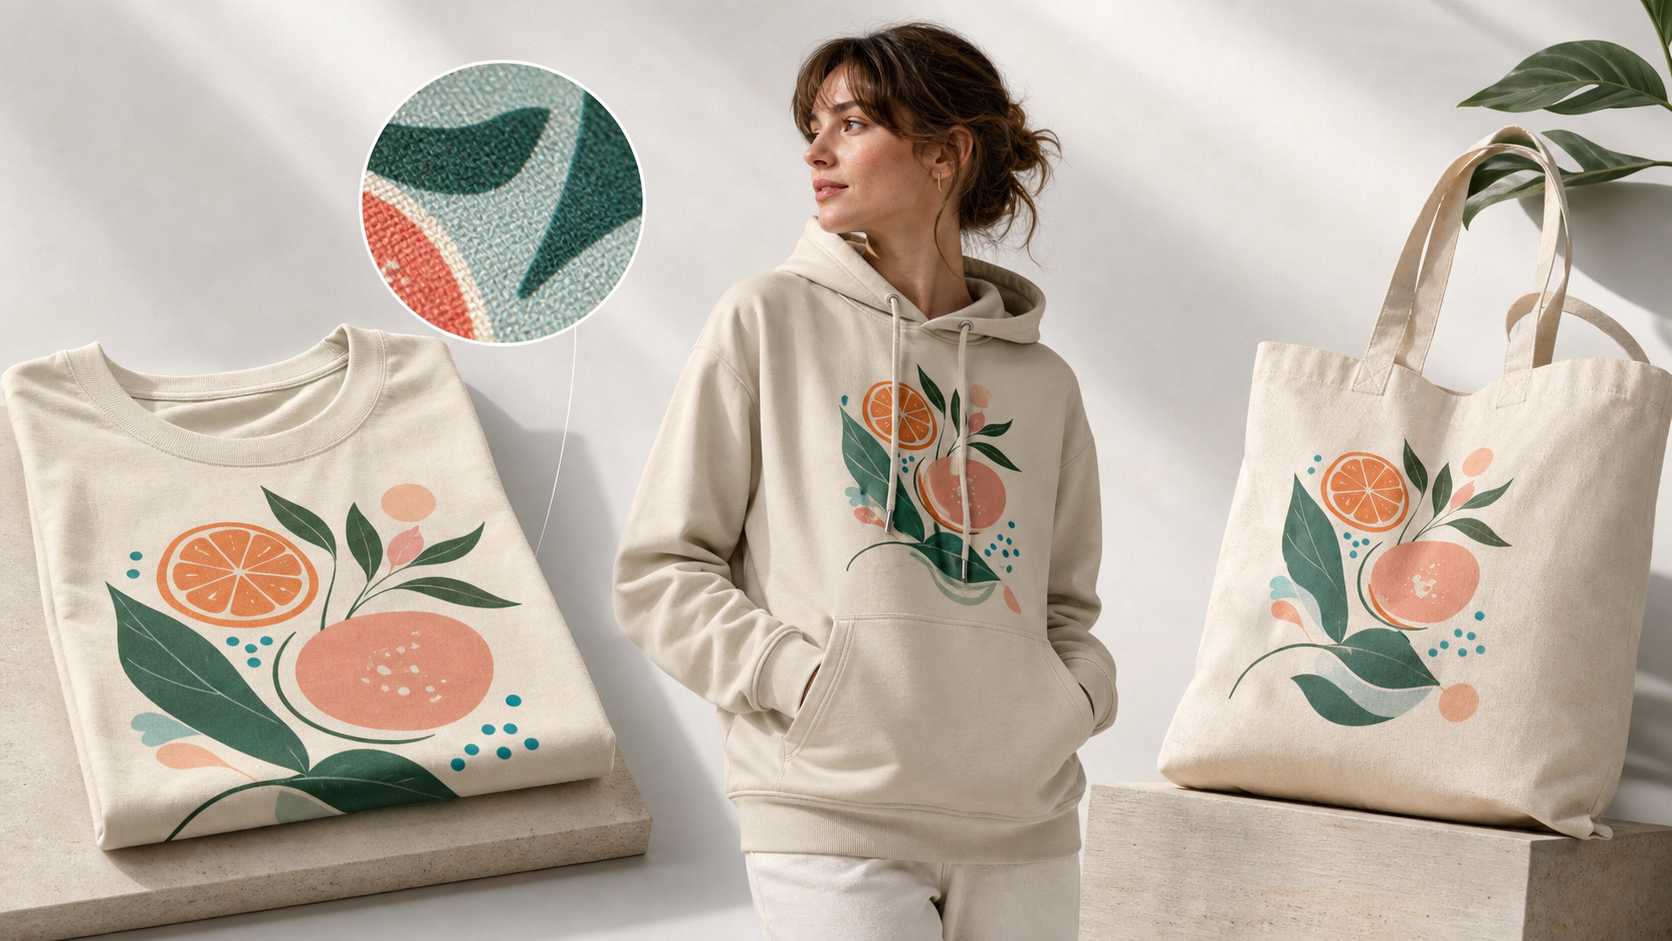
For print-on-demand (POD) sellers, creating product images has long involved an unavoidable trade-off:
Move fast, and batch mockups often look fake. Aim for realism, and production cannot keep pace with catalog expansion and new product launches.
Many traditional batch tools can quickly place designs onto hundreds of product images. However, the artwork often remains a flat layer instead of truly following the product’s perspective, contours, and folds.
Batch recoloring can also amount to little more than a color overlay: fabric texture gets smoothed away, highlights and shadows become distorted, and the product looks as though it has been painted over.
These images can fill a catalog quickly, but they may also look fake at first glance. When a design looks like a sticker and the color looks like a coating, shoppers are less likely to trust that the product they receive will match the images—and clicks and conversions can suffer.
The alternative is product photography, retouching each image individually in Photoshop, or 3D rendering. The quality is higher, but when you are working with large numbers of designs, product photos, and color combinations, the time and cost can quickly spiral out of control.
Traditional batch tools solve the volume problem but often sacrifice realism. Manual retouching preserves quality but sacrifices speed.
MockupLabs Batch Mockup & Recolor is designed to resolve this exact tension:
Results designed to look closer to product photography or 3D rendering, with the efficiency of a batch tool.
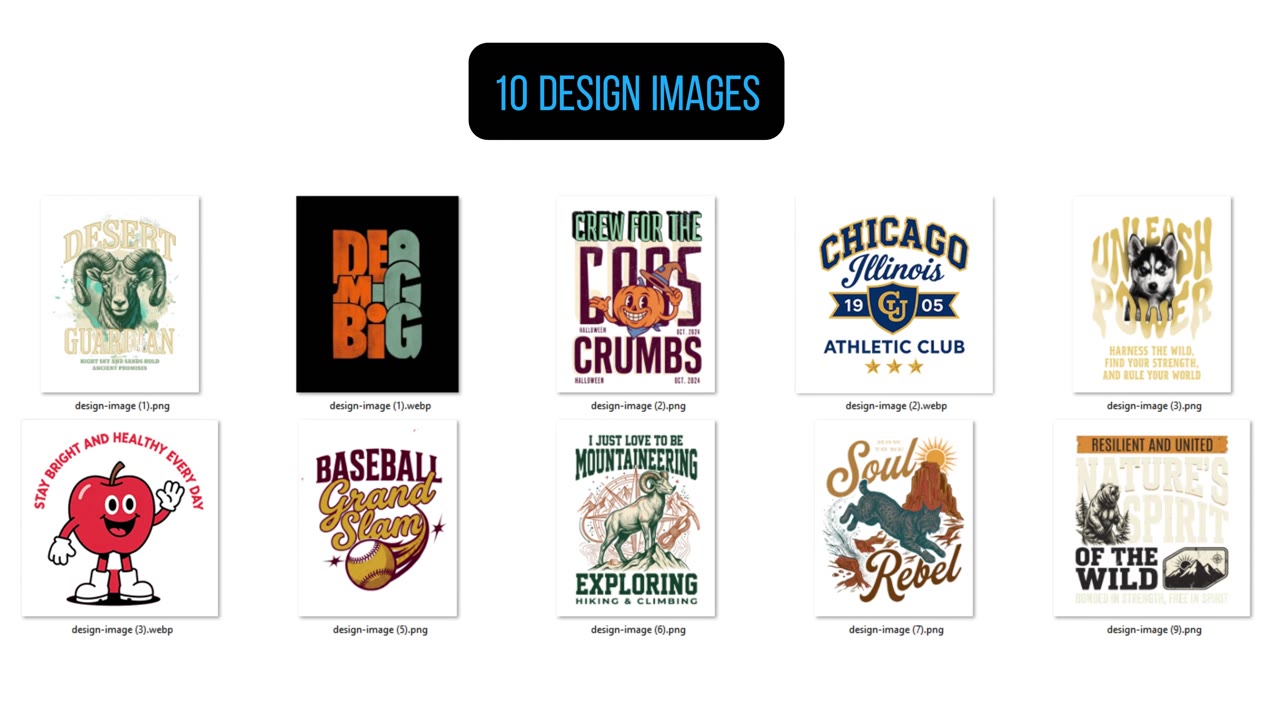
Make Designs Look Printed on the Product—Not Floating Above It
A product is not a flat rectangle.
Clothing curves around the body and forms folds. Models turn, lean, or move, while highlights and shadows shift with every angle.
MockupLabs uses visible information about the product and photo, including:
- Apparent contours and camera angle
- Surface curvature, perspective, and spatial relationships
- Folds, surface variations, edges, and seams
- Highlights, shadows, and tonal changes
- Material texture and diffuse light reflection
Using these visual cues, the system fits the design’s perspective and deformation to the photographed product surface while integrating it with the source image’s visible lighting.
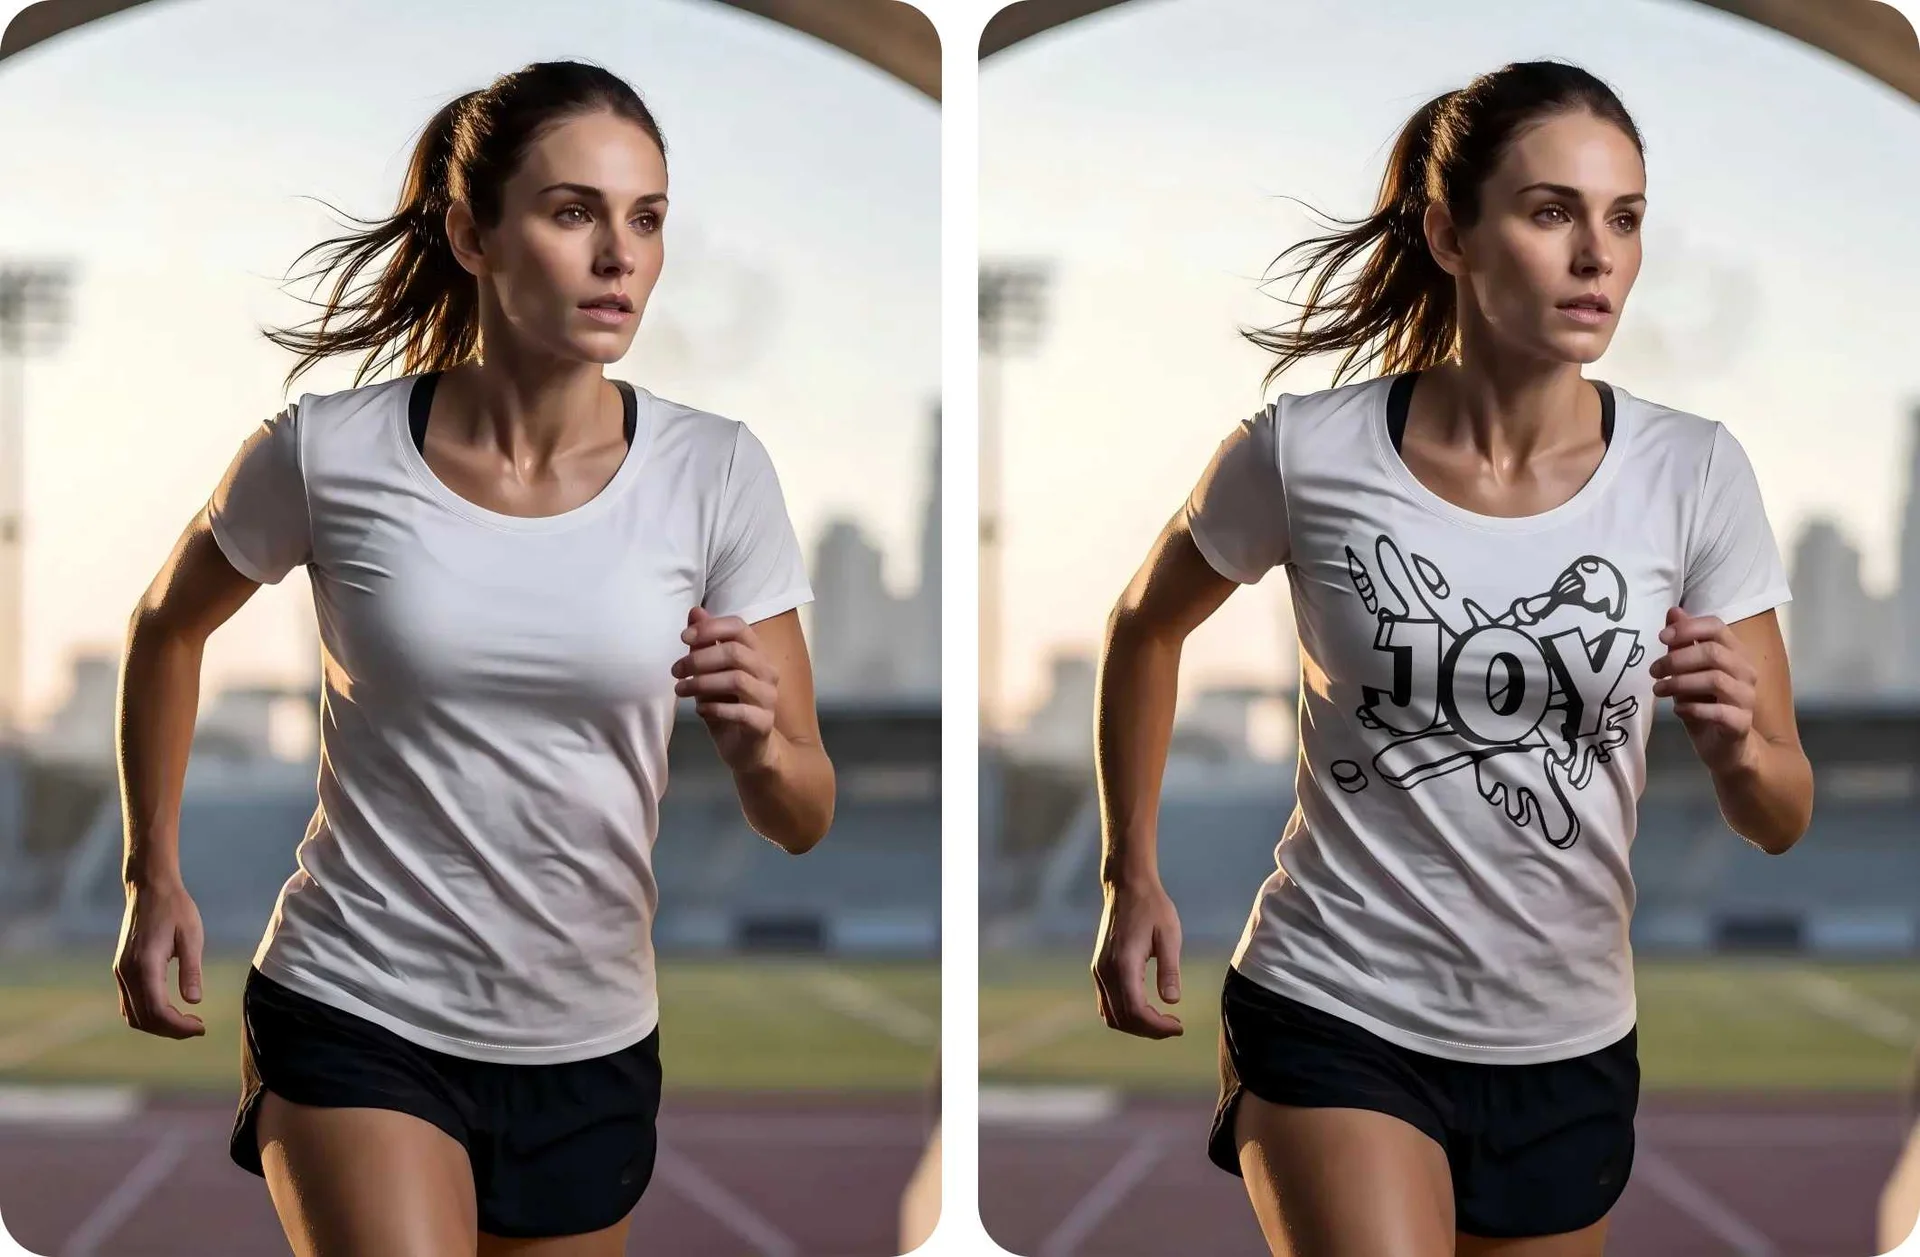
When artwork crosses the curve of the chest, a fold in the fabric, or an angled area, it bends naturally with the product’s surface. The highlights, shadows, and material texture in the original image continue to affect the design.
Even when a model is running or the product is photographed from a complex angle, the design still conforms naturally to the surface. For AOP and large-area prints, the artwork can also extend continuously along the product’s curves and edges.
The result looks closer to a photograph of the finished printed product or a 3D render—not a sticker floating above the surface.
Preserve the Product’s Lighting in Its New Color—Don’t Just Add an Overlay
Realistic recoloring is more than simply changing the hue of the product area.
Batch Recolor identifies the region to recolor and renders the target color using the visible material, folds, highlights, shadows, ambient-light cues, and diffuse-light relationships in the original photo.
After recoloring:
- Fabric texture, stitching, and folds remain clear
- Highlights, shadows, and tonal transitions are preserved
- Product edges do not look smeared or painted over
- Skin, backgrounds, and other objects are not recolored
- Different colorways still look like the same real product
The color changes, but the product still looks as though it was photographed in the original scene and lighting.
Teams no longer need to reshoot every colorway or manually create selections, adjust colors, and repair lighting image by image.
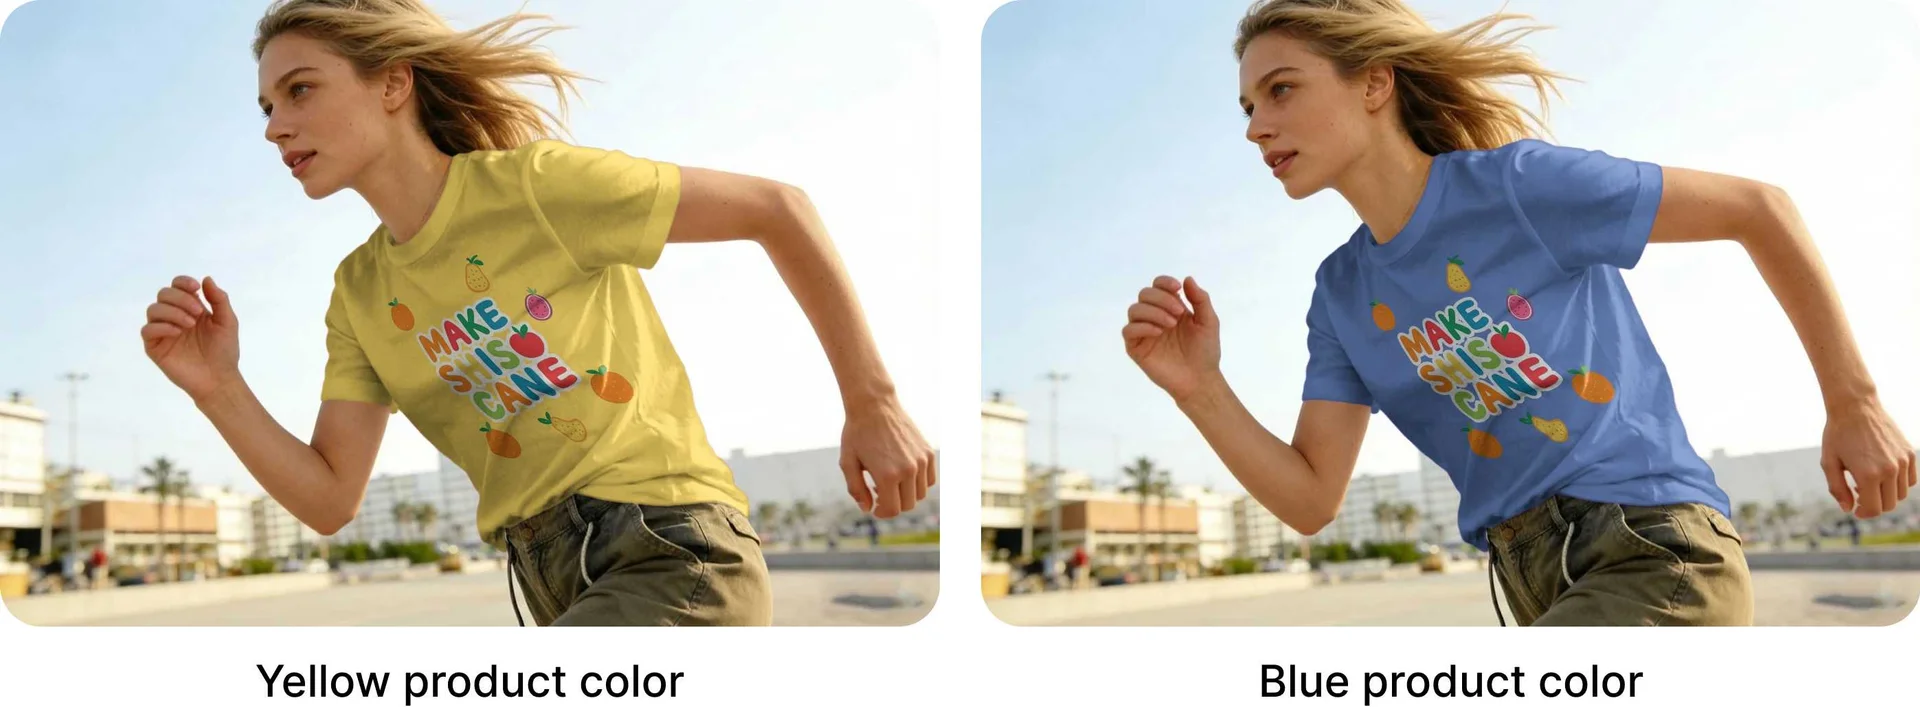
Across the supplied examples, the model, pose, design scale, placement, folds, and background remain consistent.
Maintain Precise Control While Producing in Batches
Automation should not mean losing control.
After the product photos and designs are uploaded, the system automatically handles product detection and design fitting. Users can apply consistent placement settings such as Center, Left, or Full Coverage, while still fine-tuning the artwork’s size, position, and coverage for unusual angles, important hero images, or complex print areas.
Add HEX colors, preset palettes, or brand colors, and the system can batch-generate product images for every selected combination of:
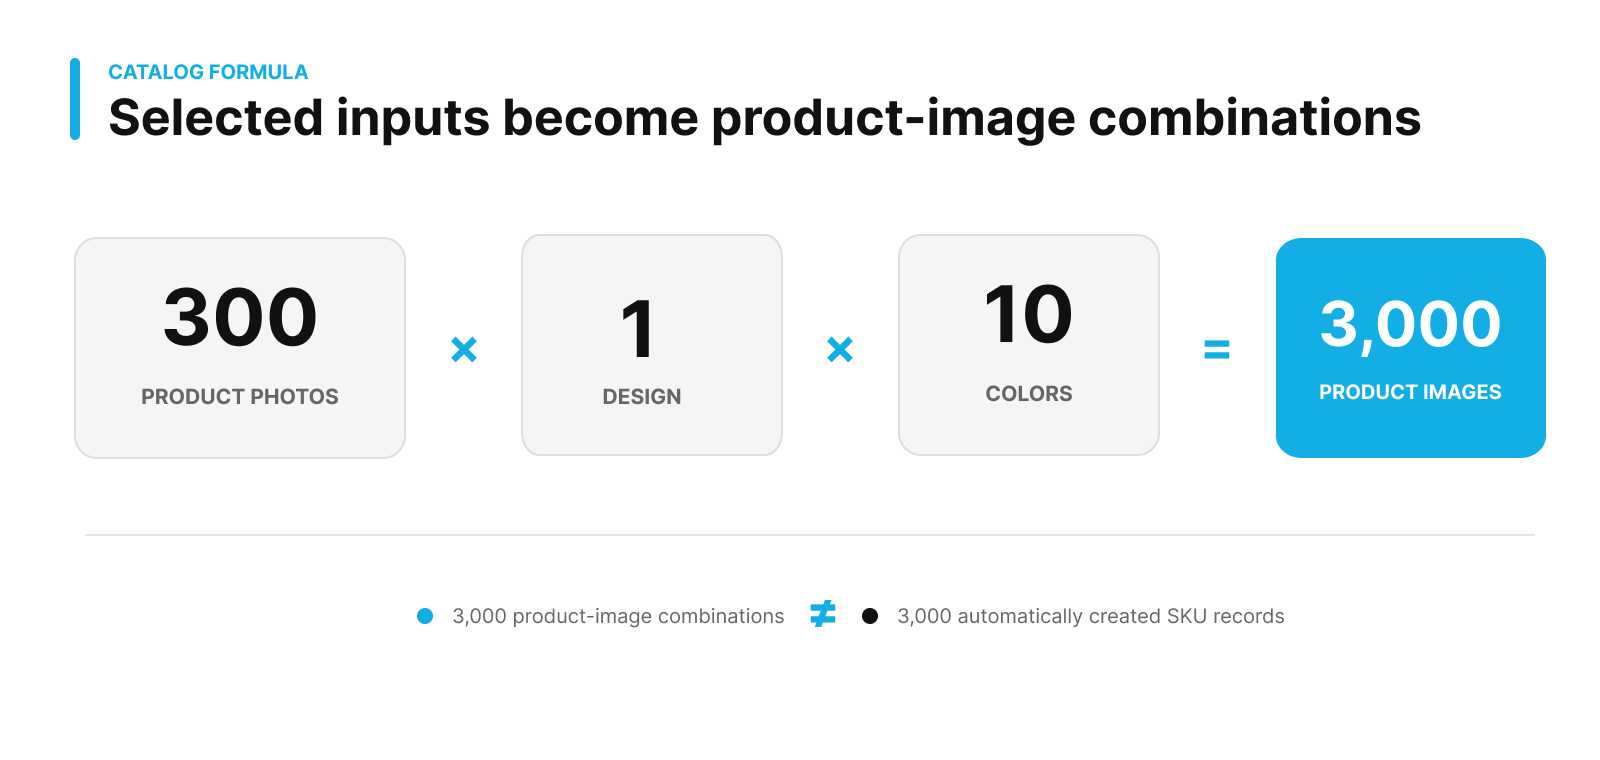
Design × Product photo × Product color
For example:
300 product photos × 1 design × 10 colors = 3,000 product images
Automation handles detection, fitting, recoloring, and batch generation. Operations and design teams only need to focus on the images that genuinely require judgment and refinement.
What Makes a POD Mockup Listing-Ready?
Customers cannot touch a POD product before purchasing it. They can only use the listing images to decide whether it is worth buying.
Before publishing, score representative images against six practical quality signals:
- Placement: The artwork sits inside the intended print area.
- Perspective: The design follows the photographed angle.
- Surface fit: Curves, folds, seams, and edges influence the artwork naturally.
- Material and lighting: Texture, highlights, shadows, and tonal transitions remain visible.
- Consistency: Scale and position stay coherent across variants.
- Thumbnail clarity: Text, logos, and key motifs remain understandable on mobile.
A realistic mockup cannot guarantee conversion. It can reduce avoidable uncertainty by showing the design, product, and color more clearly and consistently.
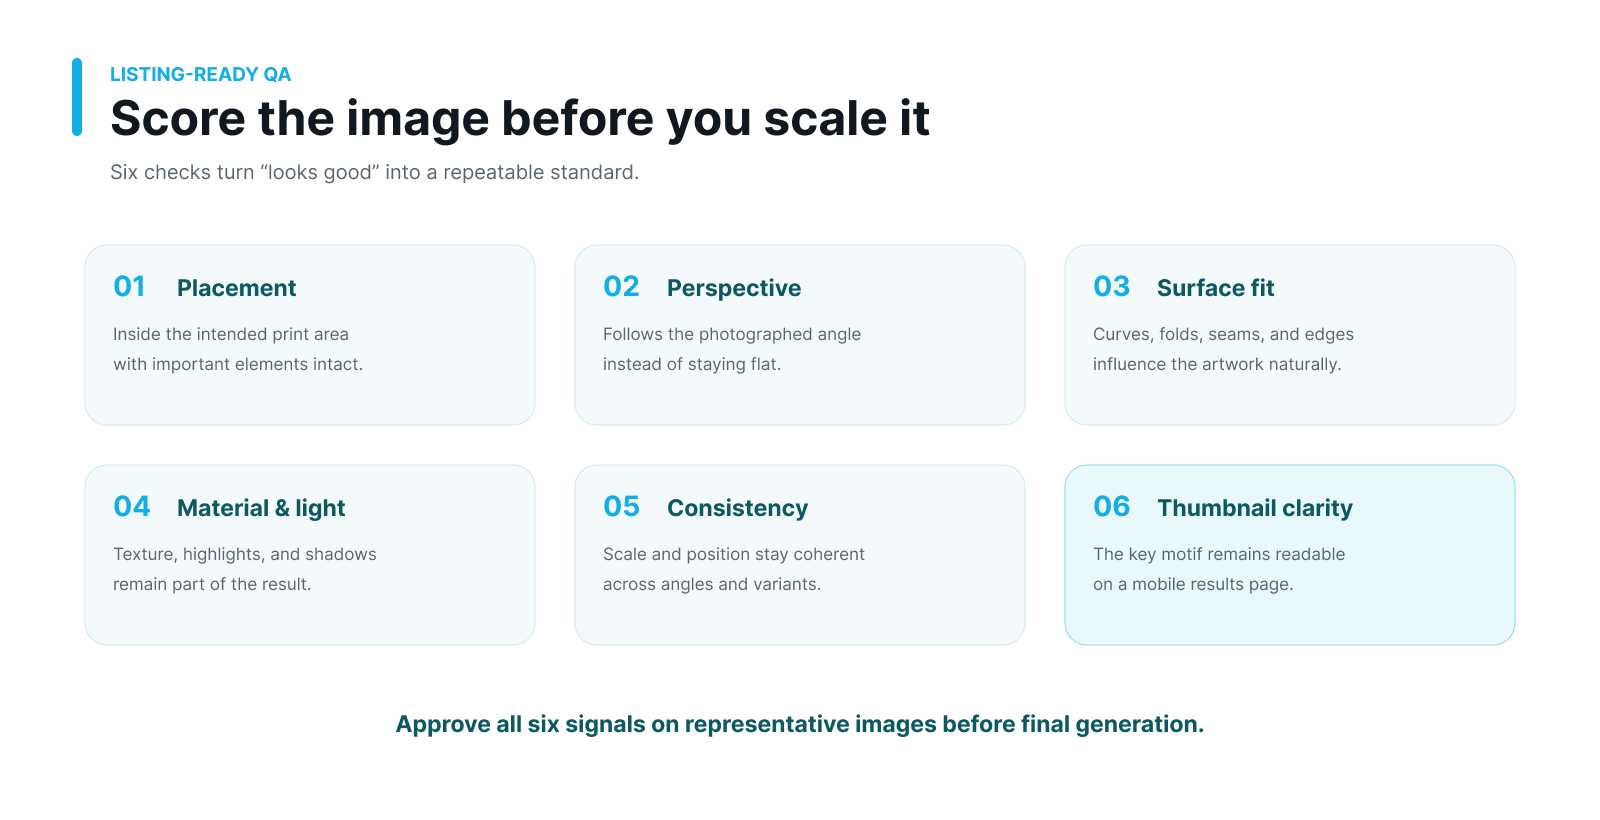
Six-point POD mockup quality scorecard covering placement, perspective, surface fit, material and lighting, consistency, and thumbnail clarity.
Verify Quality Before Scaling Up
Before launching a full batch, start by testing:
3–5 product photos × 1 design × 2–3 colors
Pay particular attention to design placement, surface fit, text clarity, recoloring realism, and mobile presentation.
Once the sample has been approved, apply the same standard across dozens or hundreds of product photos. This ensures that batch production scales verified quality—not repeated mistakes.
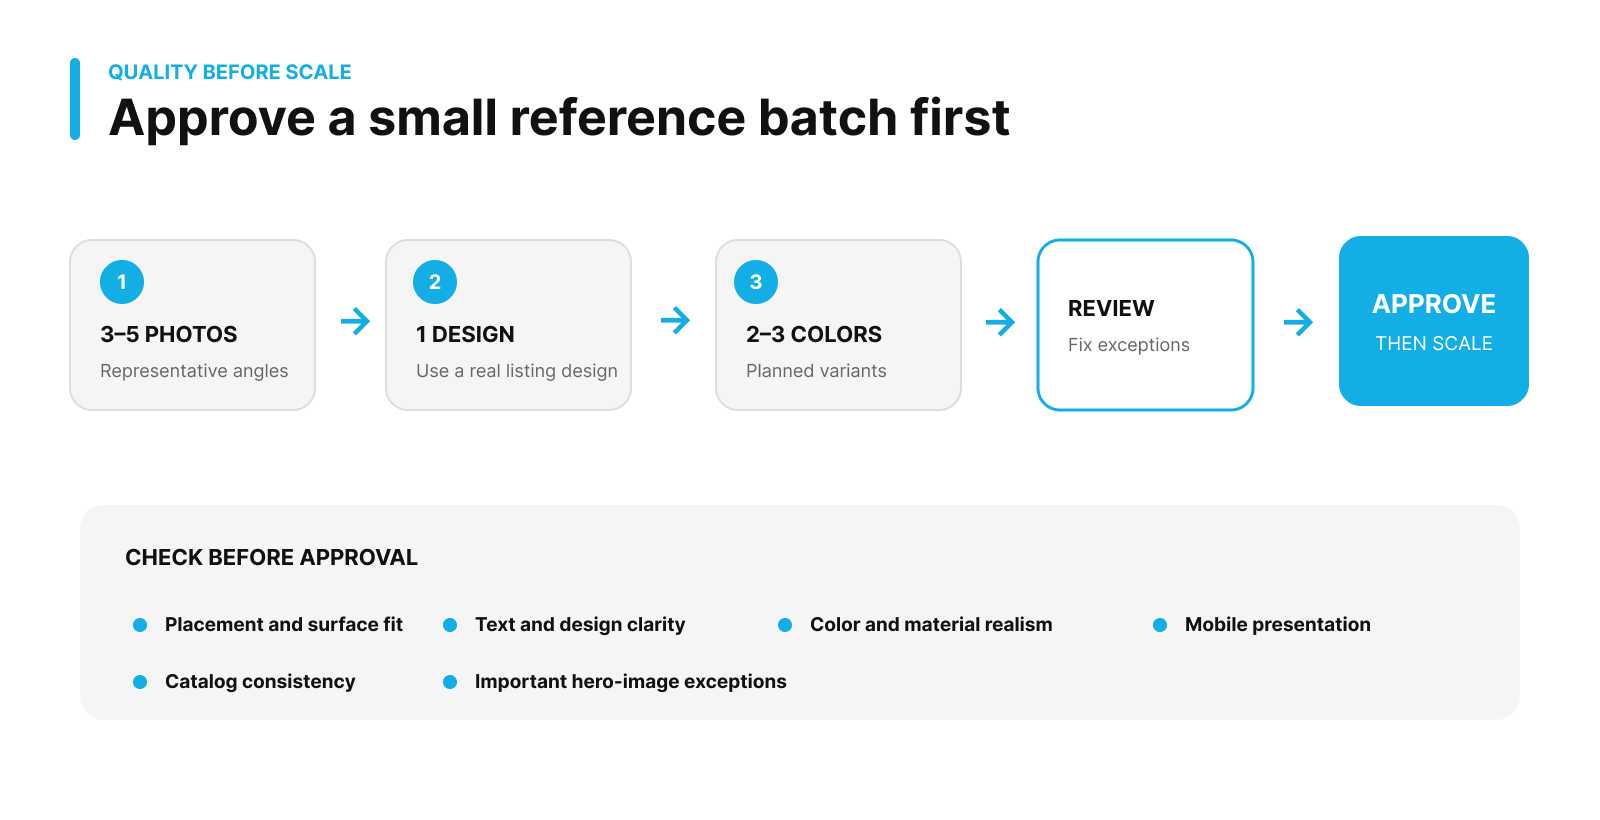
Validate the Listing Image Before You Scale
After approving the visual result, verify required dimensions, aspect ratio, file-size limits, safe margins for cropping, mobile hero-image clarity, and color-variant consistency.
Marketplace rules vary, so review current requirements in the platform where you publish. Batch Mockup generates product-image variations; it does not automatically create listings or guarantee marketplace compliance.
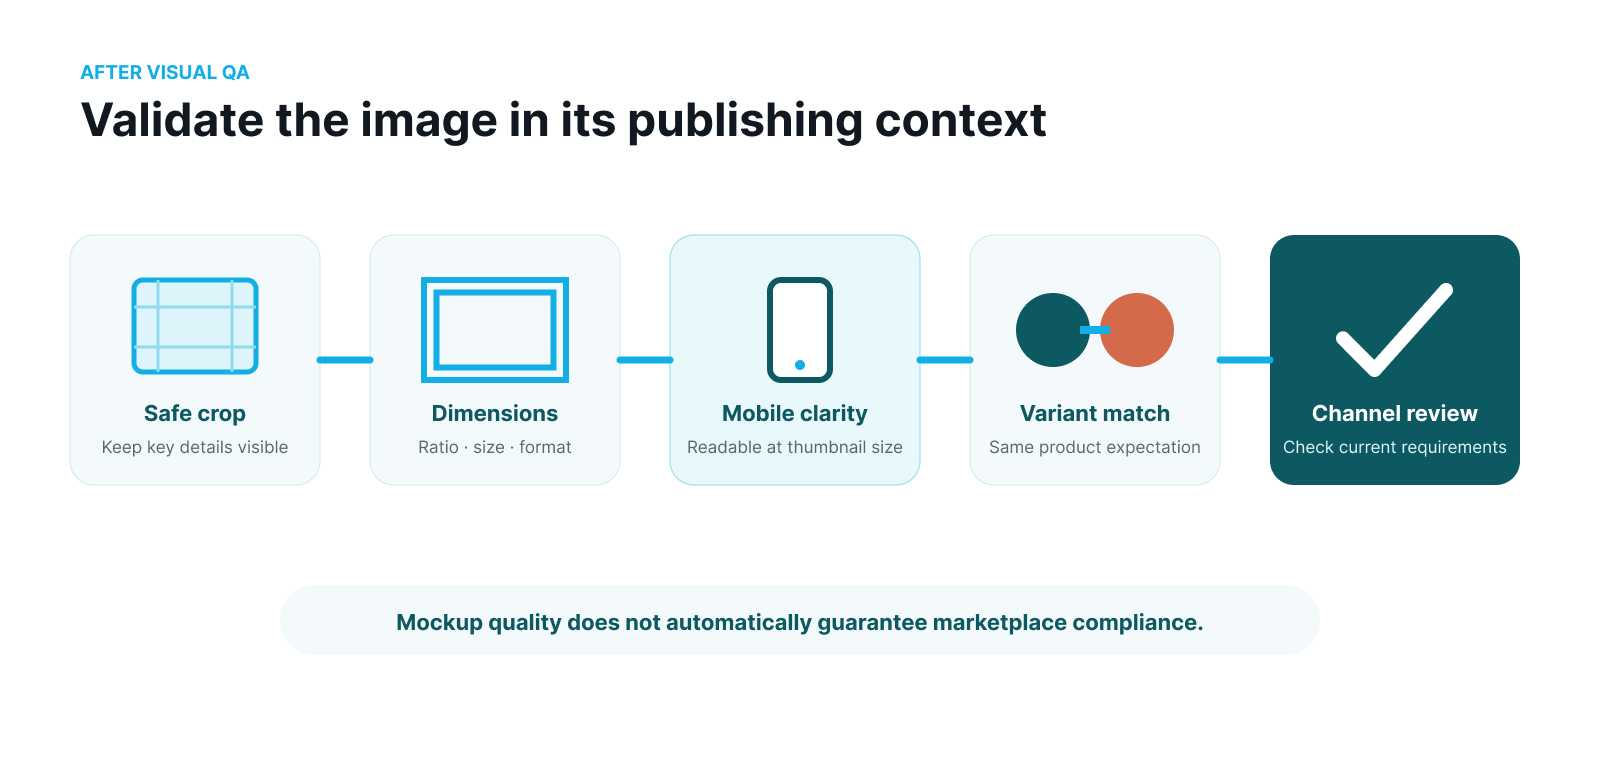
Listing image validation steps for safe crop, dimensions, mobile clarity, variant consistency, and current channel requirements.
Visual realism is only the first gate; validate the exported image in the context where shoppers will see it.
This workflow reduces the usual trade-off between speed and realism. Use your own product photos to batch-create product images featuring designs and colorways that follow the product’s visible contours, folds, light, and shadow.
Frequently Asked Questions
What is the difference between a realistic mockup and a flat overlay?
A flat overlay does not adapt to the visible surface. A realistic mockup makes perspective, curvature, folds, material texture, highlights, and shadows part of the result.
Can I use my own product photos?
Yes. Uploading a product photo automatically converts it into an editable mockup. You can adjust mapping, position, scale, and perspective when needed.
Does a high-quality mockup guarantee more sales?
No. Conversion also depends on the product, offer, price, traffic quality, reviews, and merchandising.
Continue With the Right Workflow
- Learn how to generate POD mockups at million-result scale.
- See the AOP mockup workflow.
- Use the winning POD design expansion guide.
Build a Realistic Reference Batch
Build a small verified batch, review the images that require judgment, and then scale the approved standard across your catalog.