Create and approve the first brand application
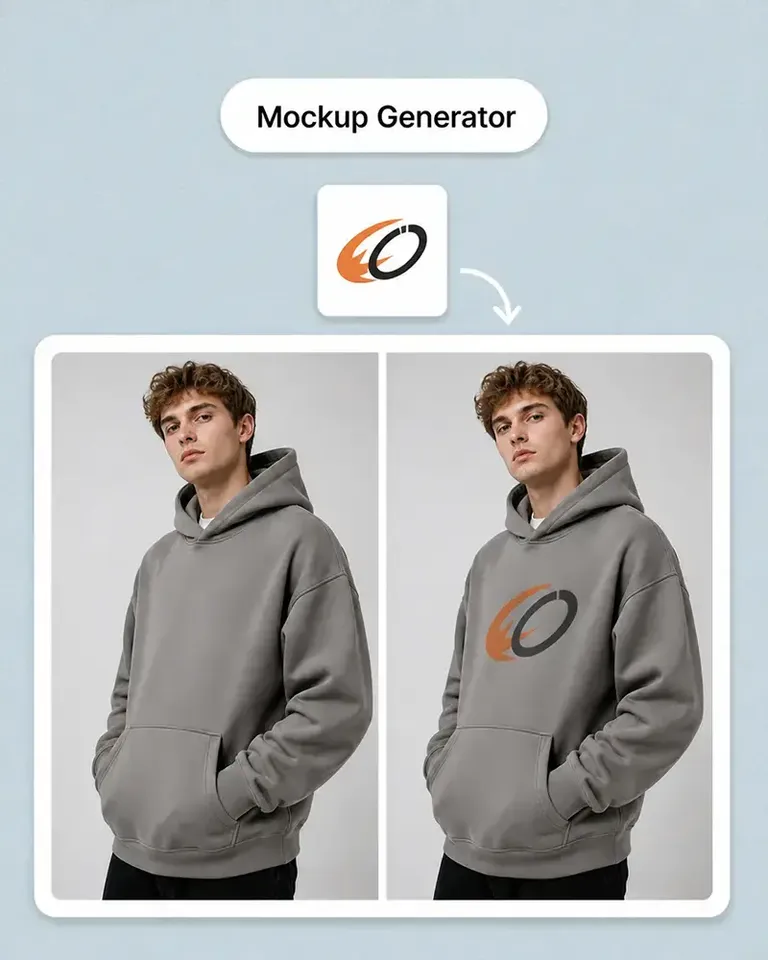
Apply the first logo, sign, or identity direction to a real storefront. Review scale, placement, contrast, and the surrounding material or environment before approval.
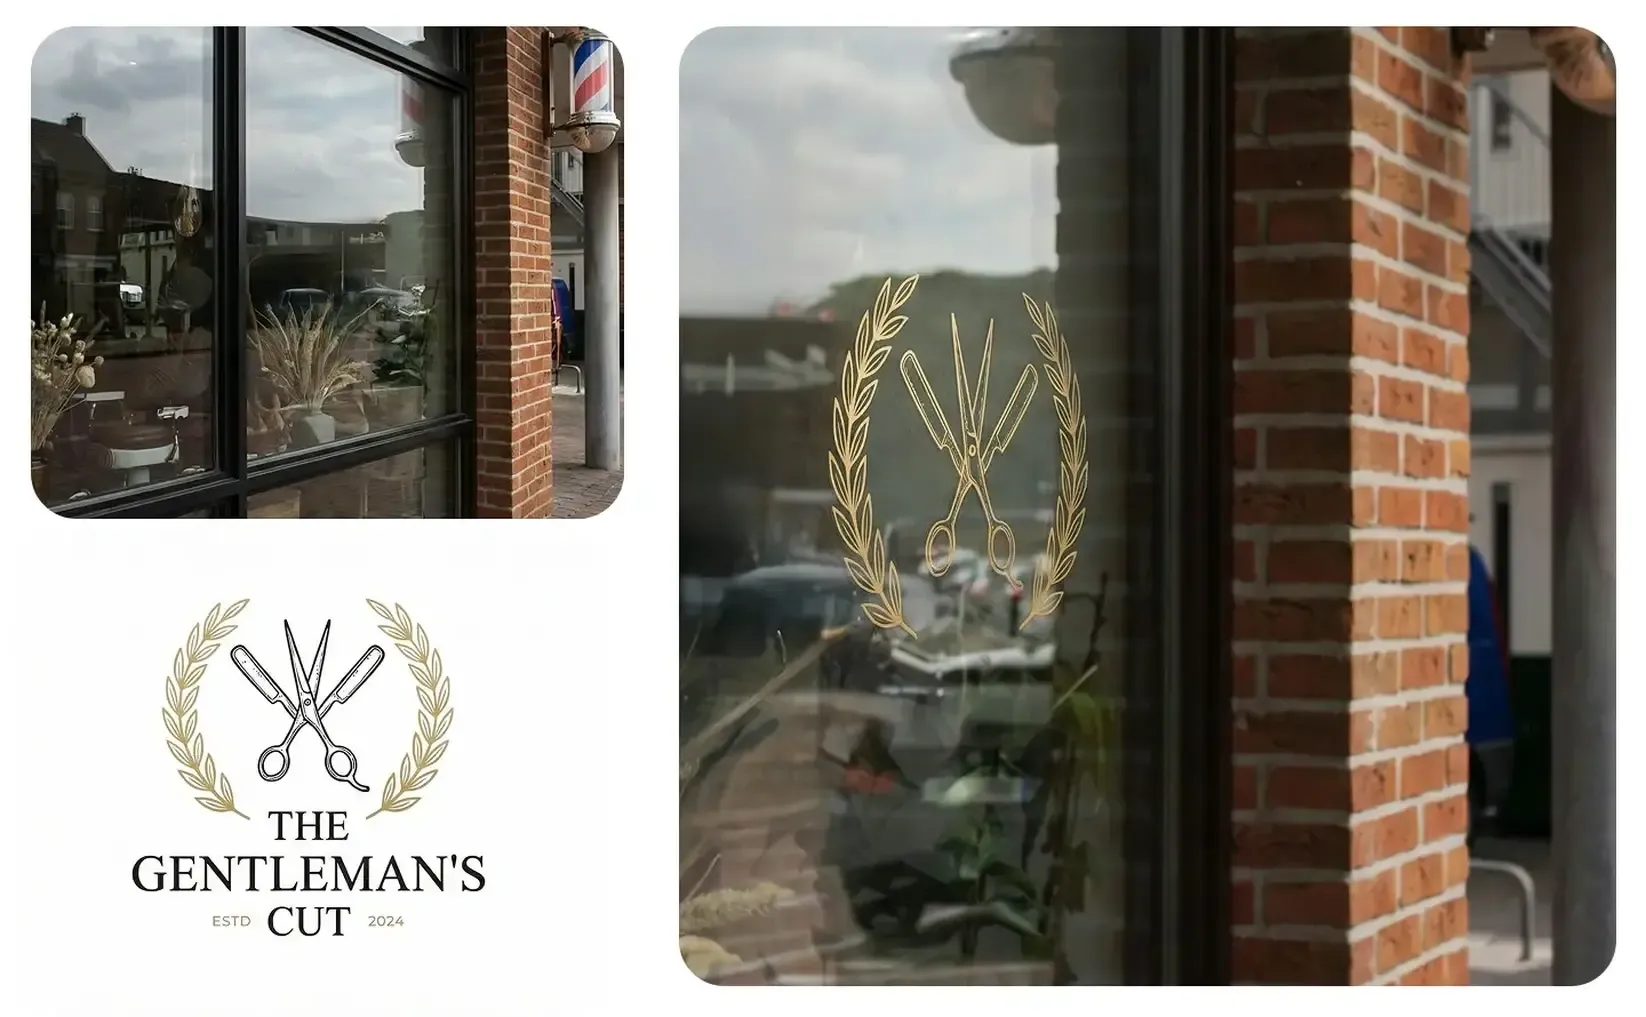
Turn your own storefront photo into an editable mockup, review logos, signage, window graphics, and brand placement, then reuse the approved visual across launch and marketing content.
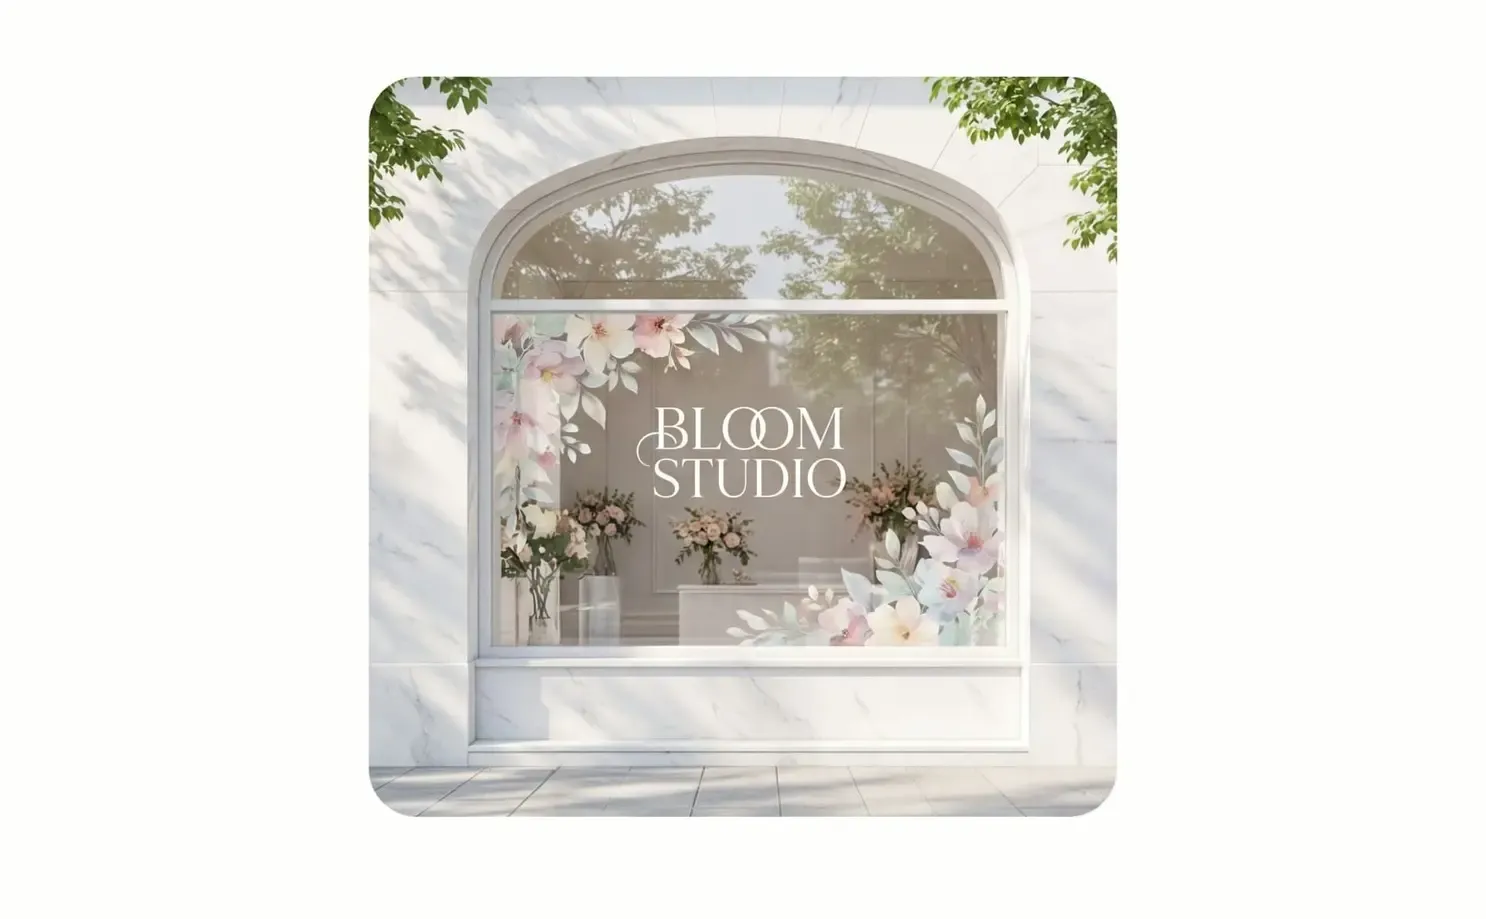
Start with a real storefront and approve the first identity direction. The same source can then support more applications, presentations, campaigns, and motion.
Apply the first logo, sign, or identity direction to a real storefront. Review scale, placement, contrast, and the surrounding material or environment before approval.
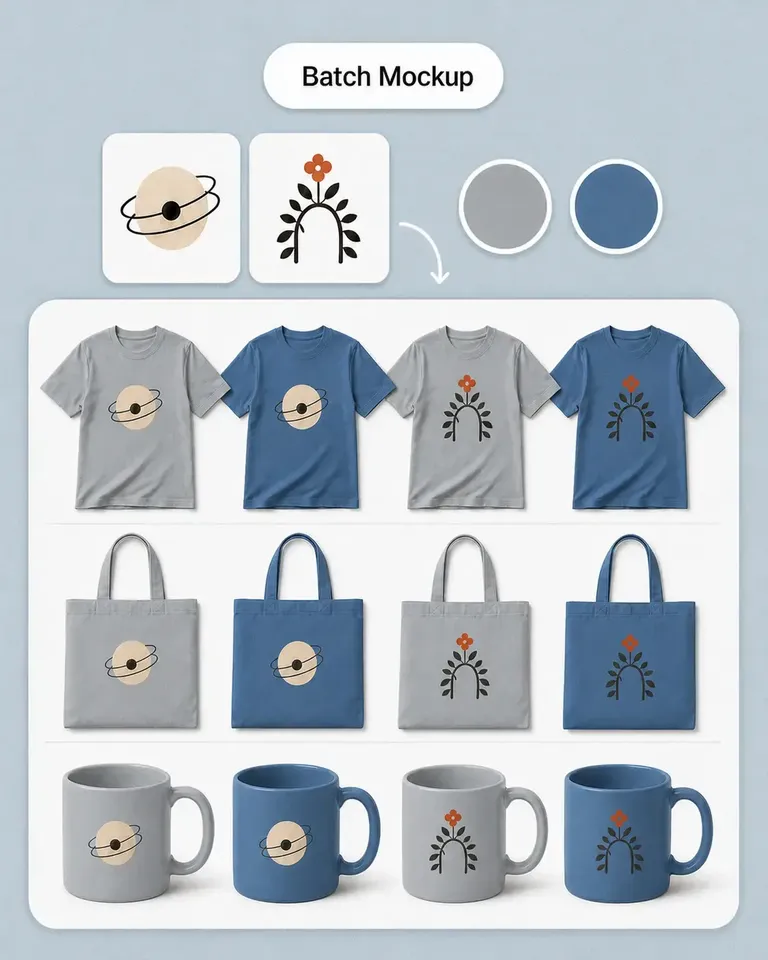
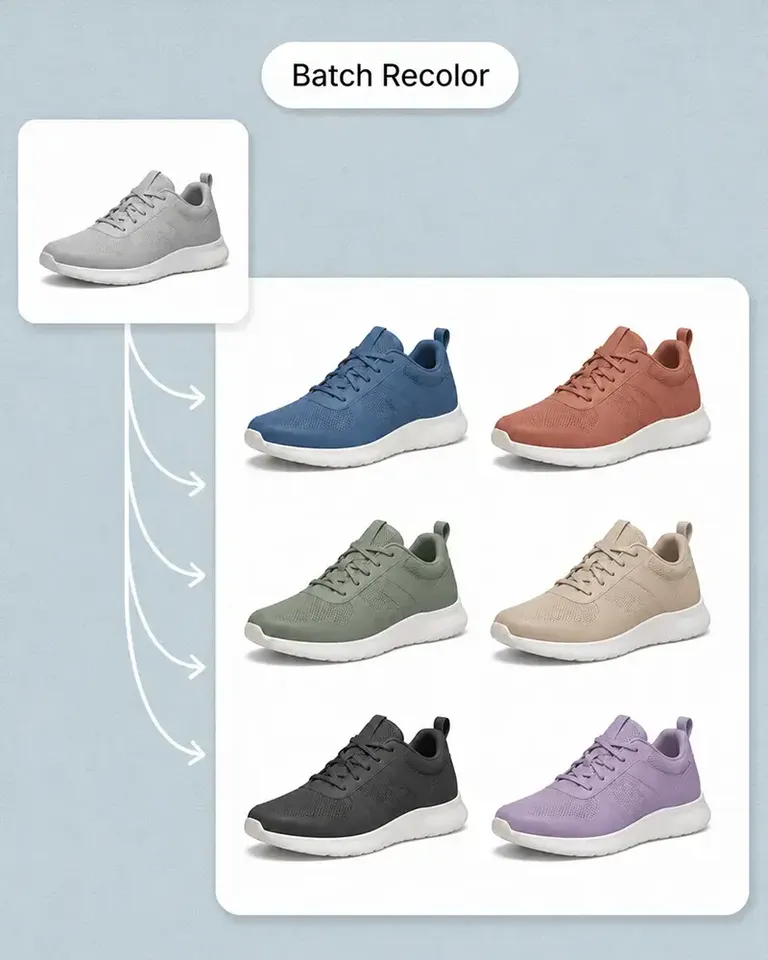
Keep the approved source fixed while changing logos, colors, wording, or visual treatments. Compare alternatives in the same context instead of rebuilding the presentation.
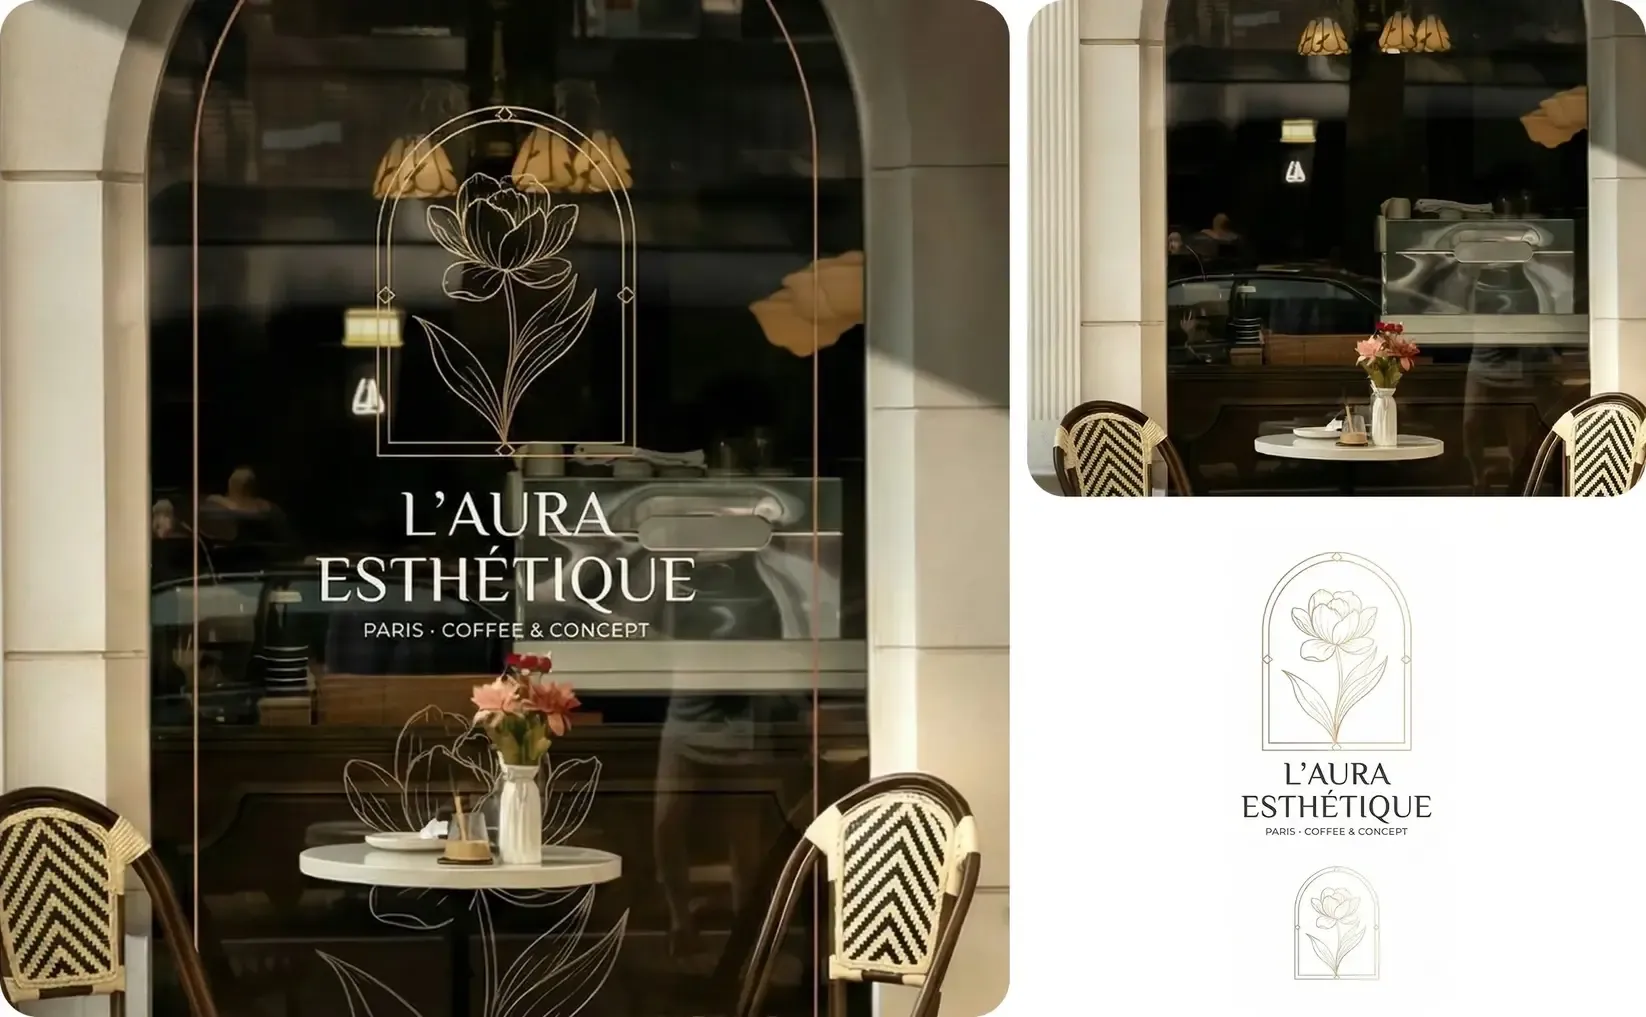
Continue from the approved application into review boards, launch visuals, campaign formats, social creative, and video while keeping the real brand context recognizable.
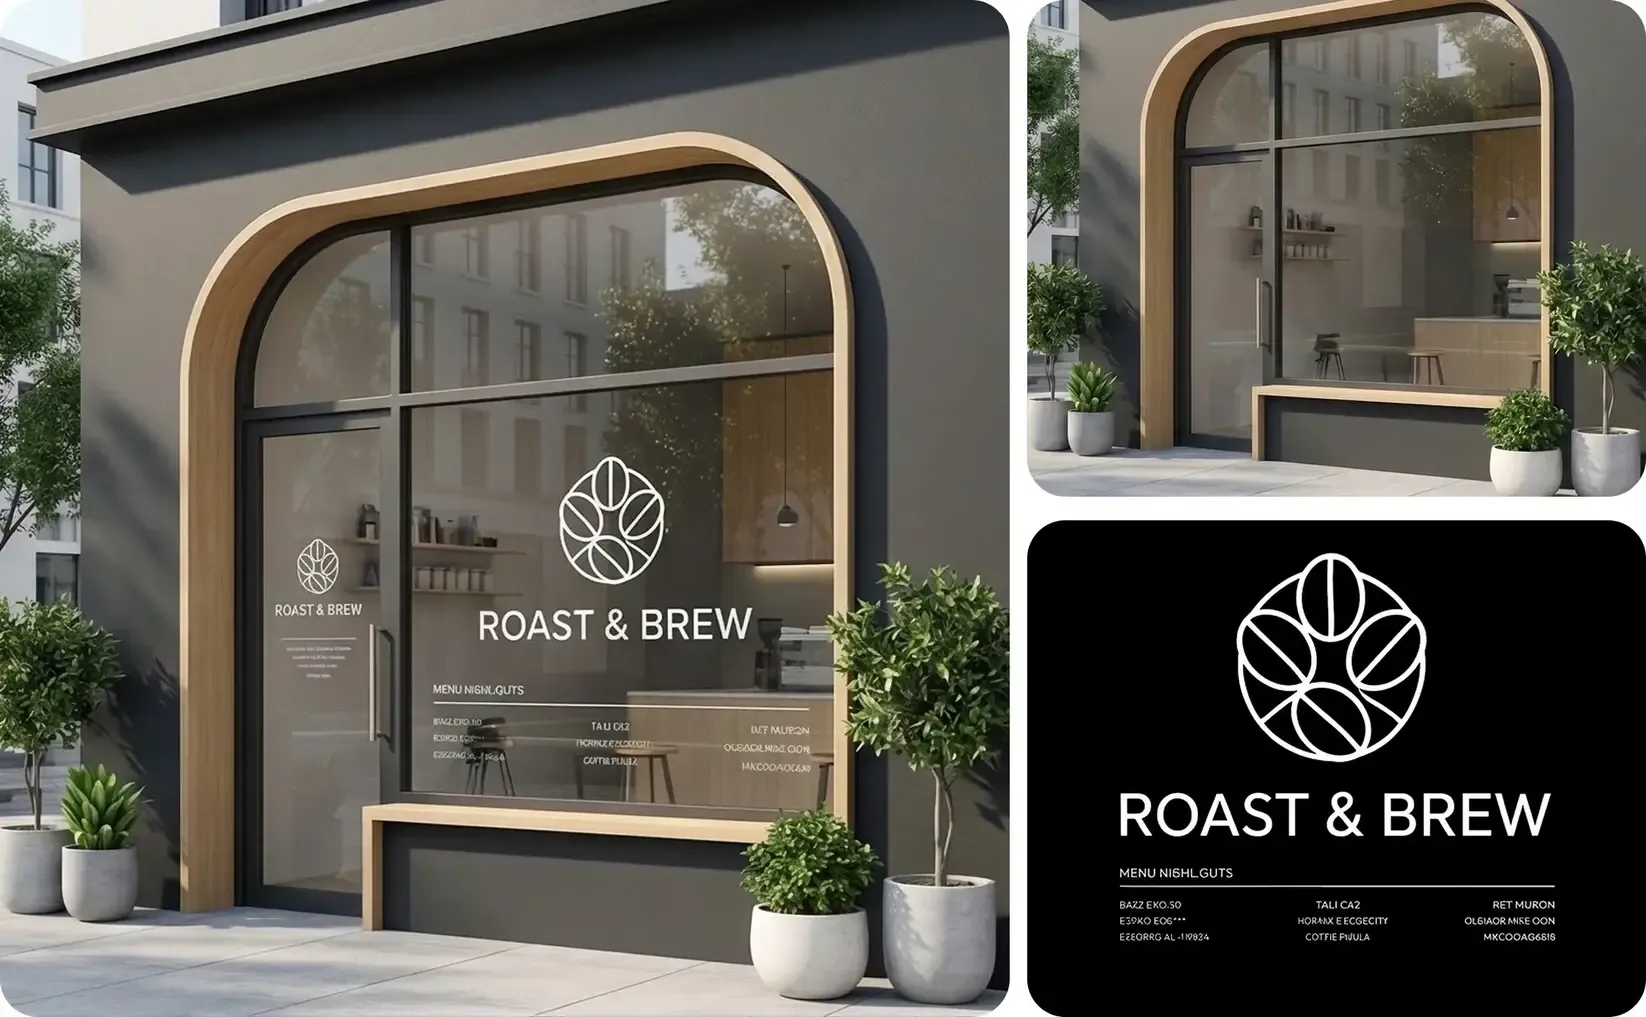
Continue from the approved source into the mockups, variations, and marketing content required for the current product or campaign.
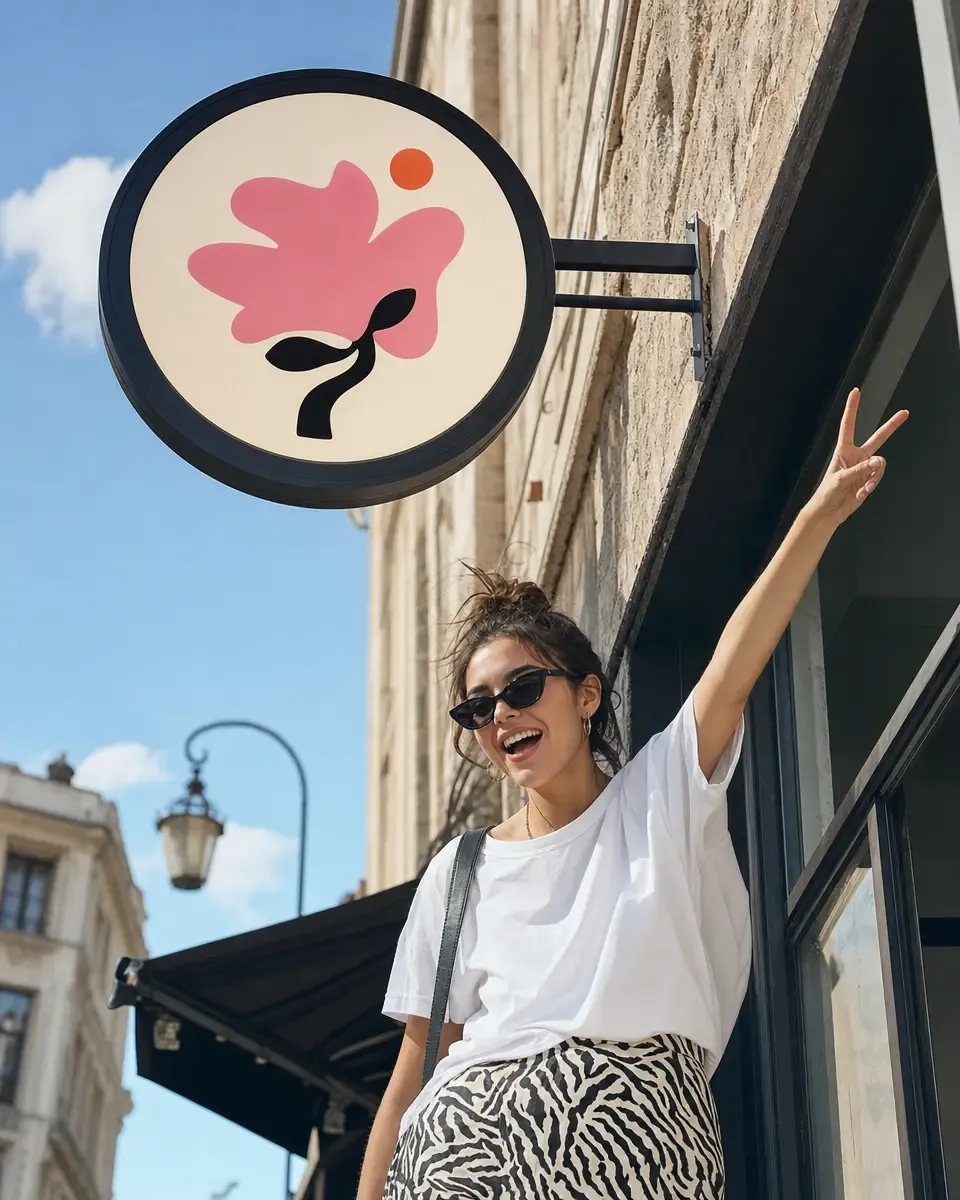
Keep the facade, windows, doors, materials, perspective, lighting, and surrounding environment visible while adding the branding. Start from the actual shop, cafe, restaurant, boutique, or retail-location image.
Approve the source once, then reuse the same setup as the product range and marketing content grow.
Start with a real storefront whose materials, proportions, perspective, and surroundings should remain recognizable.
Add the logo, signage, wording, or identity treatment, then review scale, placement, contrast, and visual hierarchy in context.
Reuse the approved source while changing identity versions, colors, messages, or presentation directions.
Continue into review boards, launch visuals, campaign formats, social creative, and motion from the accepted brand direction.
Continue with the most relevant product categories while keeping the same source-led approach to design, variations, and marketing content.
Apply the first design, approve the product setup, then reuse the same storefront across more artwork, variations, listings, and campaigns.