Create and approve the first device mockup
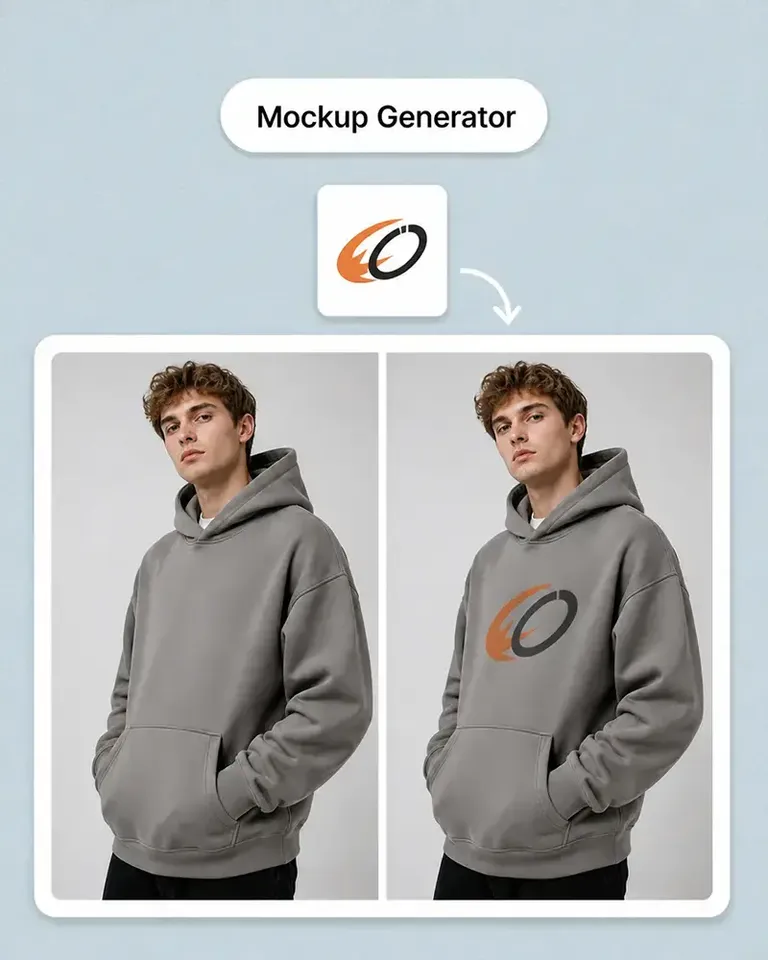
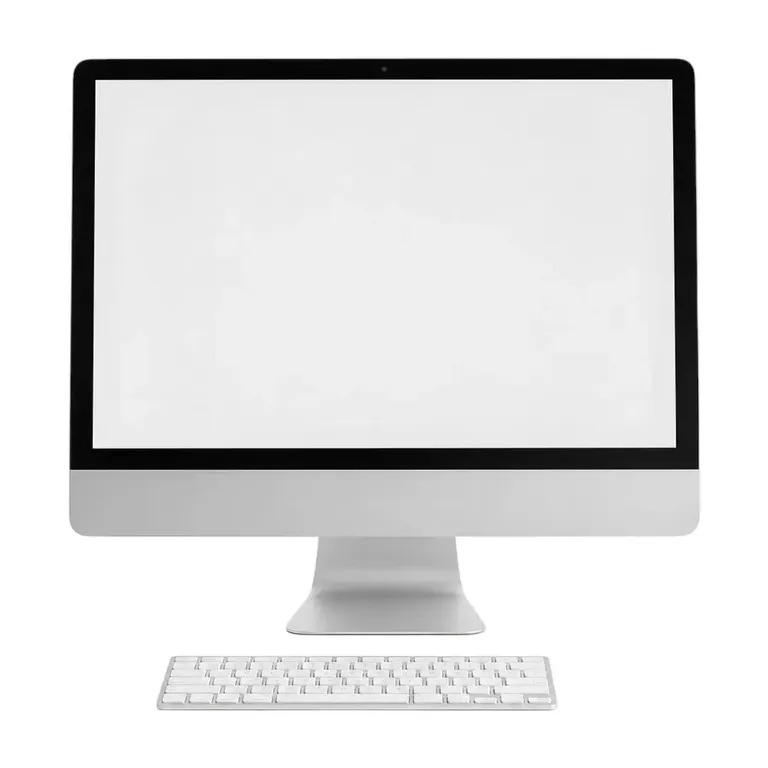
Apply the first website, app, or interface screen to your MacBook photo. Review the crop, perspective, legibility, and device presentation, then keep the approved setup ready to reuse.
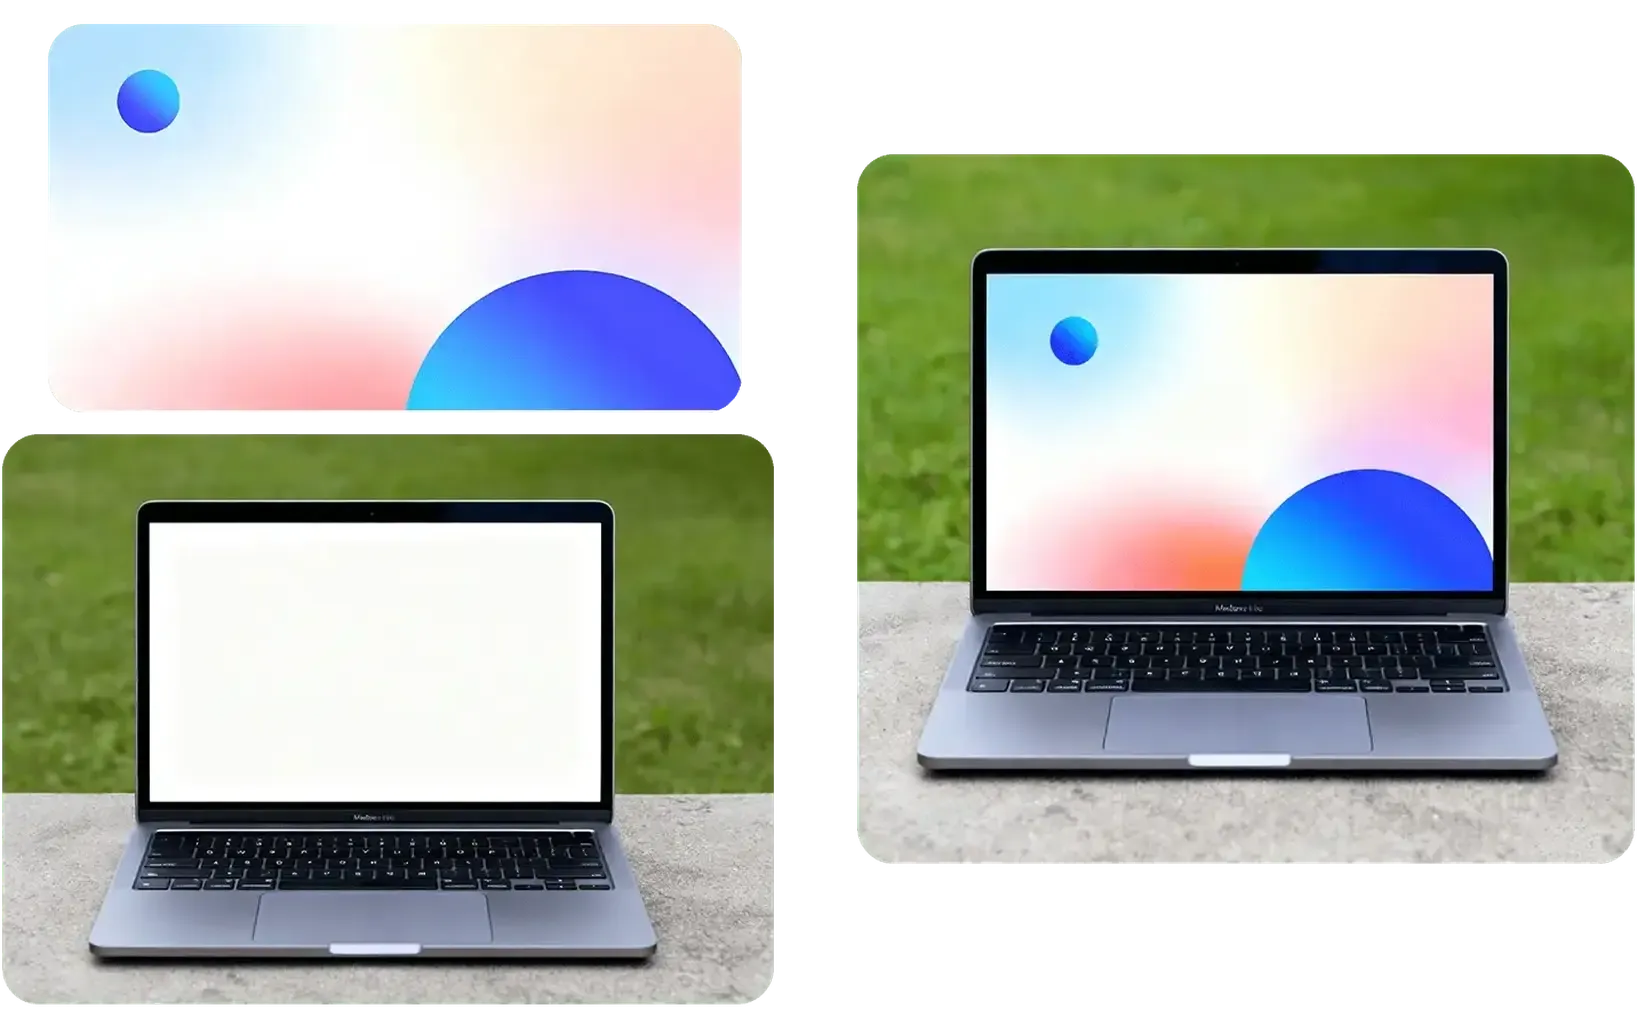
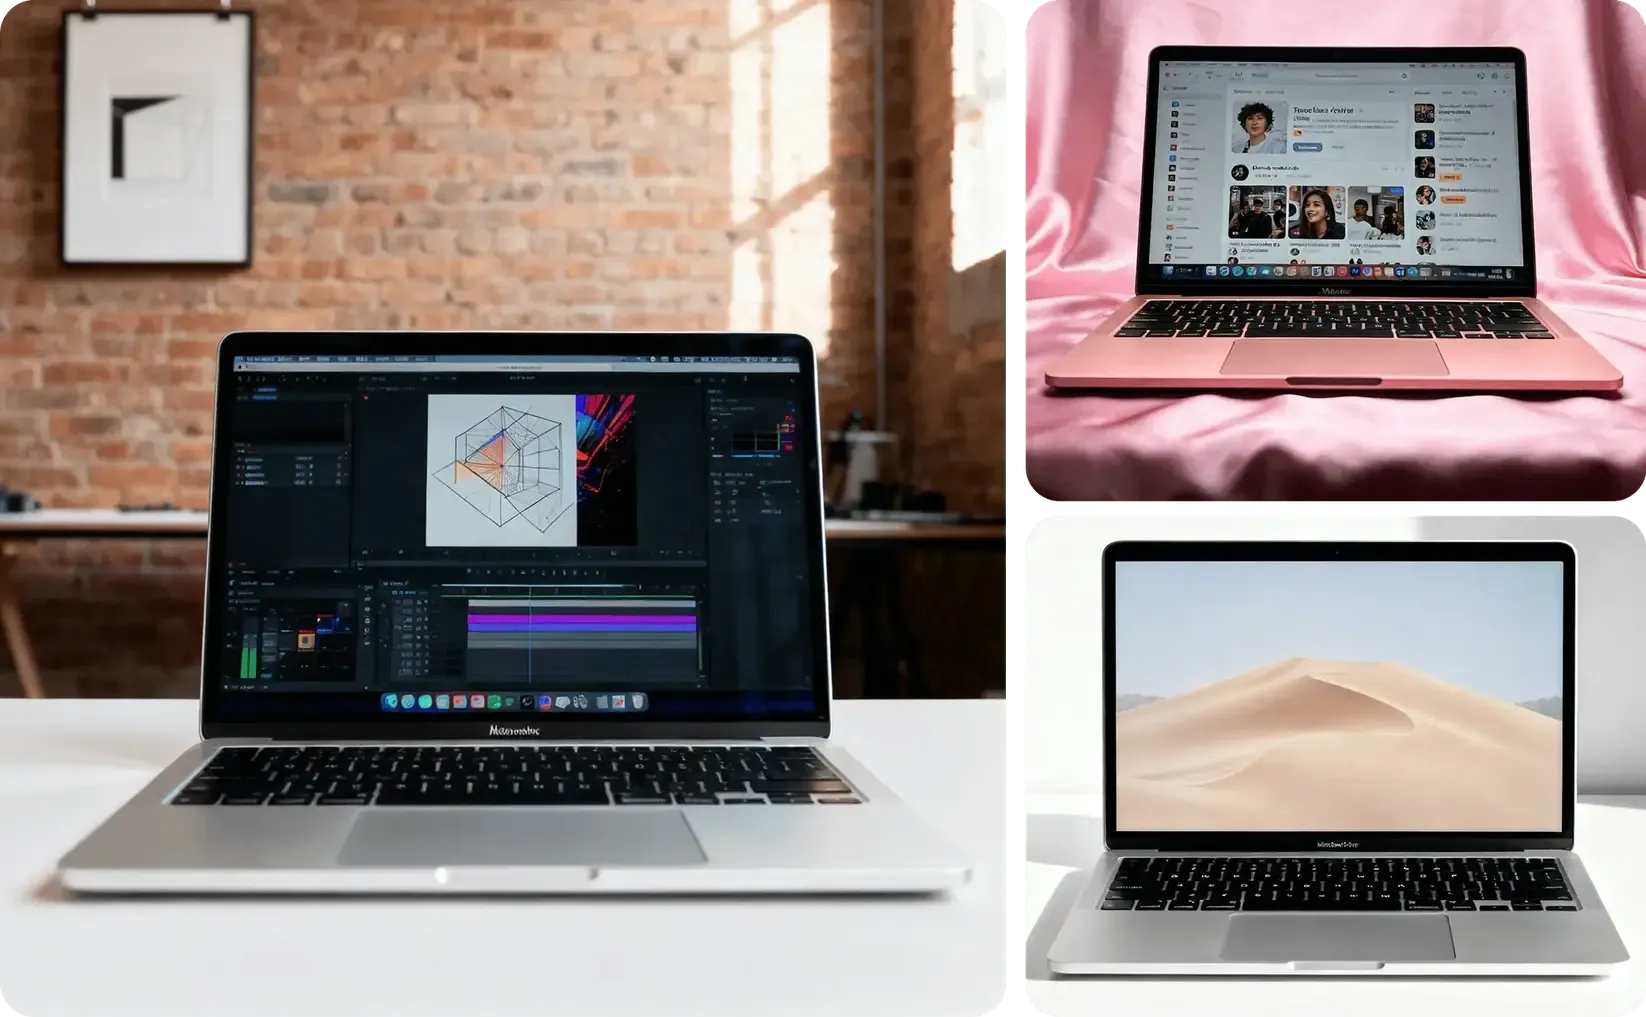
Turn your own MacBook photos into editable device mockups and place websites, dashboards, apps, or product screens into a more polished real-world presentation.
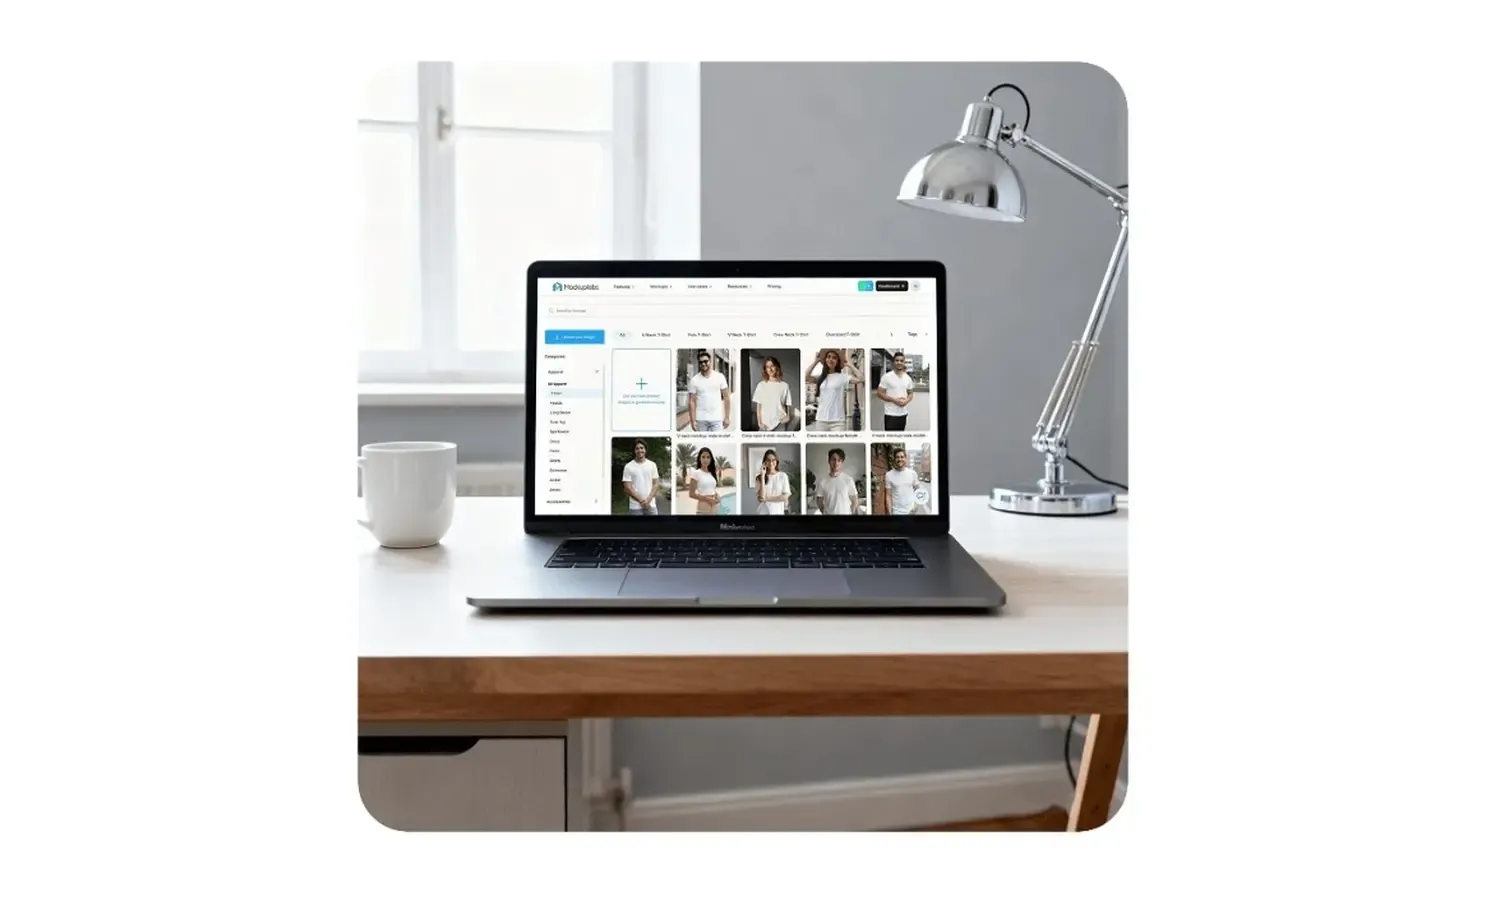
Start with the real MacBook photo and approve the first website, app, or interface screen. The same device setup can then support more screens, feature stories, campaigns, and video.
Apply the first website, app, or interface screen to your MacBook photo. Review the crop, perspective, legibility, and device presentation, then keep the approved setup ready to reuse.
Keep the same MacBook setup while changing the interface, feature state, or campaign message. Present more screens without rebuilding the device scene.
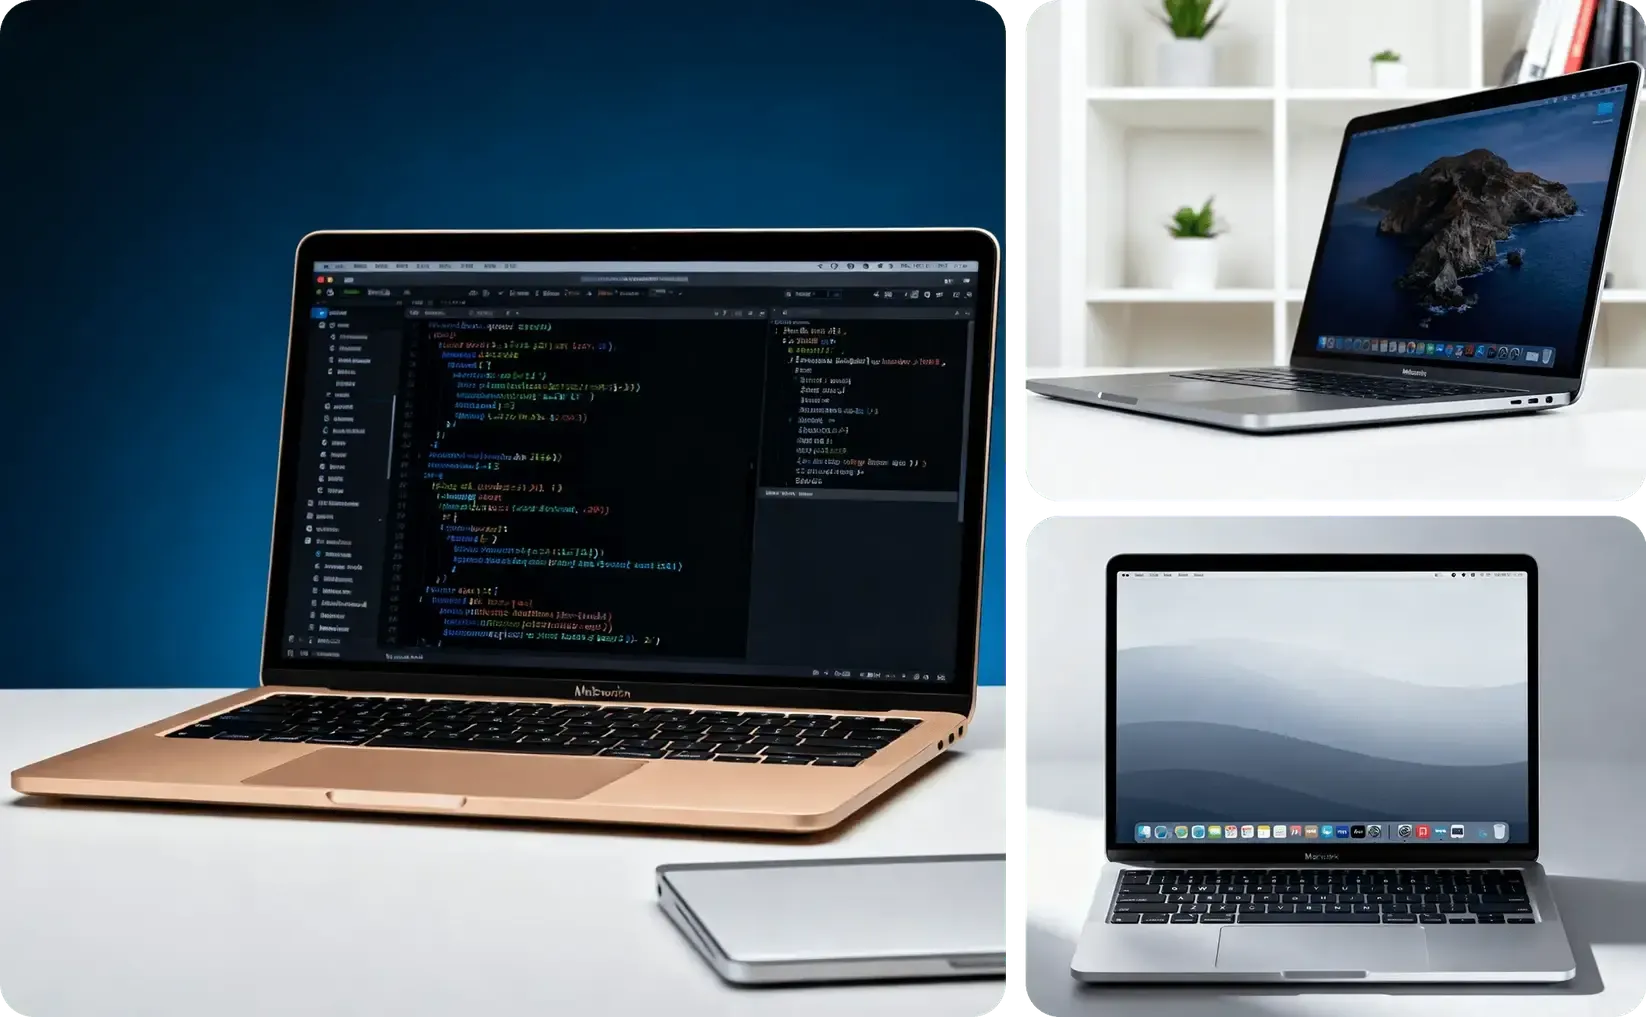
Continue from the approved device mockup into feature pages, launch visuals, campaign formats, social creative, and video without separating the screen from its approved presentation.
Continue from the approved source into the mockups, variations, and marketing content required for the current product or campaign.

Preserve the exact device angle, bezel, keyboard, lighting, and workspace that will frame every screen variation.
Approve the source once, then reuse the same setup as the product range and marketing content grow.
Choose the device angle, environment, lighting, and composition that should remain consistent across the presentation.
Add the website, app, or interface image, then review perspective, crop, legibility, and its relationship with the physical display.
Keep the approved device scene while changing screens, feature states, or product stories for the next variation.
Continue into launch pages, presentations, campaign formats, social creative, and video without rebuilding the device direction.
Continue with the most relevant product categories while keeping the same source-led approach to design, variations, and marketing content.
Apply the first design, approve the product setup, then reuse the same MacBook across more artwork, variations, listings, and campaigns.